Posted on 1 Comment

Avery Jean’s Hot Air Balloon Baby Shower

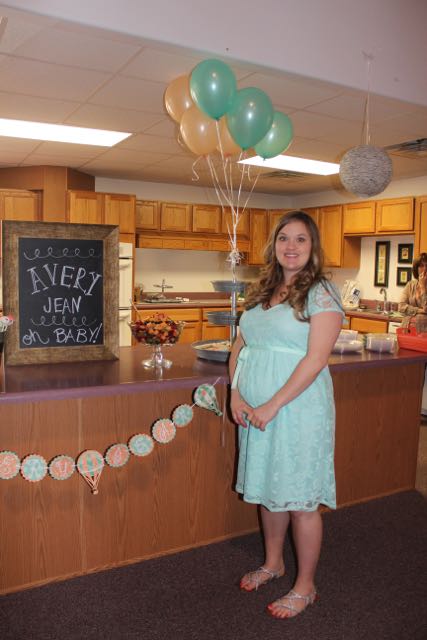
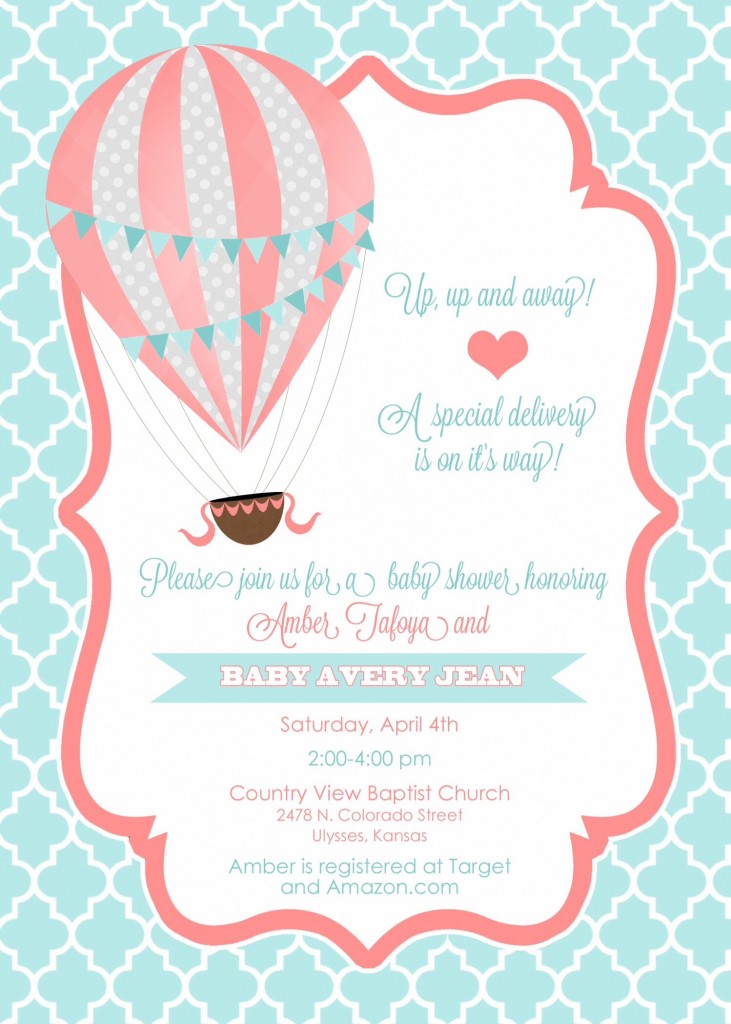
My baby shower in Ulysses was over Easter weekend and I cannot imagine a better turnout! Everything was perfect and I am so blessed to have so many amazing people in my life! We had the shower at the Celebration Church in Ulysses.

4 Generations...only one is still cooking!!
4 Generations…only one is still cooking!!
Laura, Kelley, and me before the shower.

There were so many people that helped put the party together. A huge thank you to all the ladies that had a part in putting it on!  Thank you mom, Laura, Kelley, Heather, Shalie, Grandma Bloesser, Grandma Underhill, and Alex’s mom JoAnn.  They all did such a wonderful job putting it together! Also a huge thank you to Shalie for handing me gifts and My cousin Charly for recording gifts for me!!

I love my invitations! Kelly always does a great job with those details! Thanks lady!

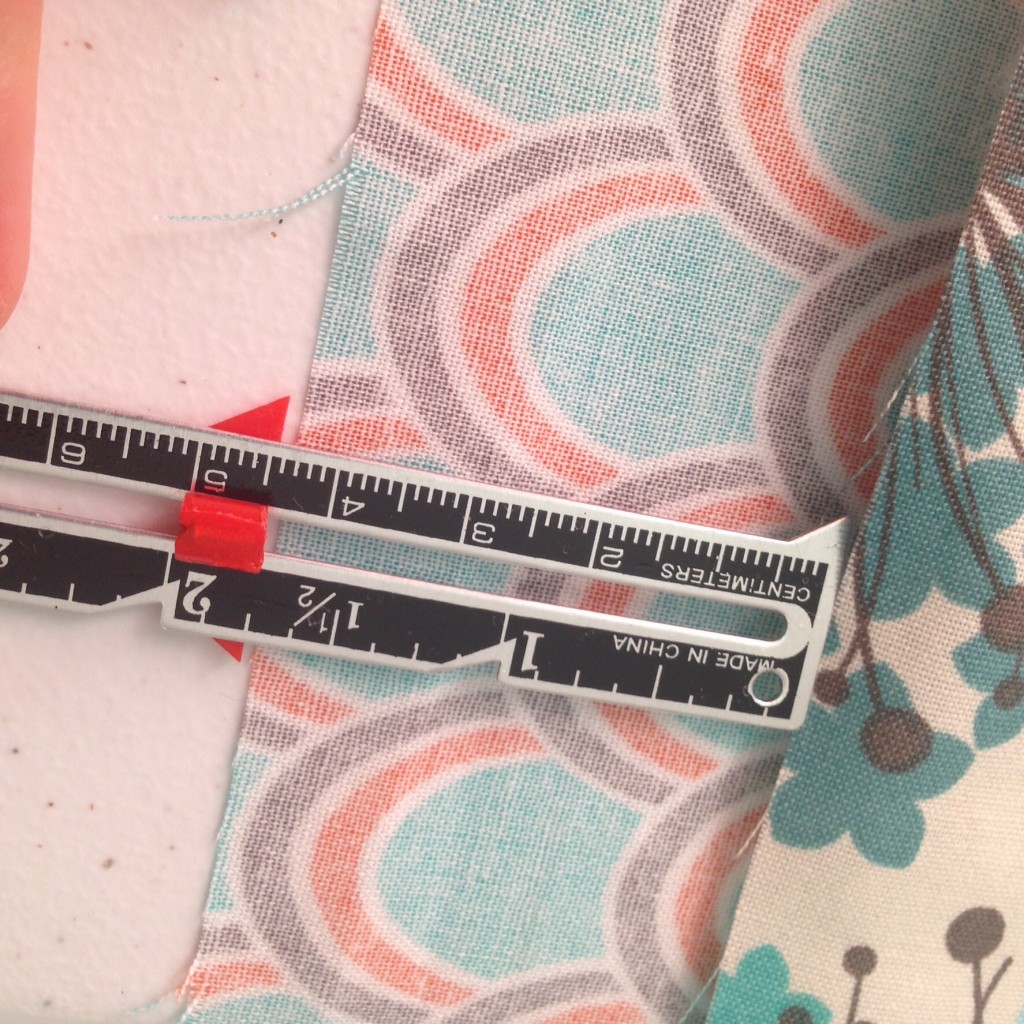
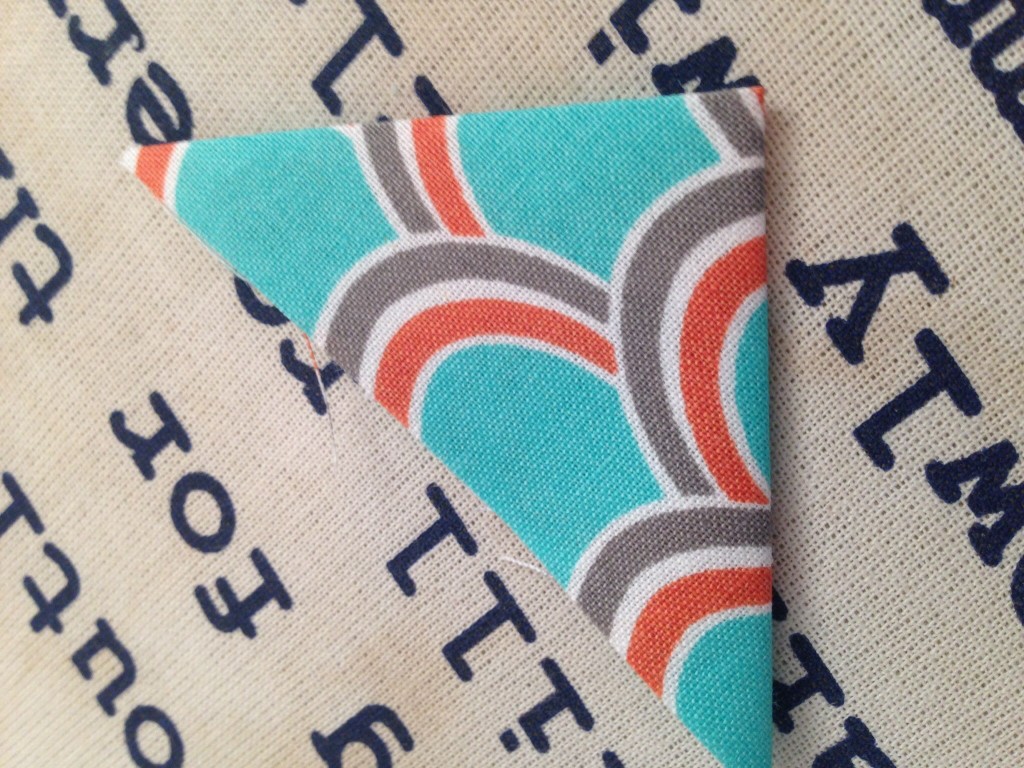
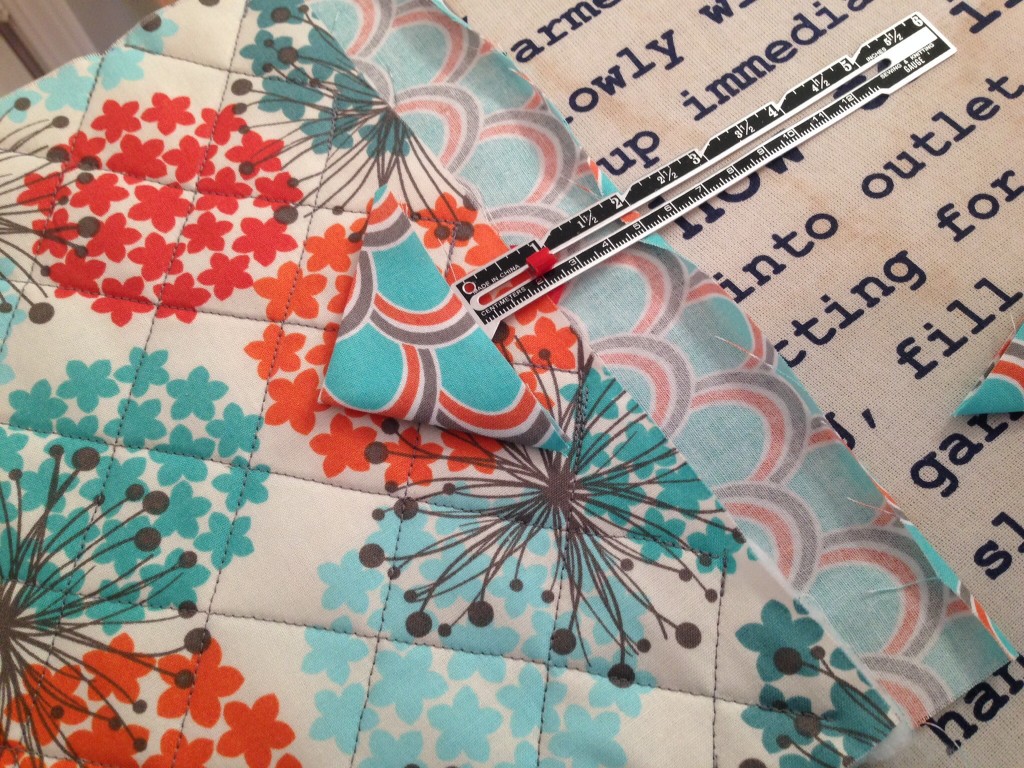
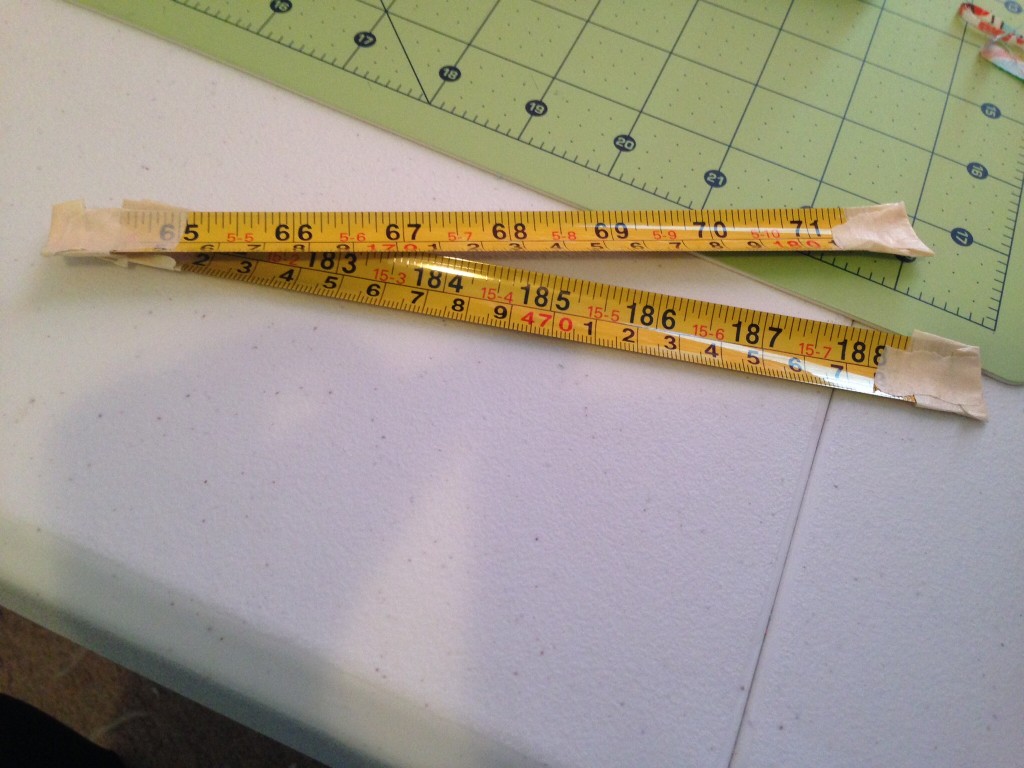
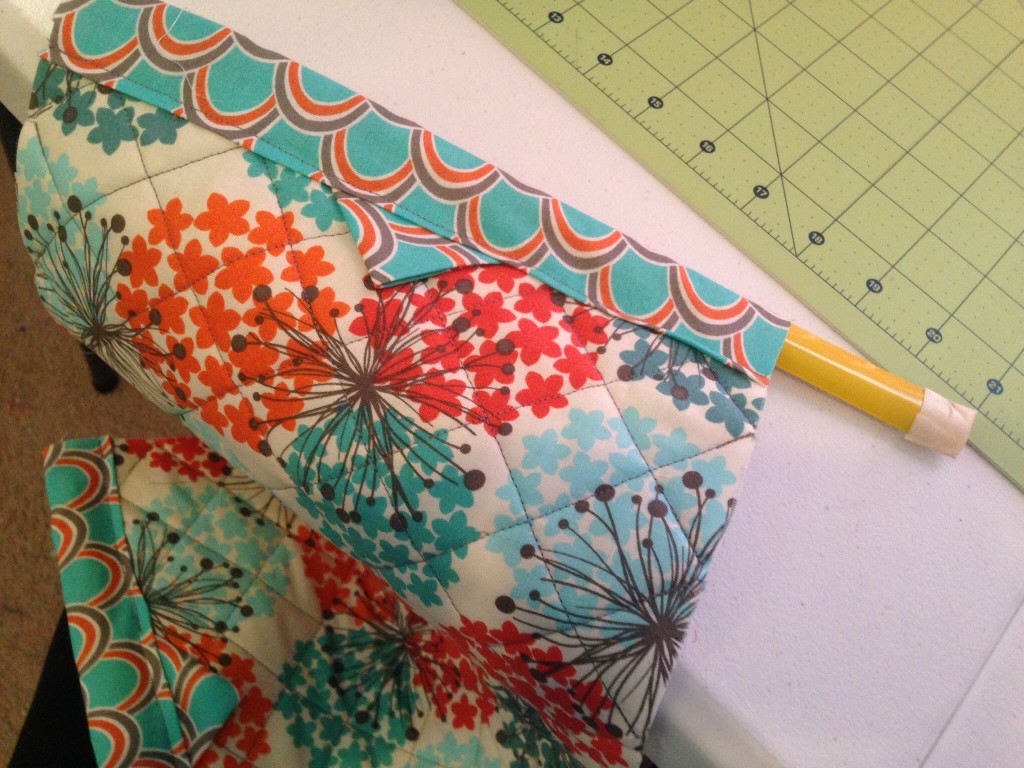
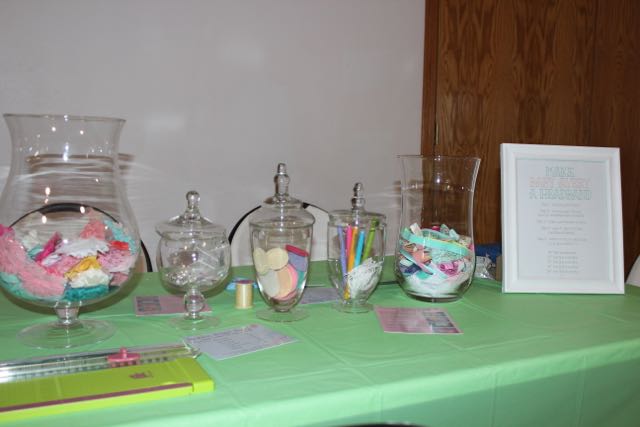
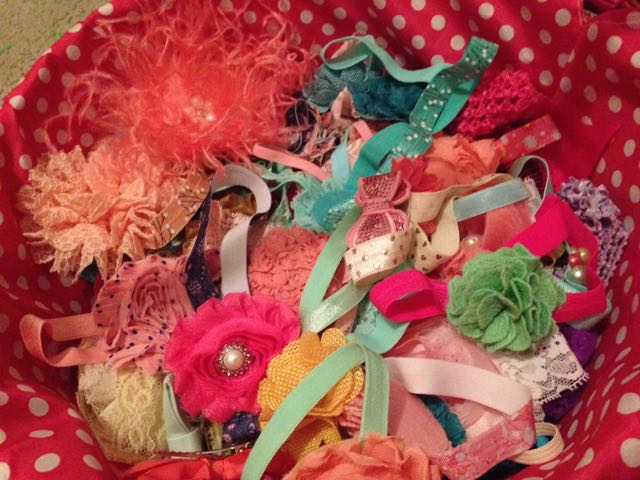
My favorite part of the shower was the headband station.  I am not a fan of games at showers.  As many of you know, I am a HUGE Pinterester, I came across a few pins on headband stations.  Kelley and Laura set me up with the best headband station!  They had a frame with sizes the guests could measure the elastic at to fit Avery at different ages.  There were even little tags that people could write their names and sizes on so I knew who made what!  I am sure we will not have to buy headbands anytime soon!  My cousin Melanie made a TON of them!  She even finished them off after the shower until we were out of materials!

Headband Station!
Headband Station!
My cousins Melanie and Charly at the headband station.
Avery is loaded up with all kinds of headbands!

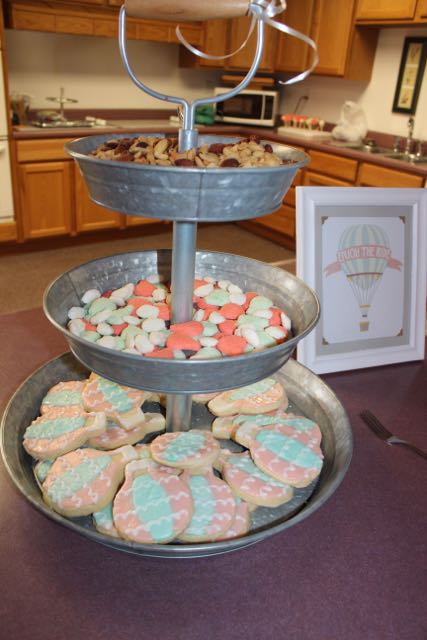
My mom, Grandma Bloesser, Heather, and Britney made the most adorable cake pops!  They looked like little babies in bonnets and were super yummy!  The green ones were covered in sprinkles and were lime flavored, which was a surprise when you took a bite.

Gotta love Pinterest! These turned out super cute!

Alex’s mom made the most amazing mints!  She used to make wedding cakes and stuff for people, so I knew she would make some good ones.  She had a few tricks up her sleeve.  She had three flavors and cute little hot air balloon and cloud molds.  The white clouds were buttercream, the mint hot air balloons were a traditional mint, and the coral hot air balloons were cinnamon.  The cinnamon were my favorite!  She did such a great job.

Alex's mom and me before the shower.
Alex’s mom and me before the shower.
The mints and cookie display. So yummy!

My Grandma Underhill made her famous punch!  I usually like mine spiked with a little Bacardi O, but not until after the baby is born!  Everyone loved it and were gushing about how delicious it was!

My Grandma Underhill and me before the shower started.

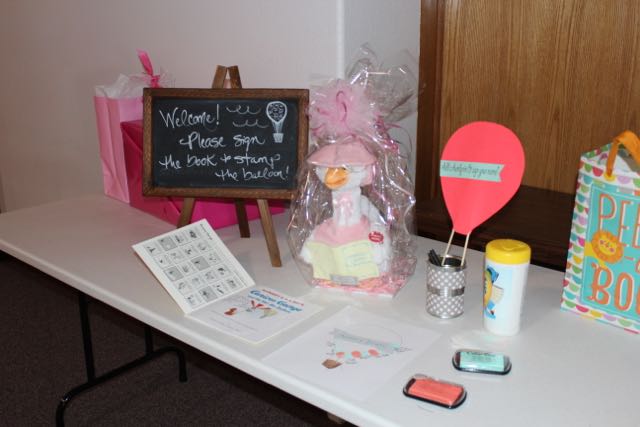
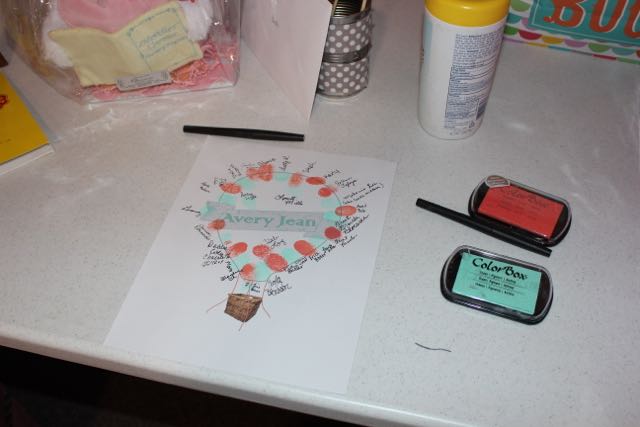
I am planning on doing a digital baby book that I can have printed, so I wanted a sign in that I could sign. After browsing Pinterest, I was set on a hot air balloon fingerprint guest book. It turned out really cute!

Guest Book
Guest Book
Close up of the guest book. Love this!

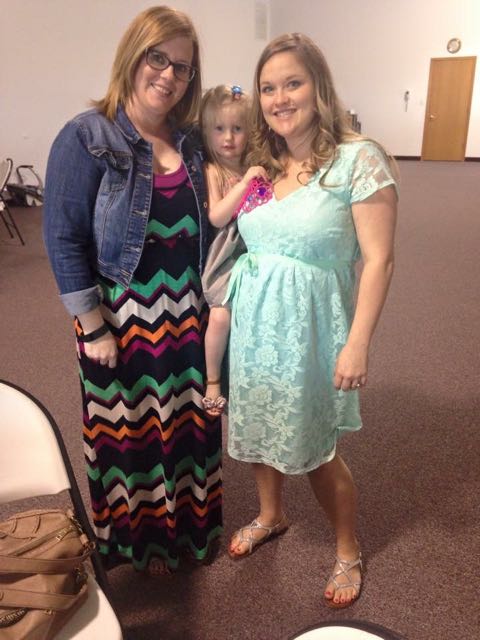
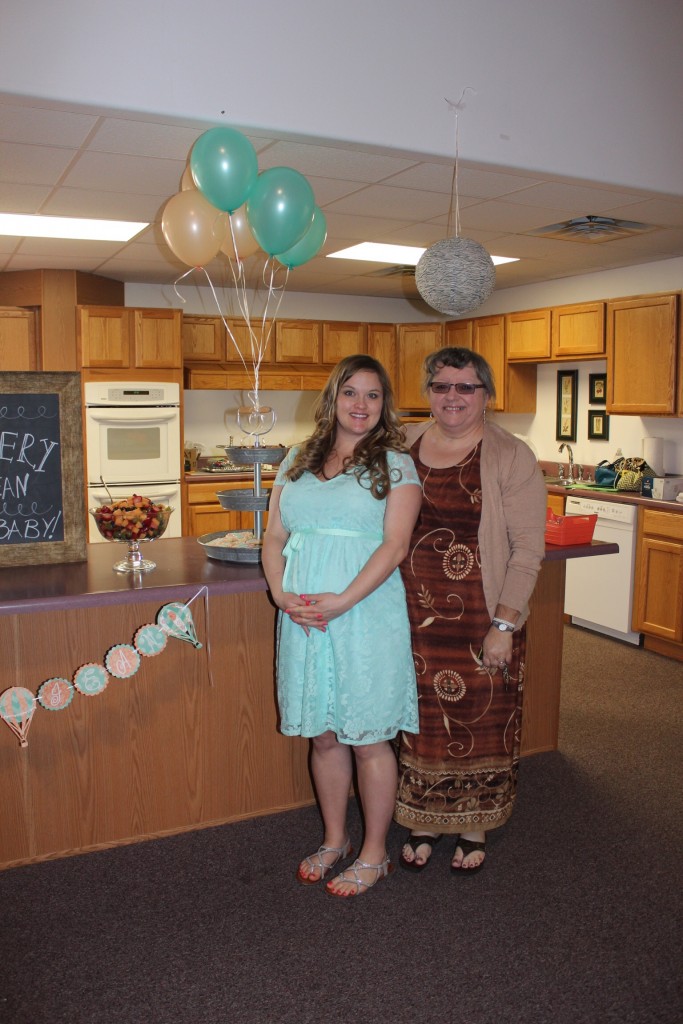
I was overwhelmed by the turnout!  It was such a beautiful shower and we could not have asked for a better day!  Avery is already spoiled and she isn’t even here yet!  Thank you to everyone who came out and supported us and showered us with gifts and love!

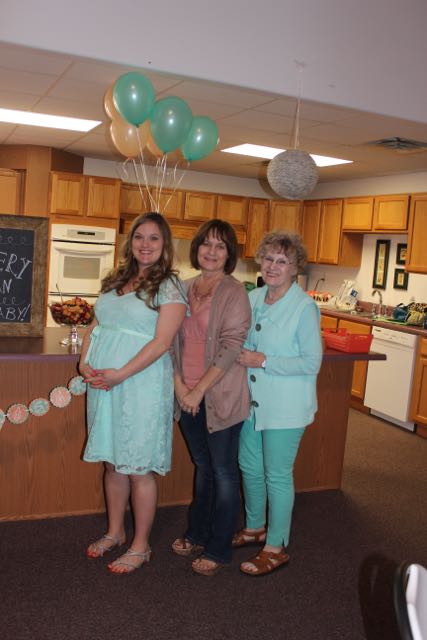
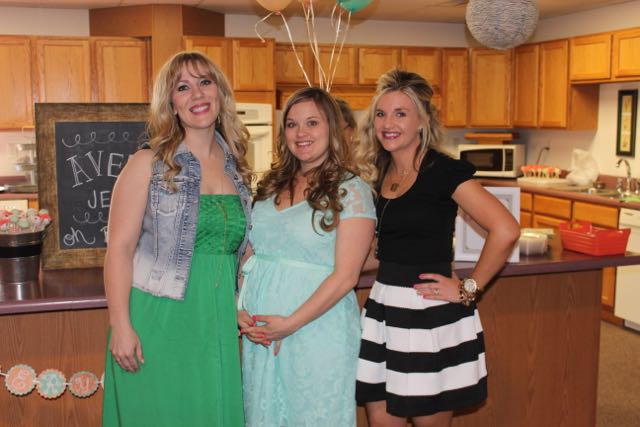
A few more pics from the day…

Alex's cousin Stephane, Alex's goddaughter Karly and me after the shower.
Alex’s cousin Stephane, Alex’s goddaughter Karly and me after the shower.
Ashlee and her adorable daughter Lennyn! Her face is priceless!! My lil ginger!!
Besties!!!
Besties!!!


Posted on Leave a comment

Snappy Bag

These bags are too much fun!  We are just finishing them up in the Sewing class that I am doing my long term substitute position for the rest of the school year.  The kids have enjoyed making them and I have too!

Snappy Bag

Materials:

12 x 18″ outer fabric

12 x 18″ batting piece

12 x 21.5″ liner fabric

2 squares measuring 3.25″

Coordinating Thread

2 pieces of tape measure each 9.5″

Instructions:

I forgot to cut the squares out until later.  Here is what you need to start out with.
I forgot to cut the squares out until later. Here is what you need to start out with.

Sandwich your fabrics together with the liner fabric right side facing down, then the batting, then the outer fabric right side up.  You have to make sure to line the batting and outer fabric to where there is 1 3/4″ on each side.  Then pin in the corners.

Sandwich your fabrics together with the liner fabric right side facing down, then the batting, then the outer fabric right side up.  You have to make sure to line the batting and outer fabric to where there is 1 3/4" on each side.  Then pin in the corners.
Now you need to quilt the pieces together.  Make sure that they are at least 2″ apart.  You can do a closer crisscross if you do every inch as well.  After measuring 2″ along all four sides, you will need to start connecting them.  When I connect them, I make sure to leave about 1/4″ on each short side, otherwise the stitching goes up on the casing when you are finishing your bag.  On the long sides, you can draw them to the end of the fabric.
I used this AMAZING pen by Pilot called the Pilot FriXion Ball Gel Pen that my grandma gave me.  It goes on like a regular pen and disappears with the iron!
I used this AMAZING pen by Pilot called the Pilot FriXion Ball Gel Pen that my grandma gave me.  It goes on like a regular pen and disappears with the iron!  After you get your lines drawn, pin down the sides like crazy so it doesn’t shift on you.  Make sure to backstitch at the beginning and end of each line!
Just to show you the magic, after I quilted you could still see the lines...
Just to show you the magic, after I quilted you could still see the lines…
Magic eraser!!!
Magic eraser!!!
IMG_0234
Here is what it looked like after I quilted and ironed away the lines.  I love this pen!!!
After you have finished quilting, you need to measure the lining material again.  Sometimes it will shift when you quilt it, so pay attention here!  If you have 1 3/4" hanging off each edge, you need to fold over 1/2" and press.  If you have 1 1/2" hanging off each edge, you need to fold over 1/4" and press.  Basically, when you go to fold over your casing, you need at LEAST 1 1/4" before you sew it down for the measuring tape to fit in it!
After you have finished quilting, you need to measure the lining material again.  Sometimes it will shift when you quilt it, so pay attention here!  If you have 1 3/4″ hanging off each edge, you need to fold over 1/2″ and press.  If you have 1 1/2″ hanging off each edge, you need to fold over 1/4″ and press.  Basically, when you go to fold over your casing, you need at LEAST 1 1/4″ before you sew it down for the measuring tape to fit in it!
Take one of your squares and fold into a triangle and press.  Do this one more time and you have your outside tabs that lay under the casing.
Position the tab 3/4" from the top of the outer fabric and 6" from the side.  Pin the casing over where you have 1 1/4" total.  Then stitch 1/8" from the folded edge to form your casing.
Position the tab 3/4″ from the top of the outer fabric and 6″ from the side.  Pin the casing over where you have 1 1/4″ total.  Then stitch 1/8″ from the folded edge to form your casing.
Cover the ends of your measuring tape with masking tape to ensure the sharp ends are covered.  This helps in the tape not snagging your fabric when you place it in the casing.
Be sure to place the measuring tape with the numbers facing the lining when you place it in the casing.  Scoot it down until it is about in the middle.
Pin your bag down with the lining on the inside and sew 1/8" down the sides.
Pin your bag down with the lining on the inside and sew 1/8″ down the sides.
Flip the bag inside out and create a french seam by sewing 1/4" down each side.  This will encase the raw edge and makes it look nice and finished!
Flip the bag inside out and create a french seam by sewing 1/4″ down each side.  This will encase the raw edge and makes it look nice and finished!
This next part is kind of tricky and is hard to explain, so check out the pictures if you are unsure.  You need to flatten the bottom part of the bag with the bag still inside out.  Pinch the corner and sew a line across where it looks like a small triangle.  This will make your bag sit up a bit!
Here is what the corner looks like when you are sewing it.
Sewing the corner boxes up the side and helps the bag stand up.
Turn the bag right side out and you have your snappy bag!

I made a ton of these for thank yous for my baby shower hostesses.  They turned out so cute and make the perfect makeup bag!  They all loved them and I am a pro at these by now!  They take a while to understand how to get them put together, but now I can whip one up in about an hour!

Here are some other ones I have finished…

IMG_6840

IMG_6839IMG_6838

IMG_6842

IMG_6843

Posted on Leave a comment

DIY Lined Dresser Drawers

Avery's beautiful dresser all made over!
Avery’s beautiful dresser all made over!

I am so pleased with the way the dresser came out for Avery’s nursery.  This is exactly what I had envisioned it to be.  A huge shout out to my amazing step dad for sanding this puppy down so my mom and I could paint it!  I must also say that chalk paint is amazing stuff!  I ended up keeping the hardware and giving it a metallic spray paint to get it a fresh look.  Replacing hardware can get really expensive and I am really happy with the way they turned out!  Thank you to my mom for spraying those for me since I am not allowed to use spray paint right now!

If you have not seen the before, here it is!  I was not a fan of the metal "tassels" that are on the top two drawers, so Troy took them off and plugged them up before we painted.  It is really hard to believe it is the same dresser!
If you have not seen the before, here it is! I was not a fan of the metal “tassels” that are on the top two drawers, so Troy took them off and plugged them up before we painted. It is really hard to believe it is the same dresser!

This dresser had been in the shop at the farm for awhile, so it took some good wiping to get the inside clean.  I really wanted the drawers to be painted on the inside, but the paint was just not soaking into the inside of the drawers like we wanted.  Of course, we had already tried it, so I had some fixing to do!  I went to my handy dandy pal Pinterest and started looking for ways to line the drawers.

I decided to do a Mod Podge lined drawer with fabric.  I looked for paper and wrapping paper first, but decided with the amount that I needed, it was actually cheaper to do fabric.  This project was super easy.  All I did was measure the sides from the inside down the outside of the drawer and from the front of the inside of the drawer to the very edge of the back of the drawer.  I am not going to post my measurements, because every dresser would be different.  I had a total of 3 pieces of fabric cut for each drawer.  Two for the sides and one for the bottom and back of the drawer.

First you paint a layer of Mod Podge on the outside of the drawer.
Line up your fabric piece and lay it down smoothing out any air bubbles.
Paint another layer of Mod Podge on top of the fabric to seal it in.
Then do the same on the top edge all the way down the inside of the drawer.  The piece should lay nicely right over and into the drawer.
Then do the same on the top edge all the way down the inside of the drawer. The piece should lay nicely right over and into the drawer.  After getting the material smoothed down, add another coat of Mod Podge on top of the fabric to seal it in.  Repeat on the other side of the drawer.
Then do the same thing with the bottom piece.  The only thing I did differently is not covering the whole back panel of the drawer.  You will not see it anyways!
Then do the same thing with the bottom piece. The only thing I did differently is not covering the whole back panel of the drawer. You will not see it anyways!  I also didn’t do the front part of the drawer as it was not necessary!
Add your sealant coat and wait for it to dry!
I am in love with the way this turned out!
And look at that "pop" of color when you open the drawer!
And look at that “pop” of color when you open the drawer!

Have I ever mentioned how much I love Mod Podge?  It never does me wrong and it always keeps things together better than you would imagine!  I am already planning my next Mod Podge project for the nursery, so check back soon!


Posted on Leave a comment

DIY Crib Teething Rail

Before deciding what bedding grandma and I were going to sew for Avery’s nursery, I did a lot of Pinterest browsing. As cute as bumper pads are, they say not to use them because of their suffocation risk so those were out. I did come across several blogs that had teething rails for when baby gets big enough to stand up in their crib. I guess the little boogers start gnawing on the edge of their cribs when they are teething! This is is not good as they put teeth marks in the crib, but they could also get paint chips in their mouth by doing so. I decided that making my own teething rails were a must! The crib we have is a 4 in 1 that transforms from crib to toddler bed, daybed, and eventually you can use the rails on a full size bed rail. I want this puppy to last!

DIY Crib Teething Rail

Materials

1.5 yards cotton fabric

Batting

Spool of coordinating ribbon

Instructions

First you need to measure the length of the front crib rail and add an inch. Avery’s crib rail measures 53″ so I cut 2 strips 54″x7″.  You will need a piece of batting cut 2″ less on the length and 1″ less on the width. This will help everything fit together nicely when we sandwich everything together. You will also need to figure out how many ribbon ties you want on the rail and how far apart you need them so they tie in between the rails nicely. I cut 12 10″ ribbon pieces for a total of 6 ties and they were spaced out between every 3rd rail opening.

Using a seam gauge, iron over your edges of the fabric strips over 1/2 inch all the way around.
 When you are finished, take your batting and tuck it into the folded seam all the way around one of the strips.
 When you are finished, take your batting and tuck it into the folded seam all the way around one of the strips.
 When you are finished, take your batting and tuck it into the folded seam all the way around one of the strips.
 Figure out where your ribbon ties need to be placed.  I spaced mine out in between every third rail. Be sure they are placed in at least 1/2 inch to make sure they get sewn in!  Place another ribbon parallel on the other side.
Place the other strip face down and pin.

Now top stitch 1/4″ all the way around the strips.

Tie onto the front crib rail and you are finished!  This was a very simple project and I am very happy with the end result!

Tie onto the front crib rail and you are finished! This was a very simple project and I am very happy with the end result!