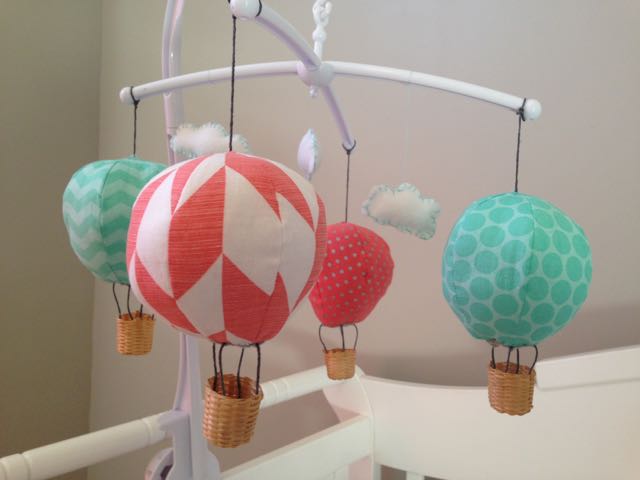
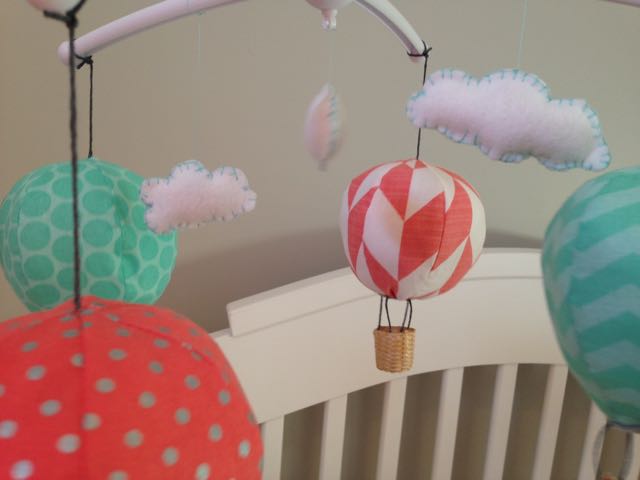
I just finished one of the sweetest projects for Avery’s nursery! I am obsessed with hot air balloons right now, so when I found a pattern for a hot air balloon mobile, I had to have it! I found the link on an Etsy store named CraftSchmaft. It is only $9 and well worth it! They even have bundles with the pattern and fabric panels! I chose to just get the pattern, since they didn’t have any that went perfect with my mint and coral theme.
I was a little nervous at first, because sometimes patterns scare me a little. It was really easy to follow along. The only thing I did differently was the baskets. The pattern calls for felt that you use embroidery thread to make look like a basket and you put it together yourself. I tried one and wanted a more authentic basket, so I went back to Etsy and found some miniature baskets that were PERFECT from loveitshabby2. Have I mentioned lately how much I LOVE ETSY?!
I also wanted something that moved around and had some music to it. I found a mobile arm with music box on Amazon.com. It plays “You are My Sunshine” which is one of my favorites! I was worried that the bars on my crib were not going to work with the part that attaches to the crib, so I had some ideas in case it didn’t. Luckily it fit perfectly and I didn’t have to worry about it!
Avery’s Hot Air Balloon Mobile
Check out a video of the mobile in motion at on my YouTube channel.
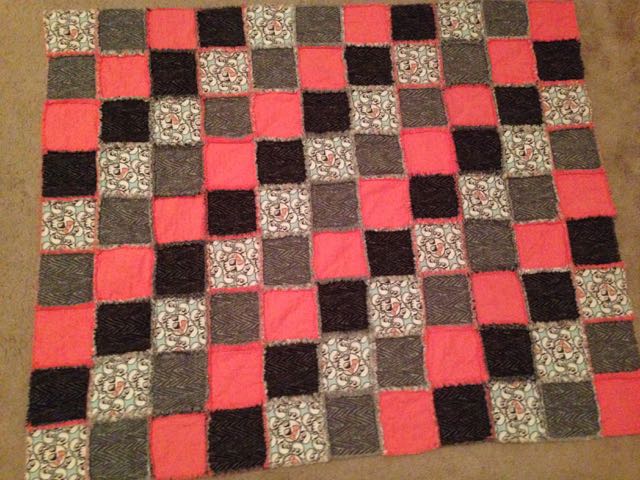
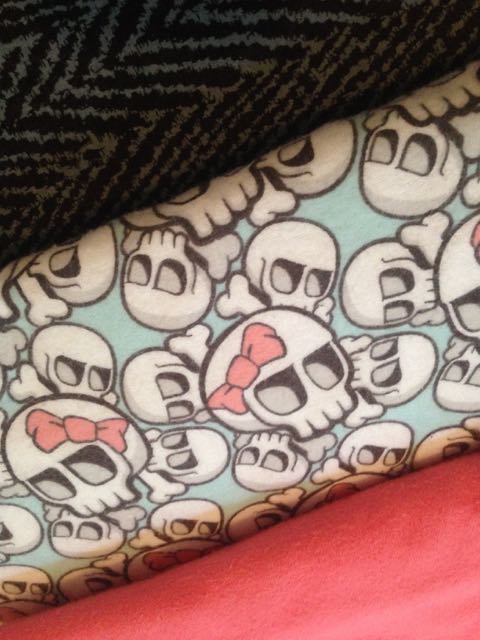
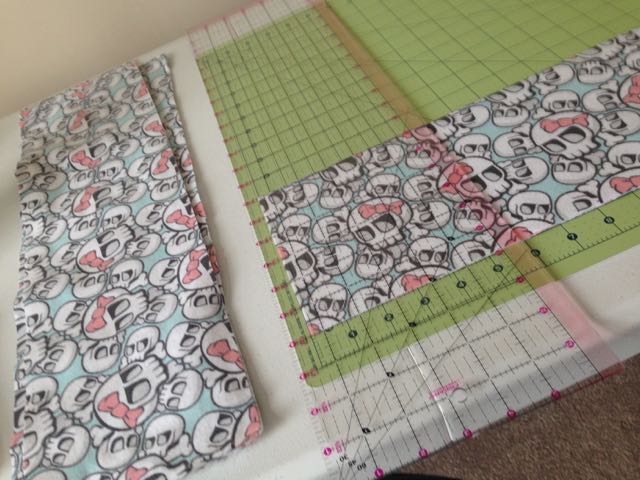
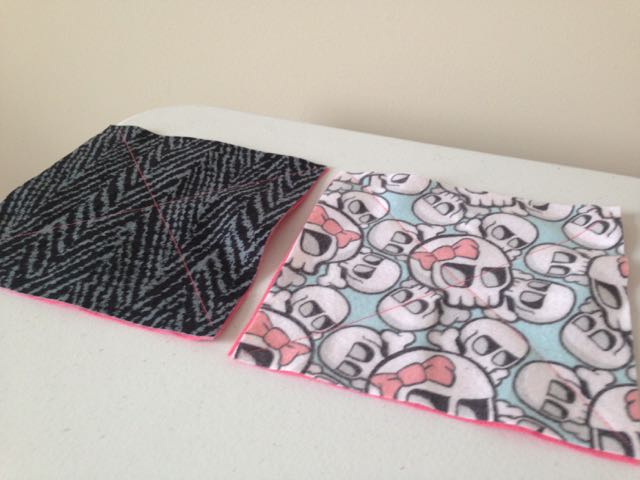
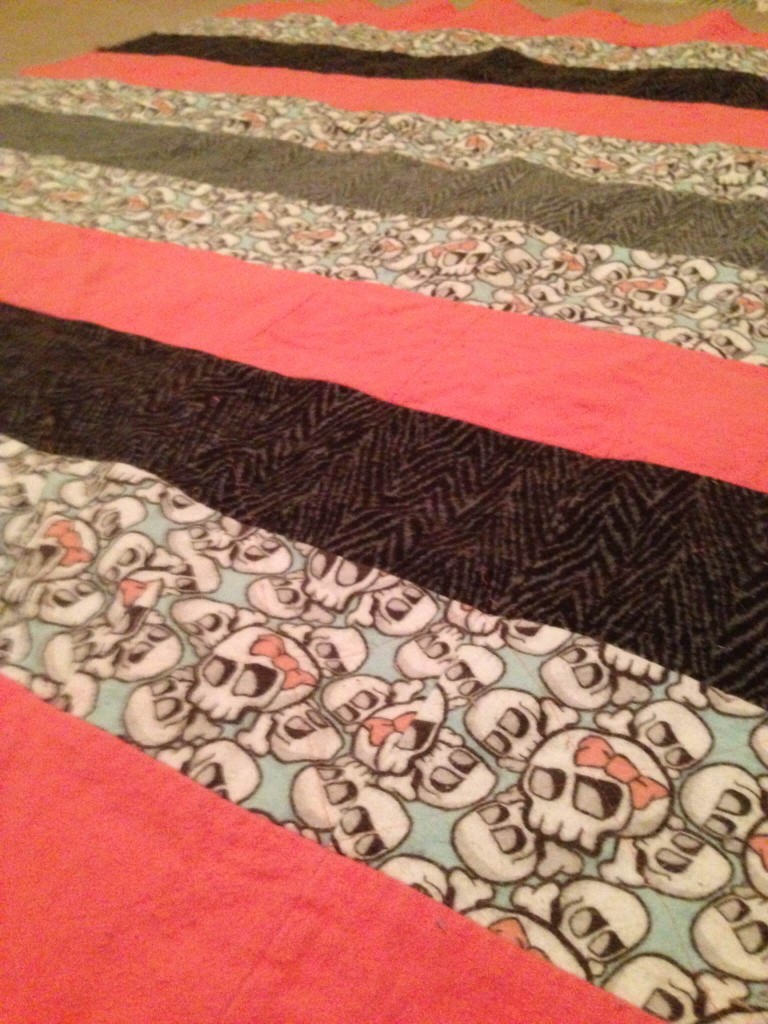
I posted a tutorial last month about how to make a flannel rag quilt using strips of flannel. This tutorial is a more advance version of the same technique. I was walking through the amazing flannel section at Joann’s and found the most adorable skulls with bows flannel and I had to have it! Alex loves skulls and since we are having a baby girl, I thought he would get a kick out of that fabric!
Skulls with bows!
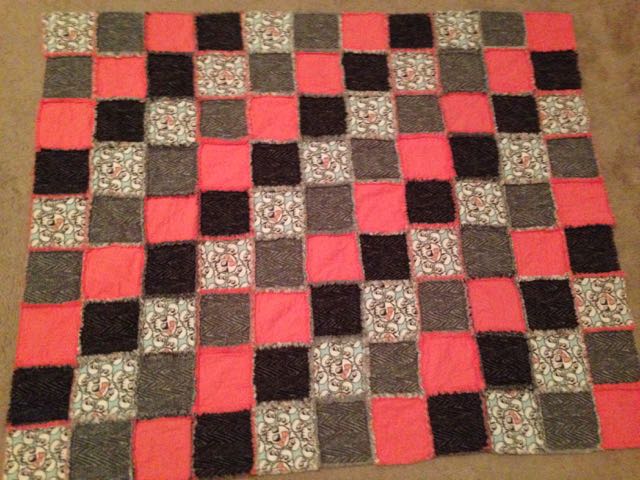
Now when I purchased the material, I only got 1 yard of each, because I was thinking I was just going to make a strip rag quilt. After I got home, I decided to challenge myself and do the square quilt. Since you cut the sides of each square all the way around, this was going to shorten my blanket quite a bit. I went back, and of course I could not find the black and gray chevron anywhere. I did find a gray chevron that was the same, just a much lighter shade. I ended up getting another yard of the skulls and pink flannel and one of the gray chevron. I probably could have got away with 1 1/4 yard of each material since I did 4 different fabrics.
Square Rag Quilt
Materials:
4 coordinating fabrics 1 1/4 yard each
rotary cutter and mat
sewing machine
2 spools coordinating thread (I ran out and had to get more, but this project takes a lot of thread, especially when you quilt an X through each pair of squares. I would have 2 just in case!)
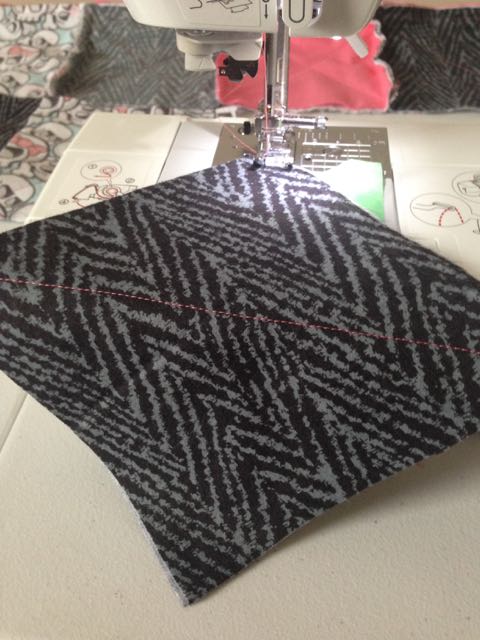
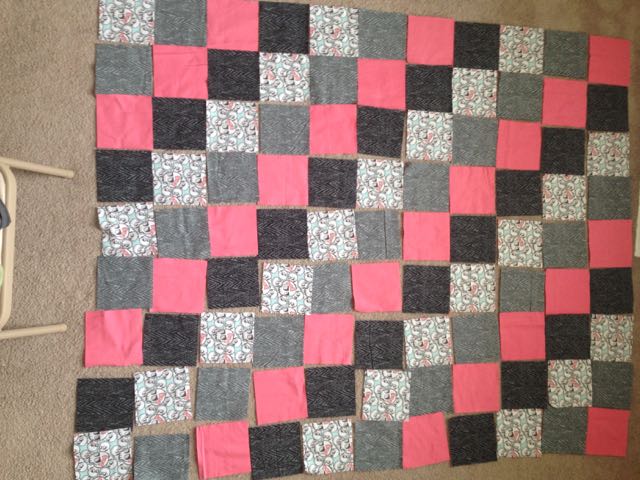
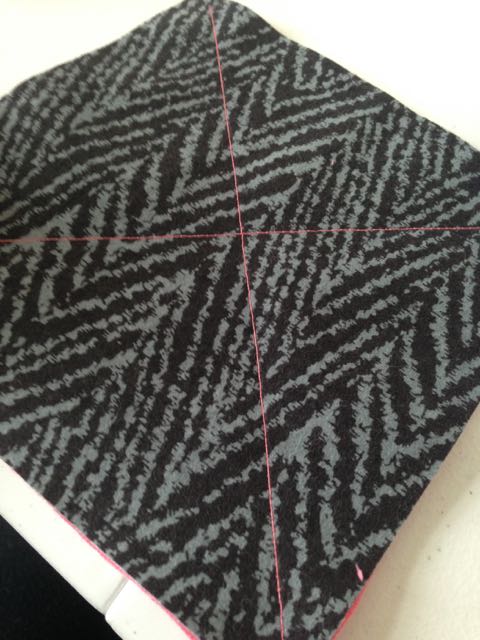
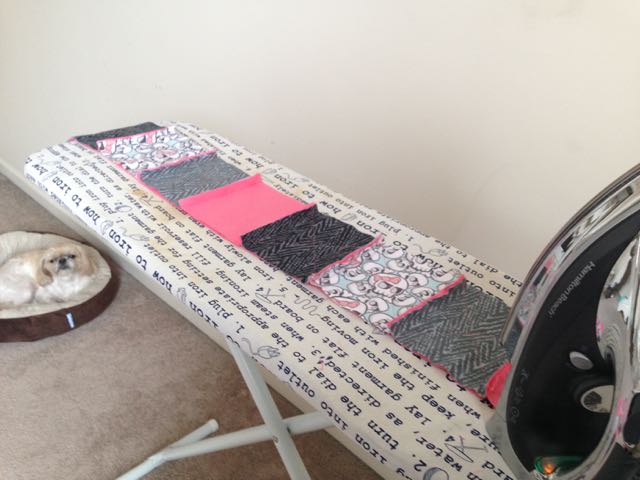
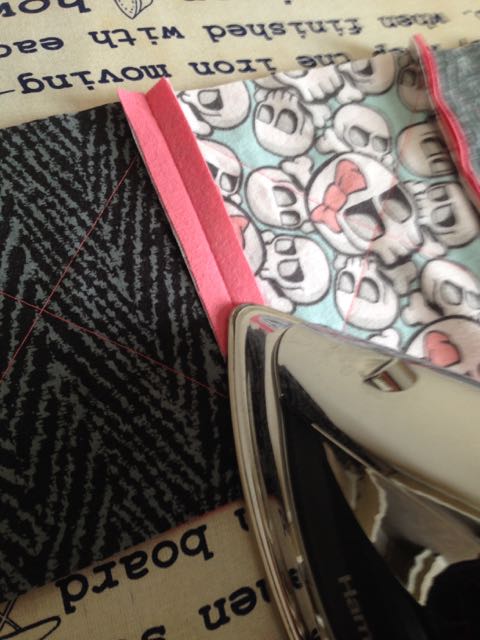
First, you need to cut your flannel into 6×6″ squares. I ended up folding the fabric in half and pressing it to get all the wrinkles out. Then I cut 6″ strips that I cut into 6×6″ squares. It makes it much easier when you have a rotary cutter and mat!After you cut out all of your squares, you need to lay out the pattern you would like your quilt to have on the front side.I ended up doing strips on the back side, and I was glad I did. It was hard enough to keep track of the pattern on front. Here I just laid out 9 of the same squares next to the front row it was coordinating with.Next, sandwich your front and back pieces and quilt an “x” on each one.I just used the table behind my sewing machine to lay them out in the order that they would be sewn into a row in.Once you quilt an “x” into each flannel sandwich in that row, put the back sides together and a 1/2 inch seam across. Sorry this is a terribly blurry picture, but you get the point.Now do the same to the next piece. Just remember you want that raw edge at the top so that your rag will all be on one side.Now press the seams open.This step is important when it comes to sewing the rows together!
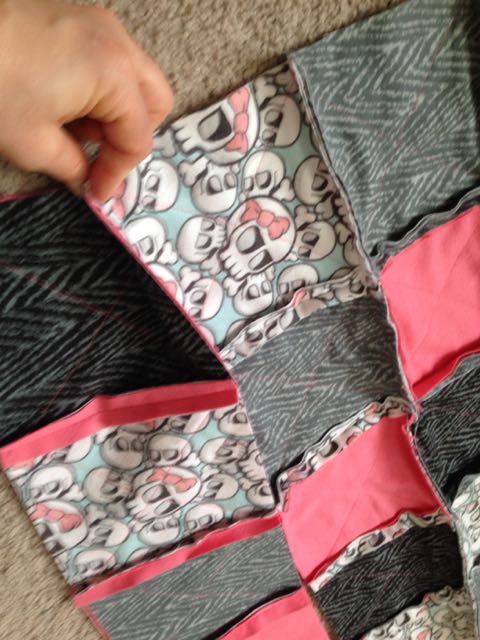
Continue doing this with each row until you have all your rows sewn. Then it is time to sew the rows together!
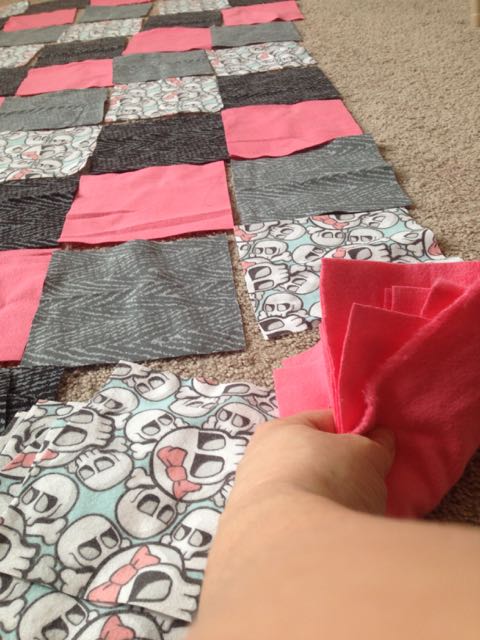
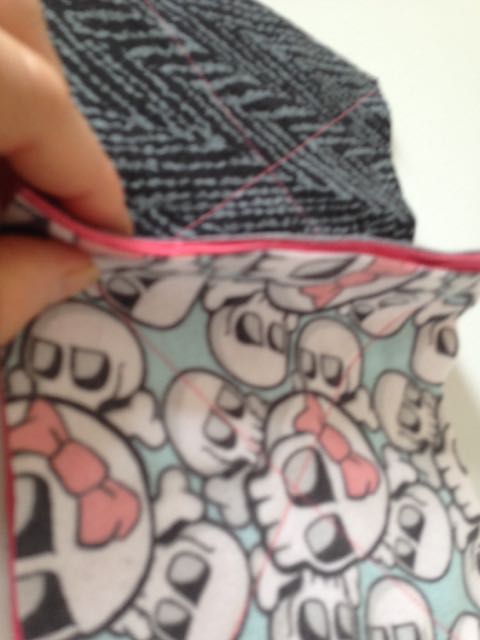
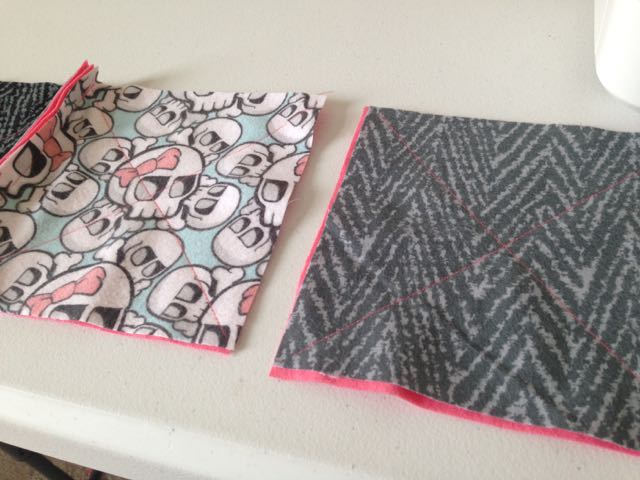
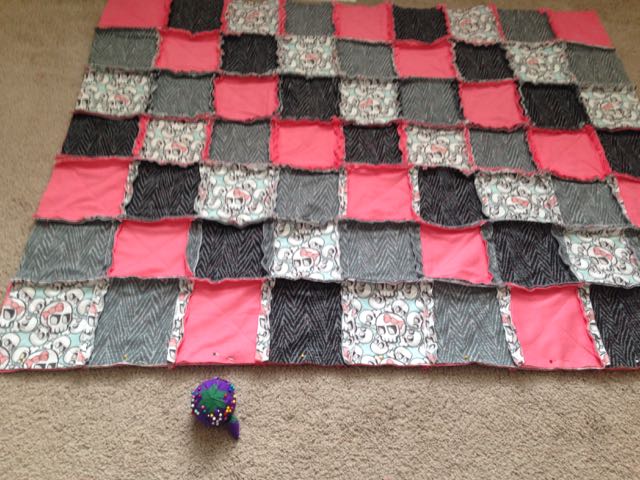
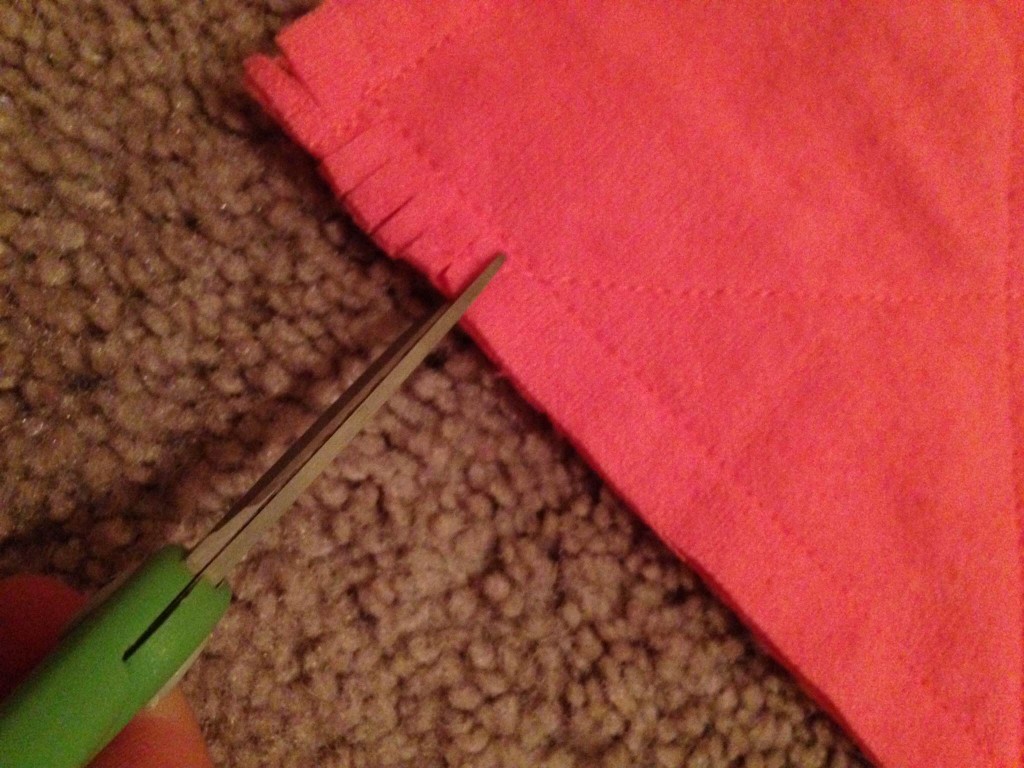
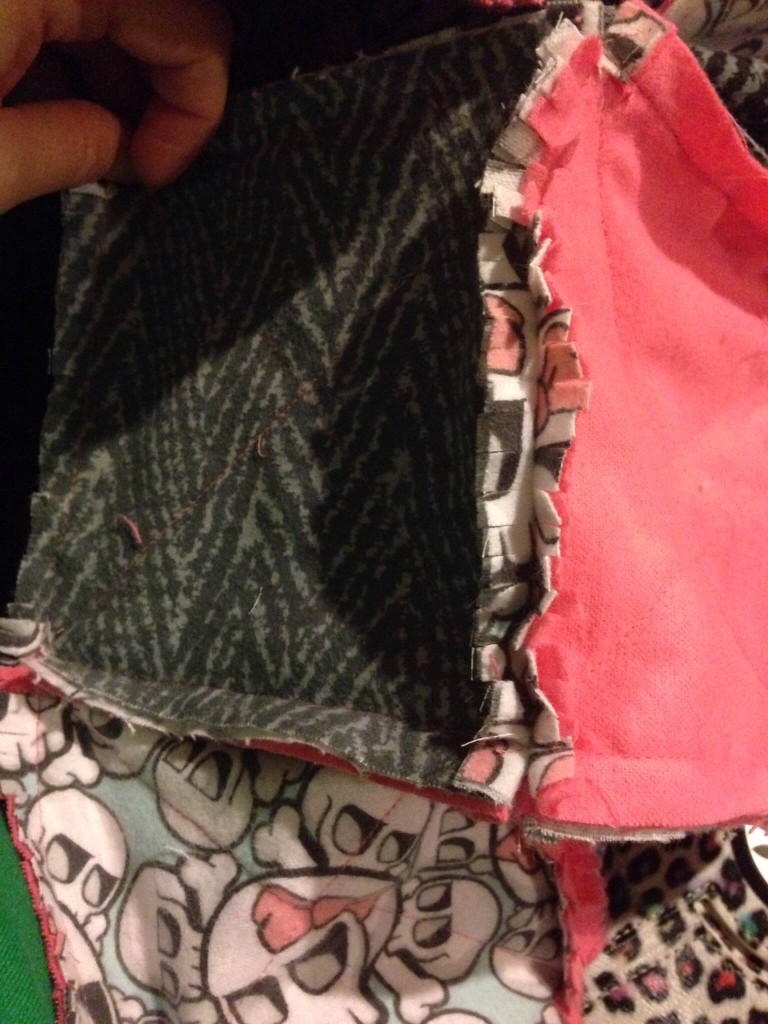
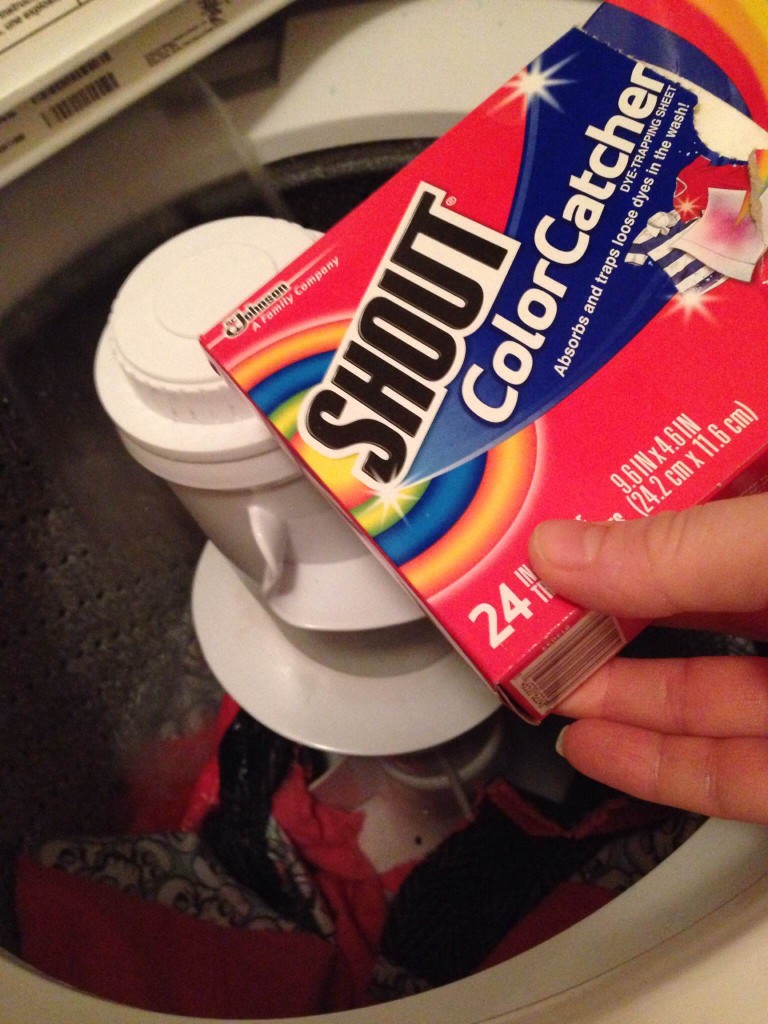
Now you do your rows the same as your squares. Make sure you get the raw side up. If you pinch them together like this, it will help you remember!I make sure to pin it good. This will help your rows not shift as you are sewing. I have my bottom sides together and pin all the way down.Once you get all the rows sewn together, make sure to square up the sides with your rotary cutter. Then starting at one side, sew a 1/2 inch seam all the way around the blanket pivoting at the corners.Now you need to get really friendly with your scissors. I usually would watch tv while I was doing this because it takes FOREVER. The result is worth it though, I promise!Do the same thing around every square.Once you have cut all your raw edges, it is time to wash! My grandma recommends to use a color catcher when you wash just in case your material bleeds. It would not be fun to ruin all that hard work!After you wash and dry the quilt, you will have to spend some time getting the pills off with a lint roller. I have gone through an entire lint roller on these blankets before. It is not fun, but once you are done it is totally worth it!Here is the back of my quilt! I am still in love with these skulls with bows!
Chloe and Mia think we are really setting them up a nice bedroom!
My Grandma Bloesser came down over my Spring Break and we sewed til we dropped! I had a long list of things to make and we sure got a lot done even though I was still recovering from being sick. Many people told me I was crazy for wanting to sew my own crib sheets, but I am so glad I did! They were so easy and fun to make! I have looked at crib sets that they sell out there and I can’t justify spending over $100 for crib bedding when they say crib bumpers and comforters shouldn’t even be used because of suffocation risks. All you really need is a few crib sheets to get you by. I love this because I got to shop for all my materials to coordinate in Avery’s nursery and it is coming together so beautifully!
DIY Crib Sheet Tutorial
Materials:
2 yards of fabric
80 inches 1/4″ skinny elastic
Sewing machine
Coordinating thread
Rotary cutter and mat
Directions:
Prewash your material and iron good before cutting.
Make sure to cut off your selvage edges before getting started.
Cut your material to 42×67″. Cut out a 7.5 x 7.5″ square from each corner. You can fold the material and cut two out at a time. We tried doing 4 the first time and they were a little off.
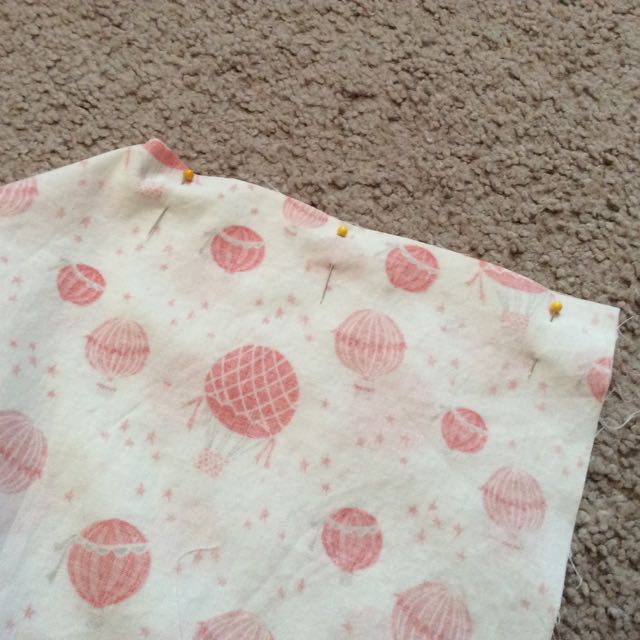
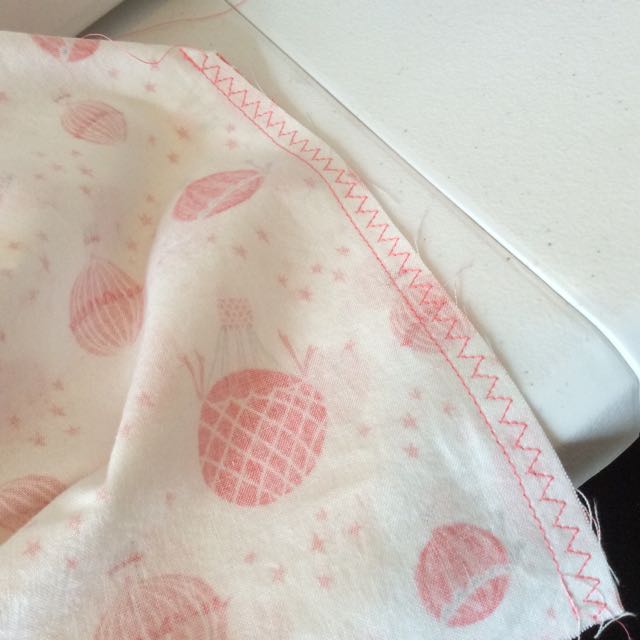
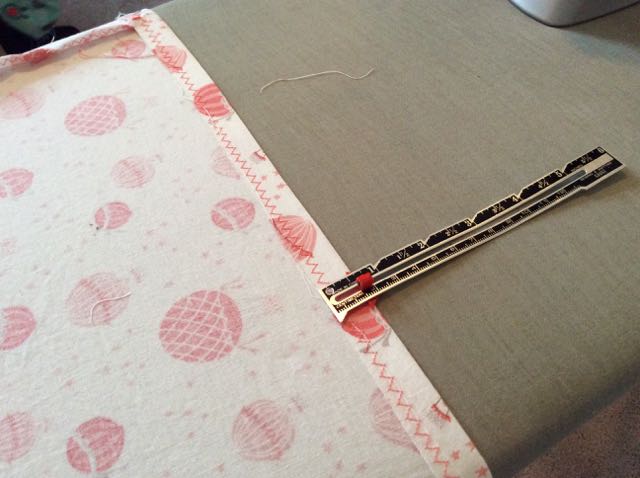
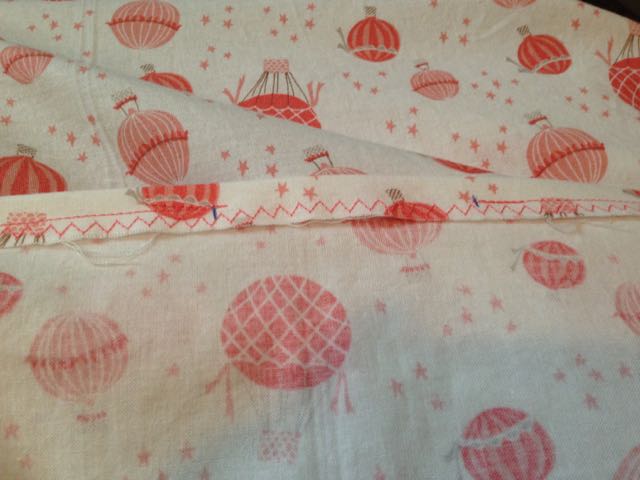
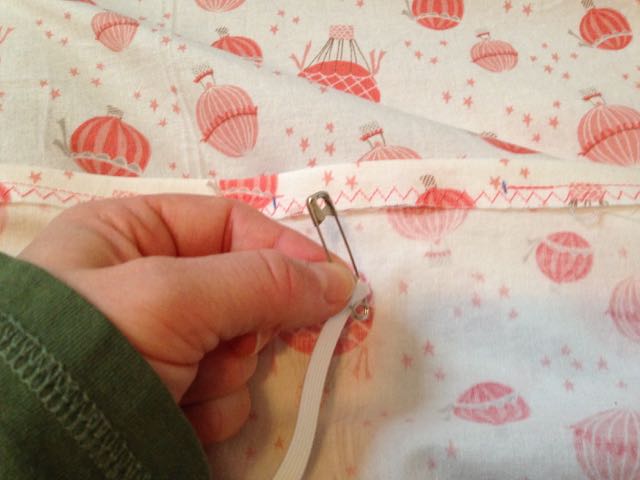
I used my Silhouette Cameo to cut out a good square to use over and over to avoid me having to measure over and over.Pin right sides together of each corner.I did a 1/2″ straight stitch and added a zig zag stitch in between to help with fraying.After sewing up all four corners, sew a zig zag all the way around the sheet. If you have a serger, you can just serge all around. Again, this will help with fraying.Using a seam gauge, fold over the edge all the way around the material at a 1/2″ seam.Leaving at least a 2″ gap from start to finish, sew a straight stitch with a 1/4″ seam allowance. Try to stay as straight as you can as this is the casing you have to push the elastic through.Use a safety pin and feed it through the casing all the way around.After you get through the end, stitch the elastic together. I did this a few times front and back to make sure it stays together!
Stretch out the elastic all the way around all the corners and voila! A crib sheet is made!
Here is my hot air balloon crib sheet complete with our ruffle crib skirt and teething rail!This is the crib sheet that Grandma Bloesser whipped up! I love the owls with the pops of coral in the material. So cute and custom too!
I will get more tutorials up over the next few weeks, so check back!
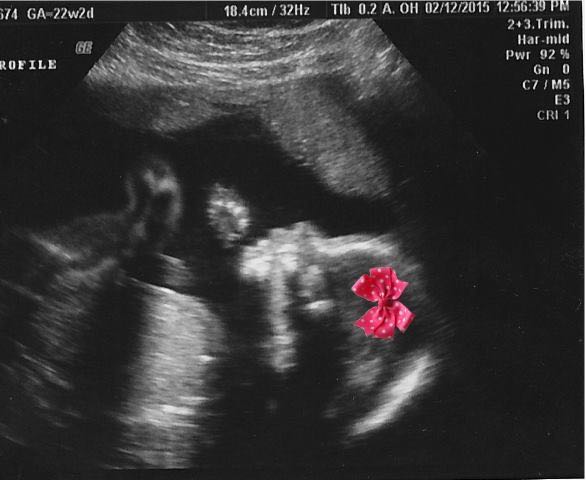
We actually found out back in November that we were expecting a little girl in June. I was only 11 weeks along, and there is a new blood test out there called Verify by Progenity. They test for chromosomal disorders and pulls the baby’s DNA right from my blood stream! I am amazed at what they can do these days! However, I was not buying anything until we had out 22 week sonogram to verify it! When the ultra sound tech asked us if we wanted to know or already knew, we told her we had the blood test and she said it is about 99% accurate. I still wouldn’t tell her what the result were because I wanted her to look herself and sure enough…it’s a girl!
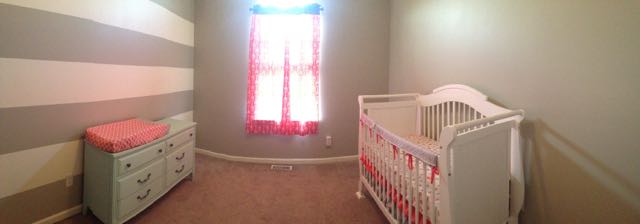
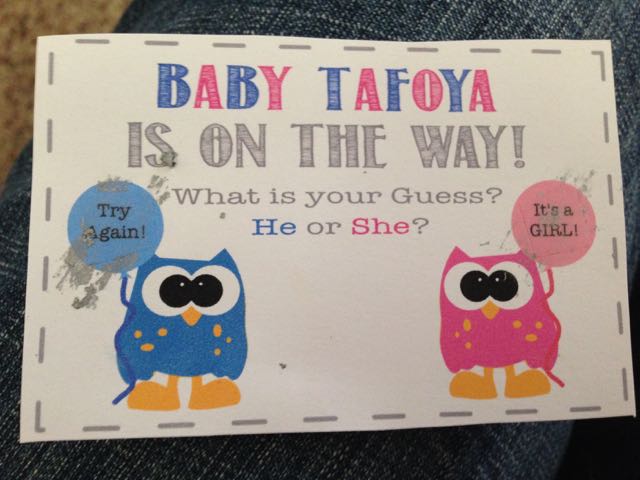
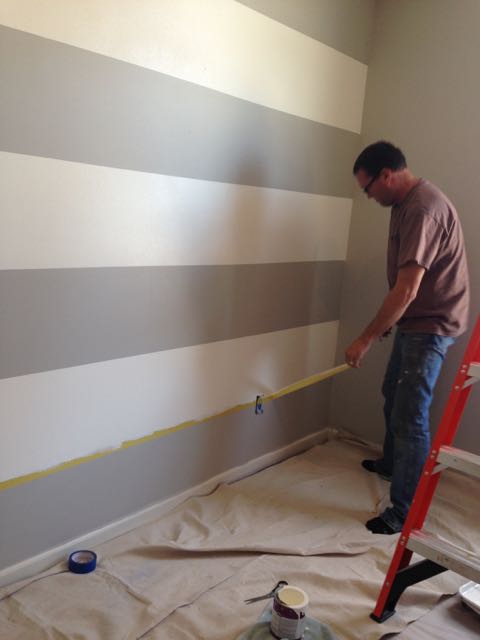
These are the scratch off tickets we used to let my family in on the sex of the baby! They were fun, but the ladies were screaming , “It’s a girl!!” before some people even got them scratched off!These are the scratch offs we made for Alex’s family. He wanted something more complicated. I put all the letters for girl along with a b and y, they had to scratch them all and spell either “girl” or “boy”Here is the room before we got started. This was the spot for my beloved craft room, but it is time to start making room for our baby!My wonderful mommy and amazing stepdad came down over the last weekend of my Spring Break and helped us paint the nursery.
No one understood why I wanted gray walls for a nursery. They didn’t understand my vision of an accent wall with white stripes, but it turned out so beautiful! I guess mommies just know best!
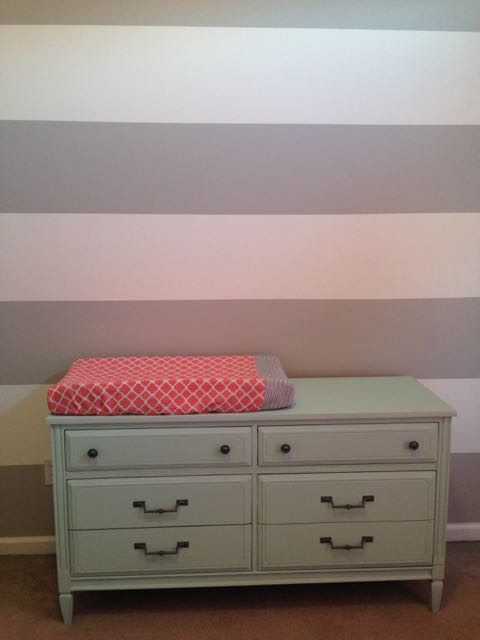
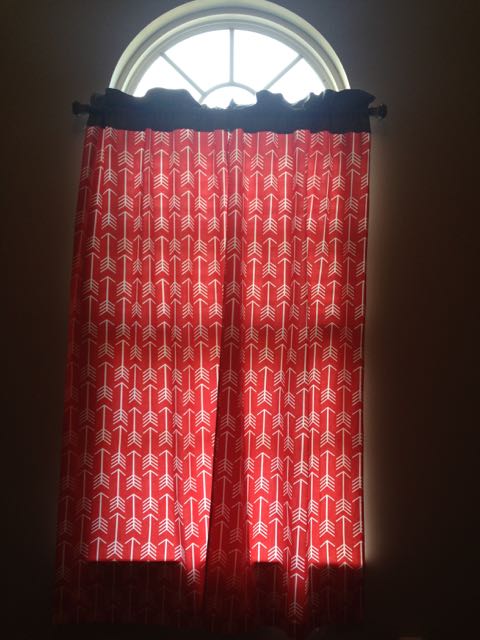
This dresser was my brothers when we were little. It has been in my stepdad’s shop as his tv stand for the past few years. It looks like a hot mess here, but you will be impressed to see what it looks like now. Troy sanded it down and we cleaned it up. I wish we would have gotten a picture of it sanded, but we were too excited to start painting!Look how beautiful it turned out! That chalk paint is some amazing stuff and it is just the right shade of mint! I am using this as my changing table, and on top is my changing pad cover that I sewed when Grandma Bloesser was here last week. Too adorable! I love it! And look at that beautiful accent wall! We even used the same knobs, just spray painted them with some metallic gray spray paint.Here are the adorable coral arrow curtains my grandma and I whipped up! They are the perfect touch!Here is my hot air balloon crib sheet complete with our ruffle crib skirt and teething rail!
A huge shout out to my mom for buying us this beautiful crib! It is so beautiful and we really appreciate it! I can’t wait to get that baby in that crib…Hurry up June!!! Also, thank you Troy for all your hard work sanding that dresser and painting the nursery. Thank you grandma for helping me sew all the pretties for Avery’s nursery! As you can see, grandma and I were super busy sewing this week! I will have tutorials on some of these things coming up on the blog over the next few weeks, so check back! I am so excited to get in there and start adding all the special touches!
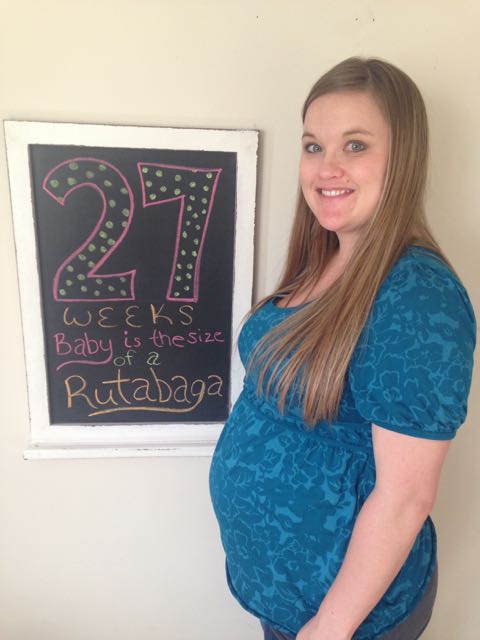
27 weeks this week! I am really starting to feel those swollen feet!Alex sporting the “sympathy belly” at our childbirth class. He said it really pushed on his bladder! Well at least they made them feel a part of it!