
My grandma makes the most amazing baby blankets and she taught me how! Every time my mom needs a gift for a shower, she asks her to whip one up. They turn out so soft and cozy! Little did she know how much work they are! They are simple, but time consuming. Nonetheless, they are the perfect gift for a new baby. They are also a bit bigger than a traditional baby blanket, which is something I really like about them.
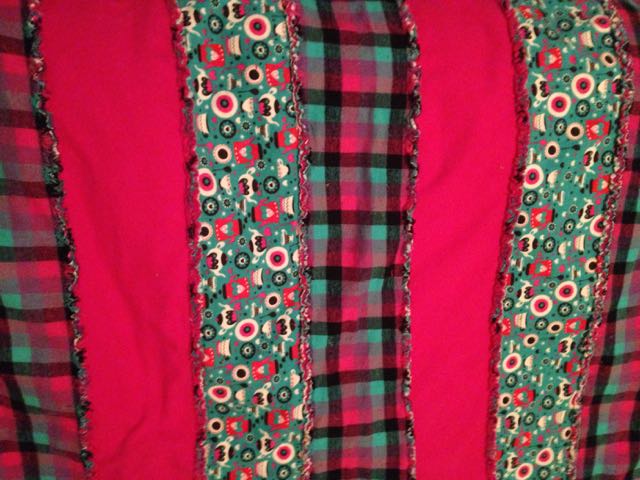
Here are a few that I have whipped up for a few friends of mine:


Materials:
3 different flannel fabrics that go together: 1 yard each
Scissors
Rotary Cutter & Mat
Sewing Machine
Thread
Color Catcher
Lint Roller
Instructions:
The first thing you need to do is cut 7″ strips of fabric. To do this, iron your fabric in half the way it comes off the bold. This helps you cut the strips easier because it is folded. Using a rotary cutter, cut 7″ strips on the fold of the entire yard of each fabric.
After getting your strips cut, iron each piece to get the middle fold out. Now, you need to place the strips in the order you like for the front and back of the blanket. You can put the same pieces together, or piece them differently on the front and the back. The front pieces are going to be the part of the rag quilt that is frayed. The inside will not be frayed and that is where you wrap the baby! I usually figure out how I want the front first and then the back.

Take the first strips of the pattern for front and back and put them together. Since it is flannel, usually both sides are the same so it doesn’t matter which way you lay them together. If you have a flannel that is only printed on one side, put the wrong sides together. Pin all the way on one side. Sew a good 1/2″ seem all the way down one side.

Next, place the two pieces your just sewed on bottom, with the back side up. Place the next back strip and the front piece on top.


Basically, you keep adding to the last pair of strips all the way until you run out of strips. REMEMBER: Make sure that your back strips are facing each other with the new front strip on top. When you are pinning, you should be pinning on the top strip because that is the one you will cut to fray. When you have all the pieces together, you will sew the last two strips together and use your rotary mat and cutter to even up the sides. Don’t worry about cutting through the sewed parts. When you have squared up the edges, you need to press the seams flat and sew a 1/2″ seam all the way around the blanket.
After you have sewn the seam all the way around the blanket, you are ready to grab your scissors and sit down in front of the tv, because the next part takes some time! I am not sure why I didn’t get a picture of this, but you are going to cut every 1/4″ all the way down the rows and outside of the blanket. Take your time and don’t cut the seam, just close to it!
After you have cut down the rows and on the outside edge around the blanket, you are ready to wash! My grandma always recommends throwing a color catcher sheet in, just in case so if your fabric bleeds, it doesn’t ruin your final product. Wash the blanket and dry it being ready to clean out that lint trap a few times! When it rags, you will have little bitty threads everywhere! The blanket will pill a bunch, so I suggest getting friendly with your lint roller and be ready to use a ton of sheets to get them all! After you are finished, you have a beautiful rag quilt for baby!

