
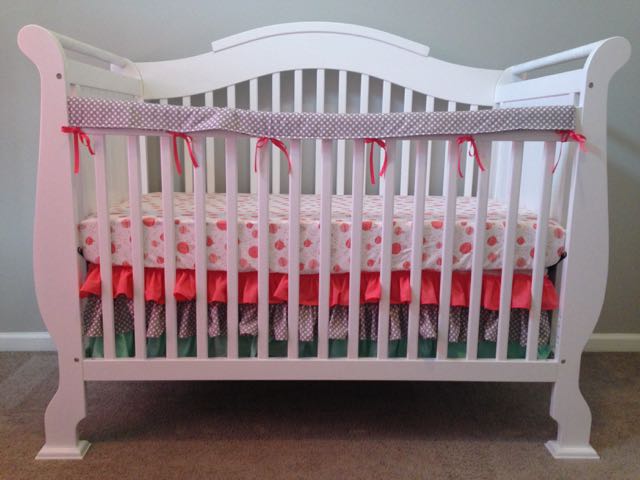
Before deciding what bedding grandma and I were going to sew for Avery’s nursery, I did a lot of Pinterest browsing. As cute as bumper pads are, they say not to use them because of their suffocation risk so those were out. I did come across several blogs that had teething rails for when baby gets big enough to stand up in their crib. I guess the little boogers start gnawing on the edge of their cribs when they are teething! This is is not good as they put teeth marks in the crib, but they could also get paint chips in their mouth by doing so. I decided that making my own teething rails were a must! The crib we have is a 4 in 1 that transforms from crib to toddler bed, daybed, and eventually you can use the rails on a full size bed rail. I want this puppy to last!
DIY Crib Teething Rail
Materials
1.5 yards cotton fabric
Batting
Spool of coordinating ribbon
Instructions
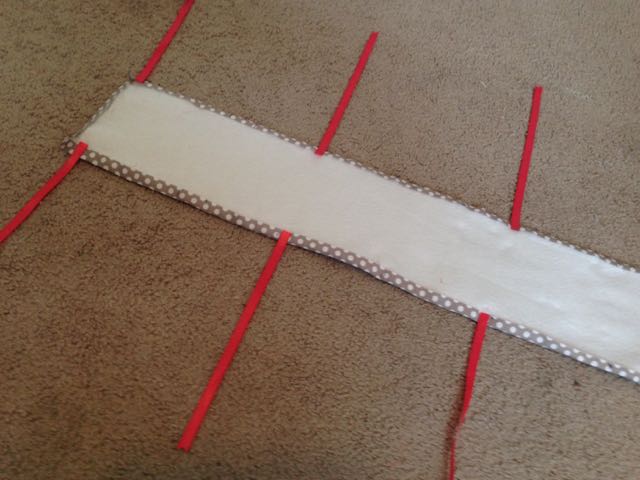
First you need to measure the length of the front crib rail and add an inch. Avery’s crib rail measures 53″ so I cut 2 strips 54″x7″. You will need a piece of batting cut 2″ less on the length and 1″ less on the width. This will help everything fit together nicely when we sandwich everything together. You will also need to figure out how many ribbon ties you want on the rail and how far apart you need them so they tie in between the rails nicely. I cut 12 10″ ribbon pieces for a total of 6 ties and they were spaced out between every 3rd rail opening.
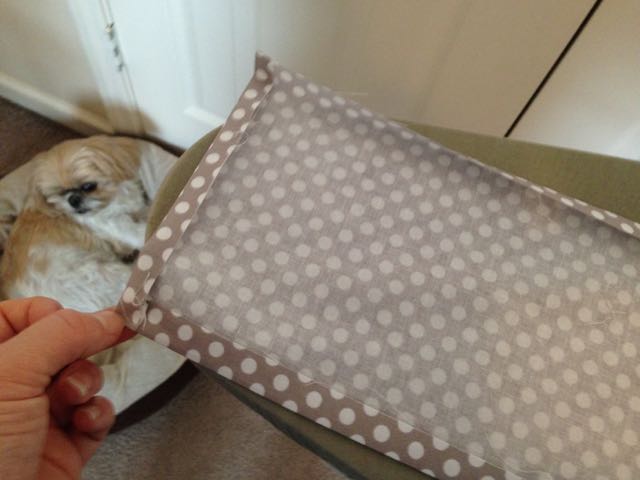
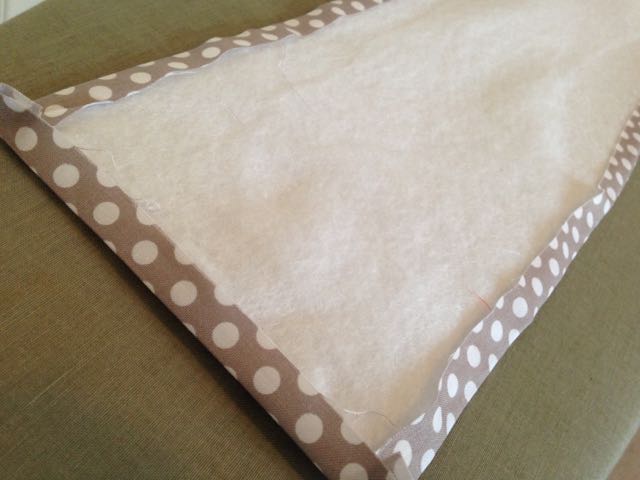

Now top stitch 1/4″ all the way around the strips.
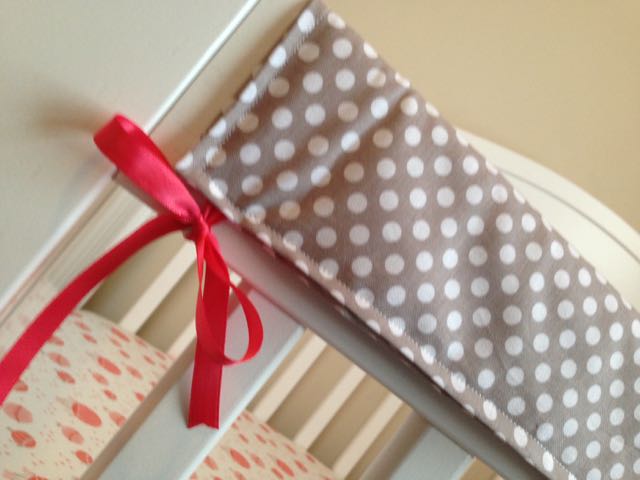
Tie onto the front crib rail and you are finished! This was a very simple project and I am very happy with the end result!