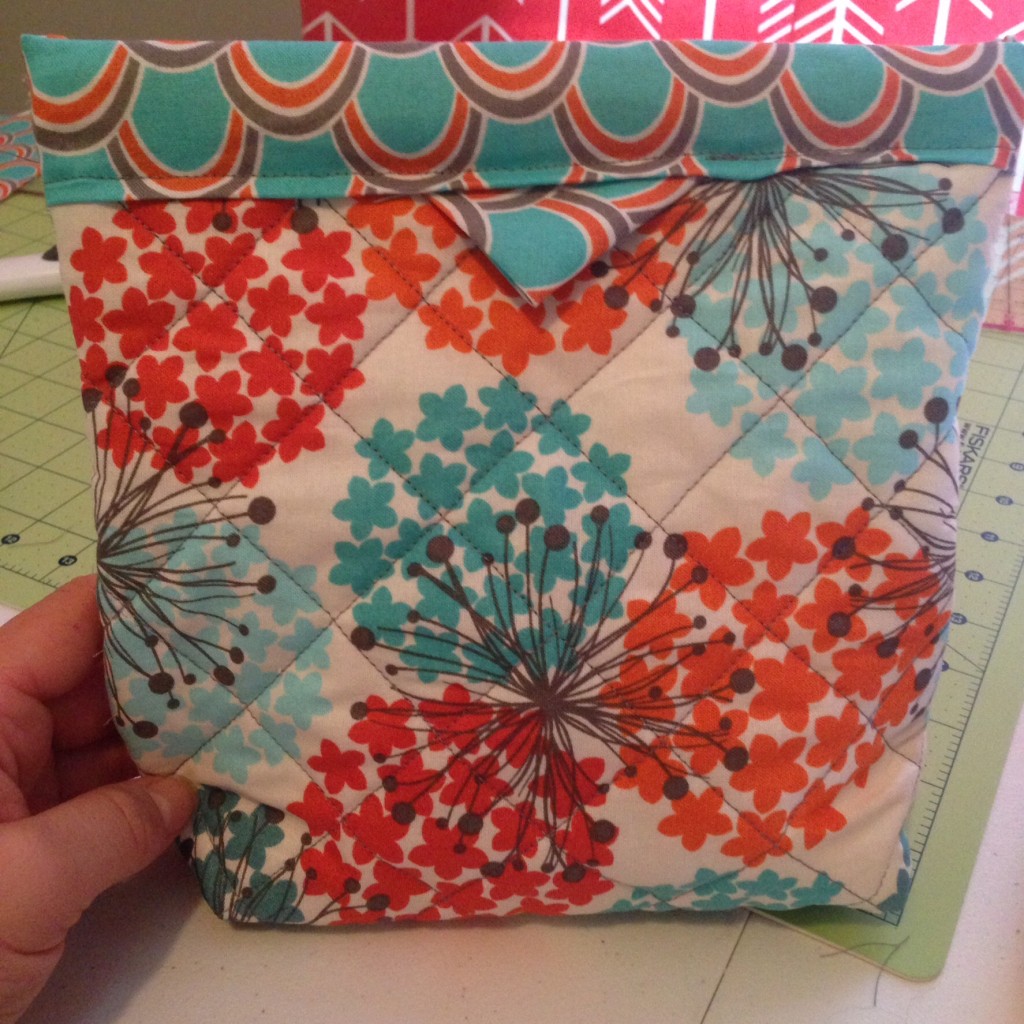
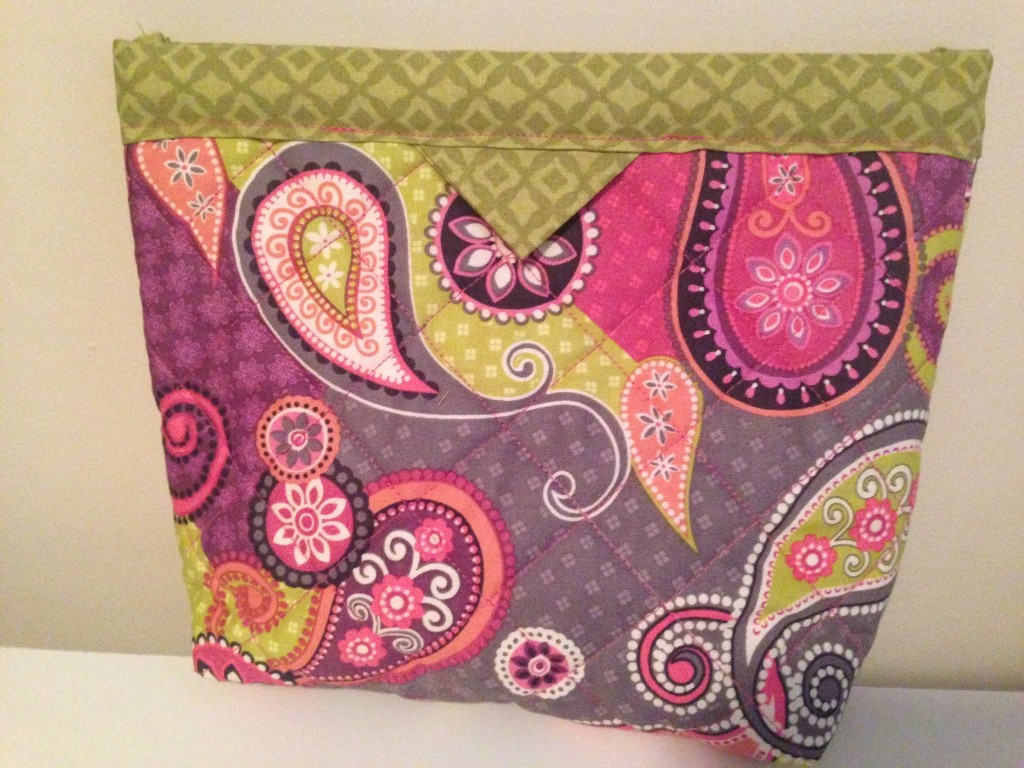
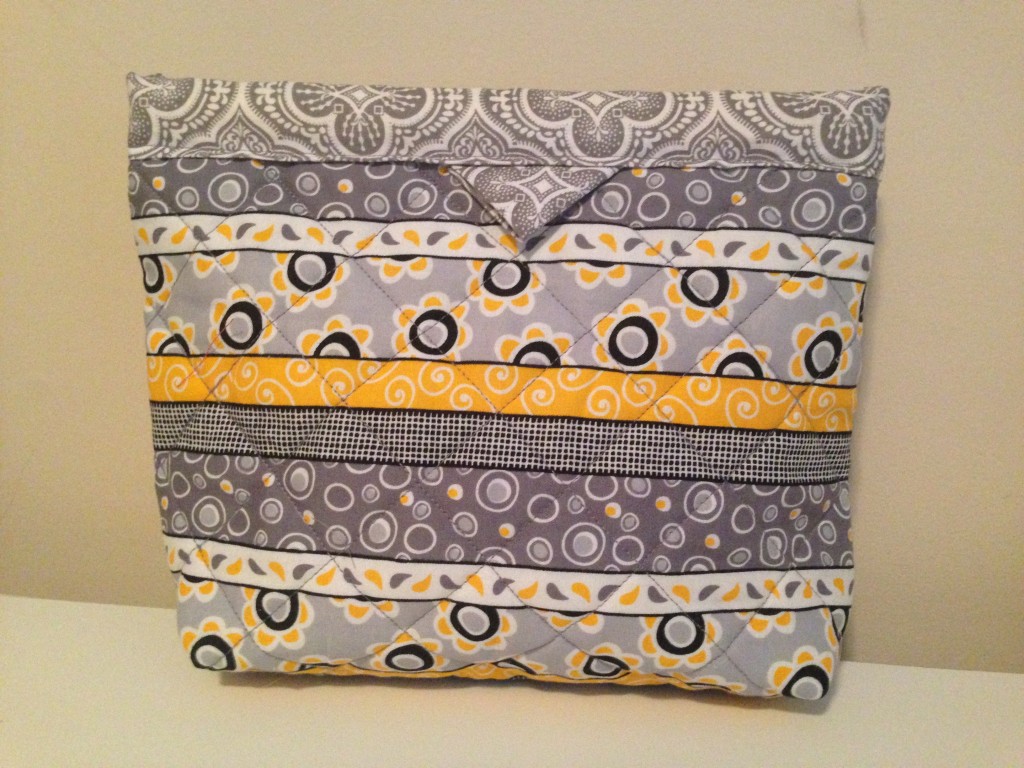
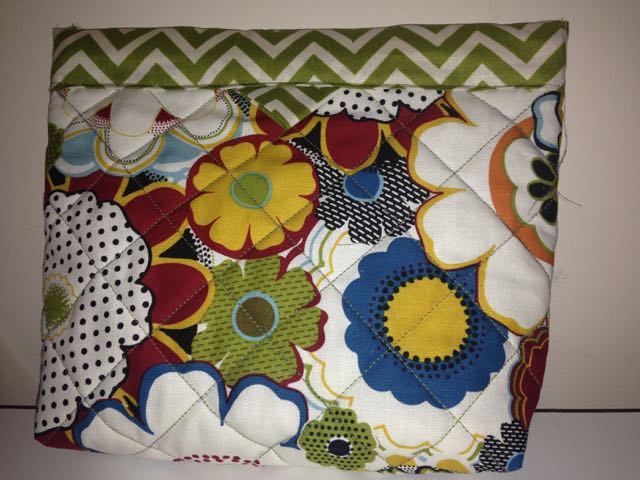
These bags are too much fun! We are just finishing them up in the Sewing class that I am doing my long term substitute position for the rest of the school year. The kids have enjoyed making them and I have too!
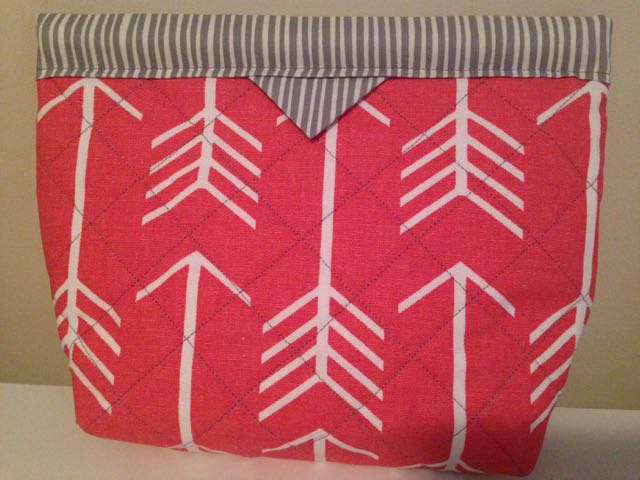
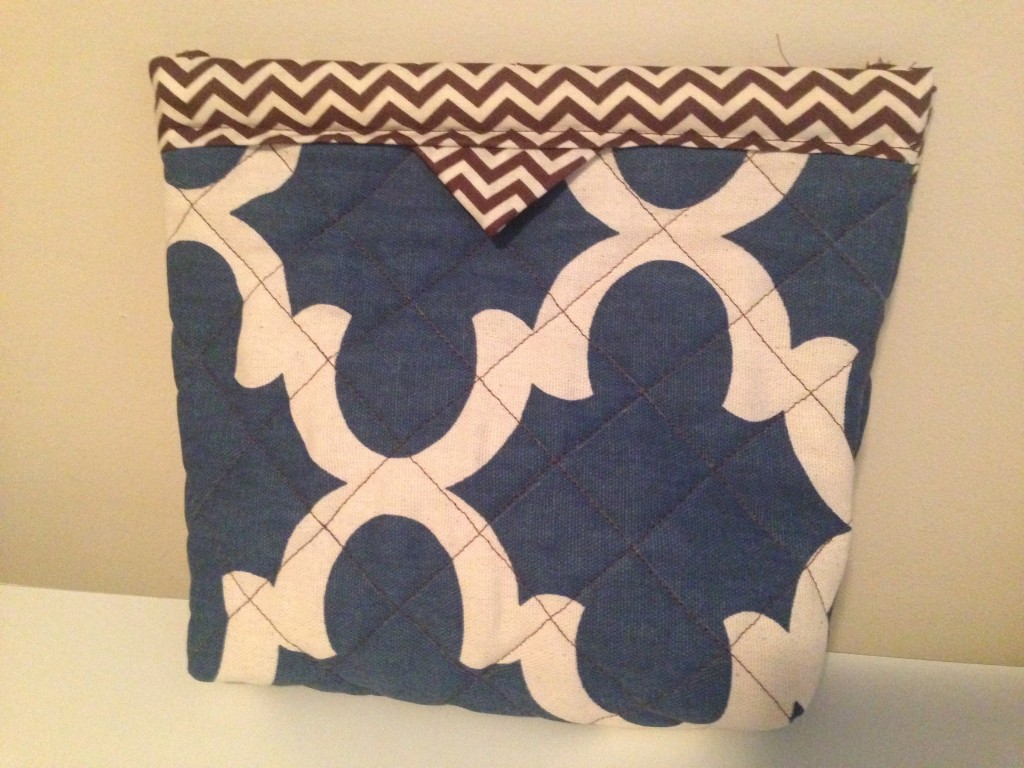
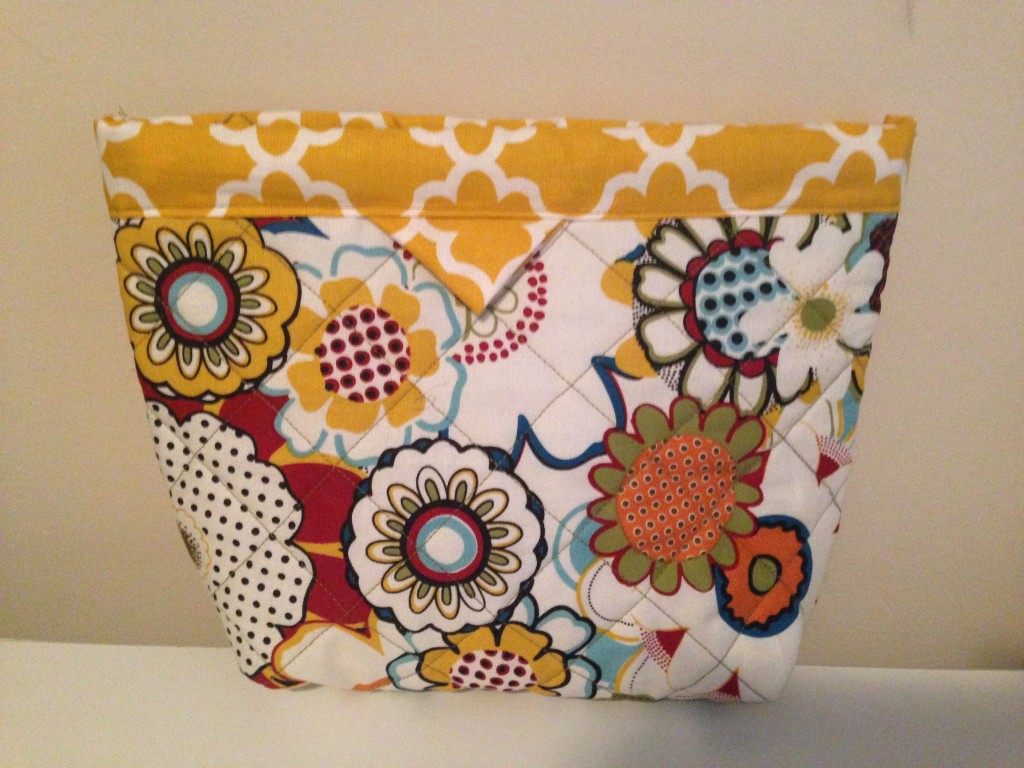
Snappy Bag
Materials:
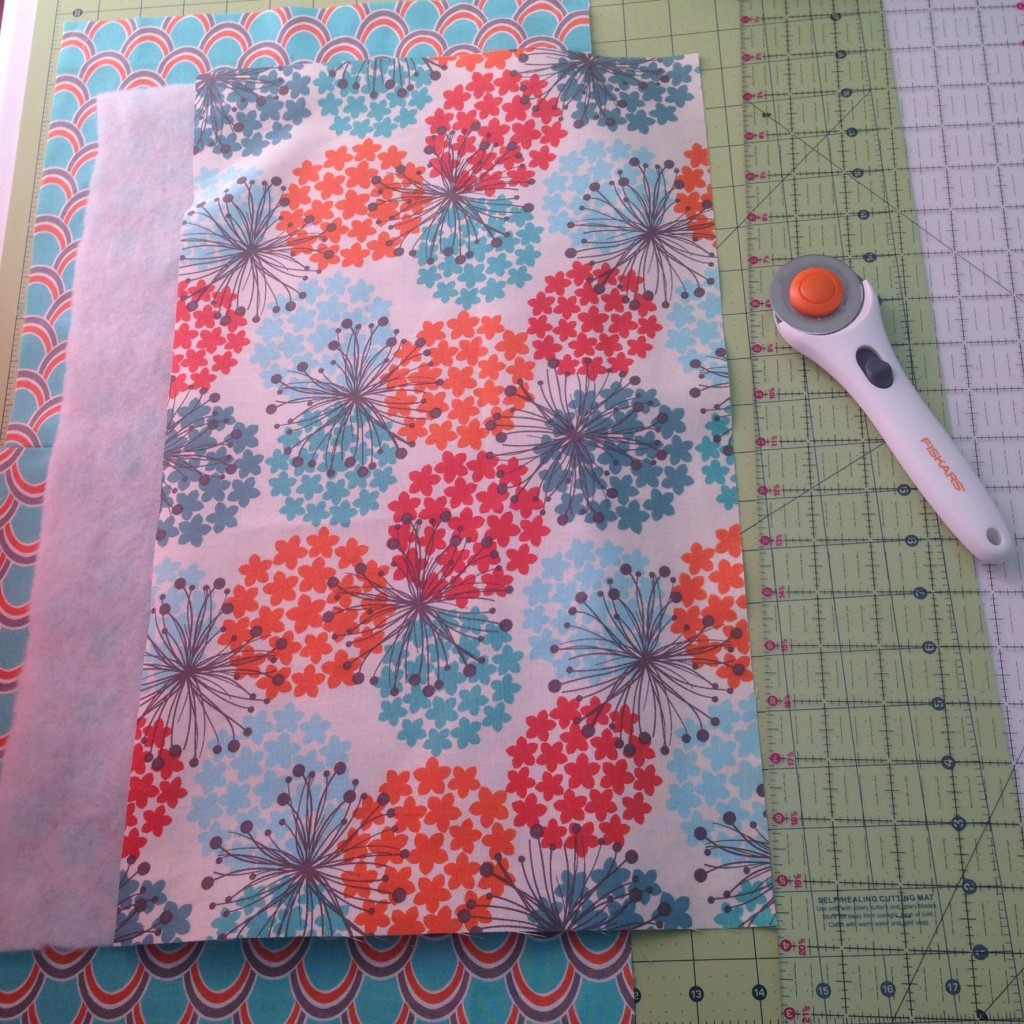
12 x 18″ outer fabric
12 x 18″ batting piece
12 x 21.5″ liner fabric
2 squares measuring 3.25″
Coordinating Thread
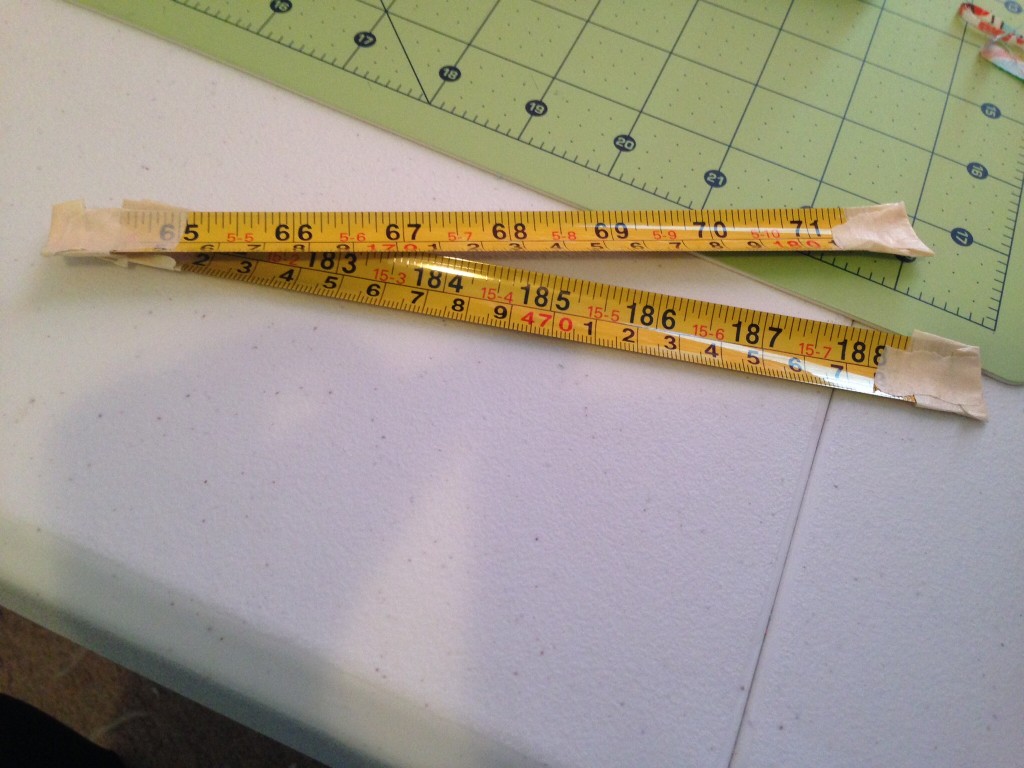
2 pieces of tape measure each 9.5″
Instructions:
I forgot to cut the squares out until later. Here is what you need to start out with.
Sandwich your fabrics together with the liner fabric right side facing down, then the batting, then the outer fabric right side up. You have to make sure to line the batting and outer fabric to where there is 1 3/4″ on each side. Then pin in the corners.
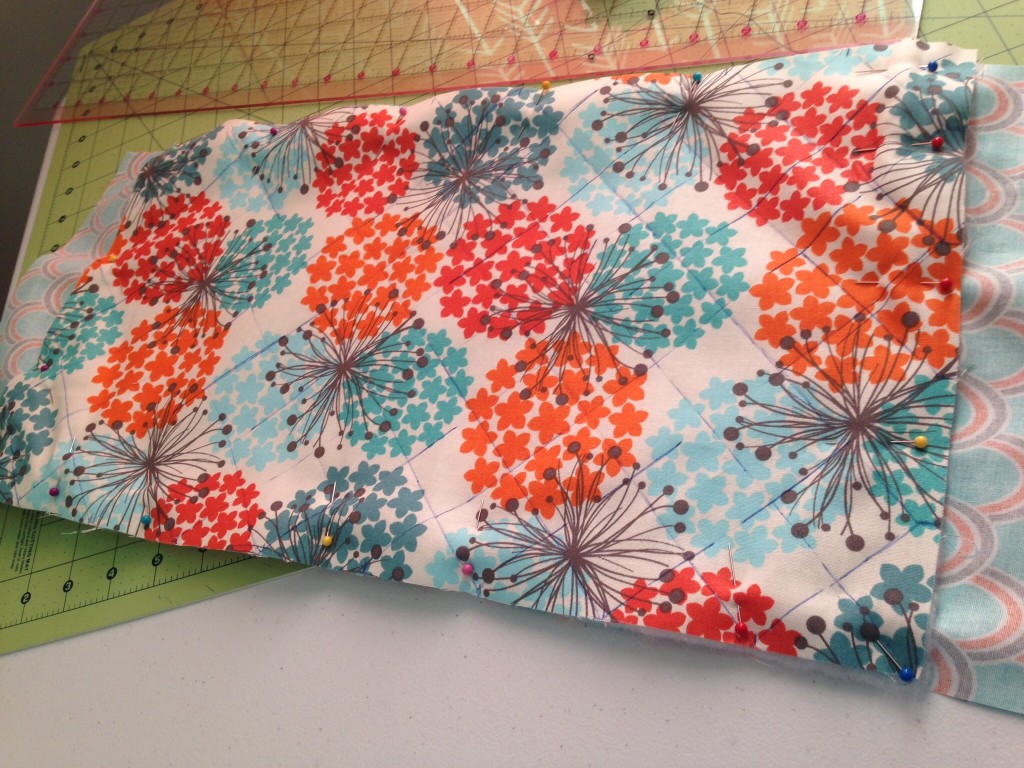
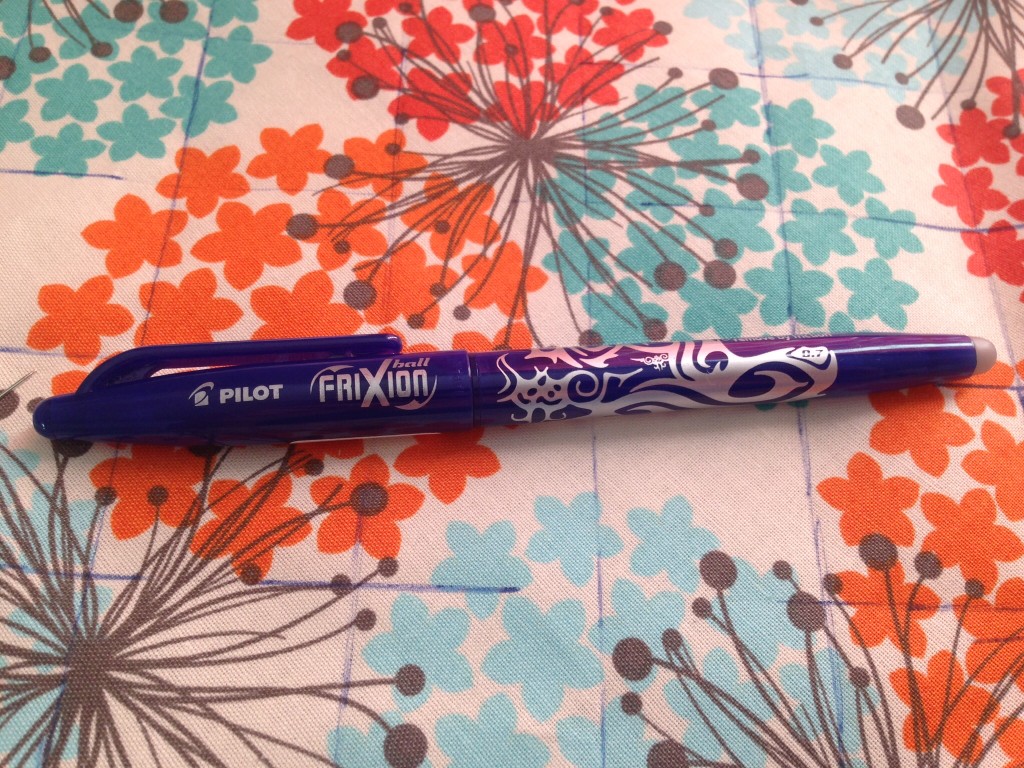
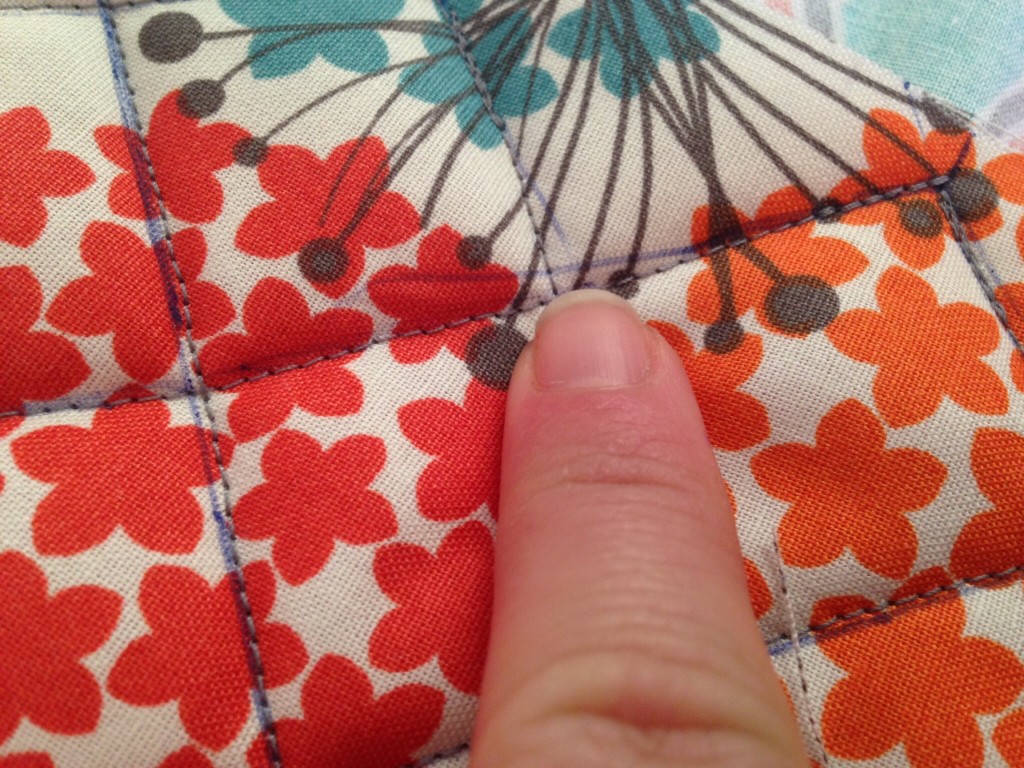
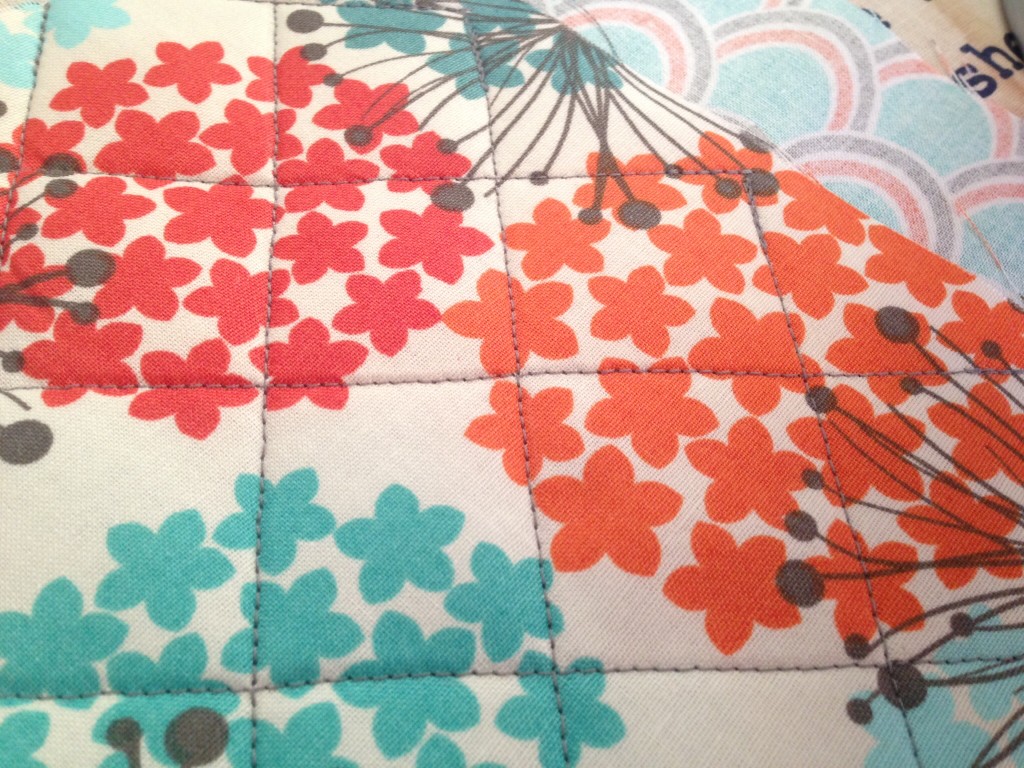
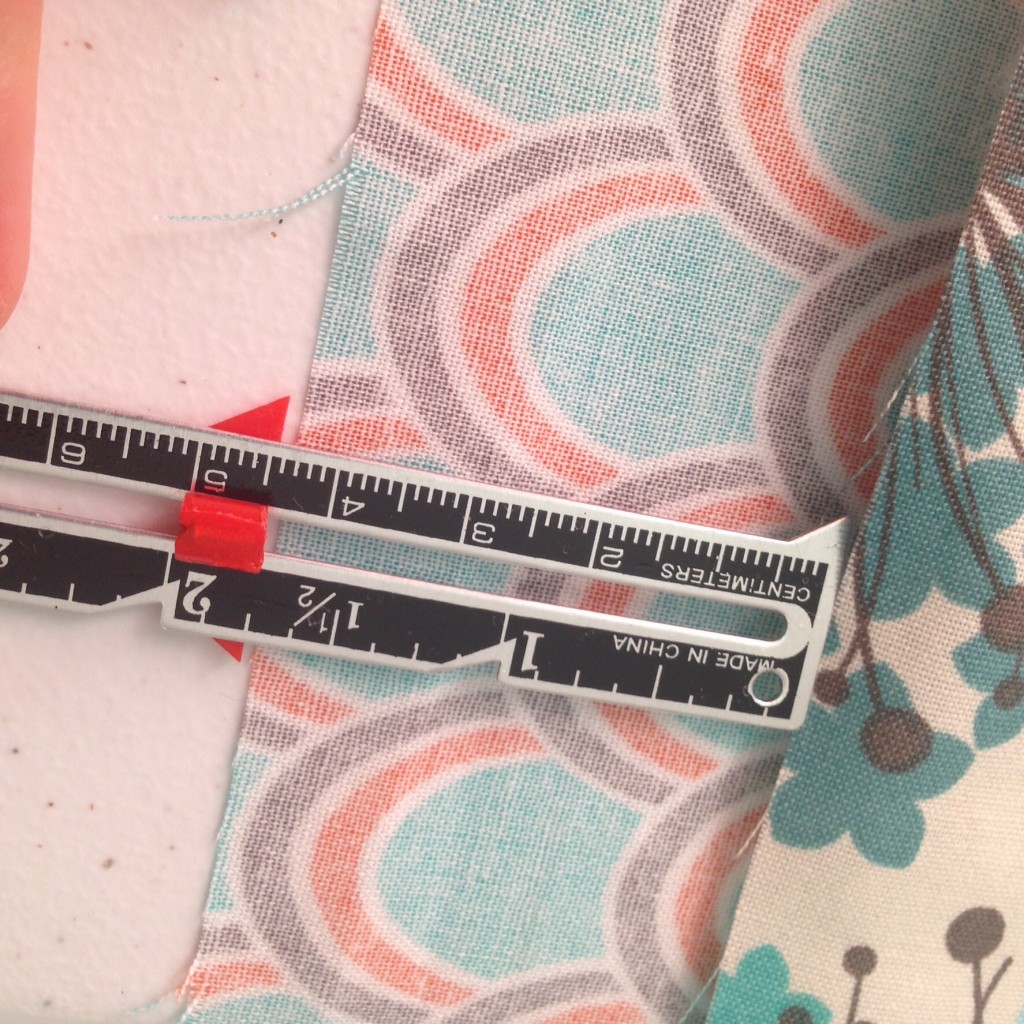
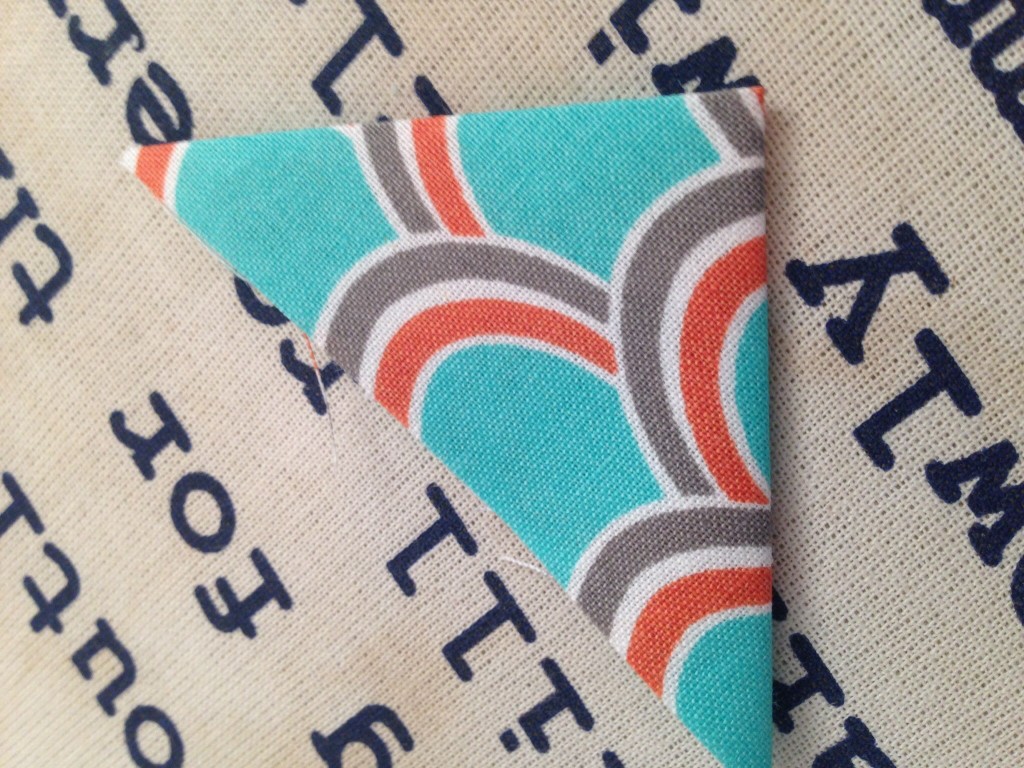
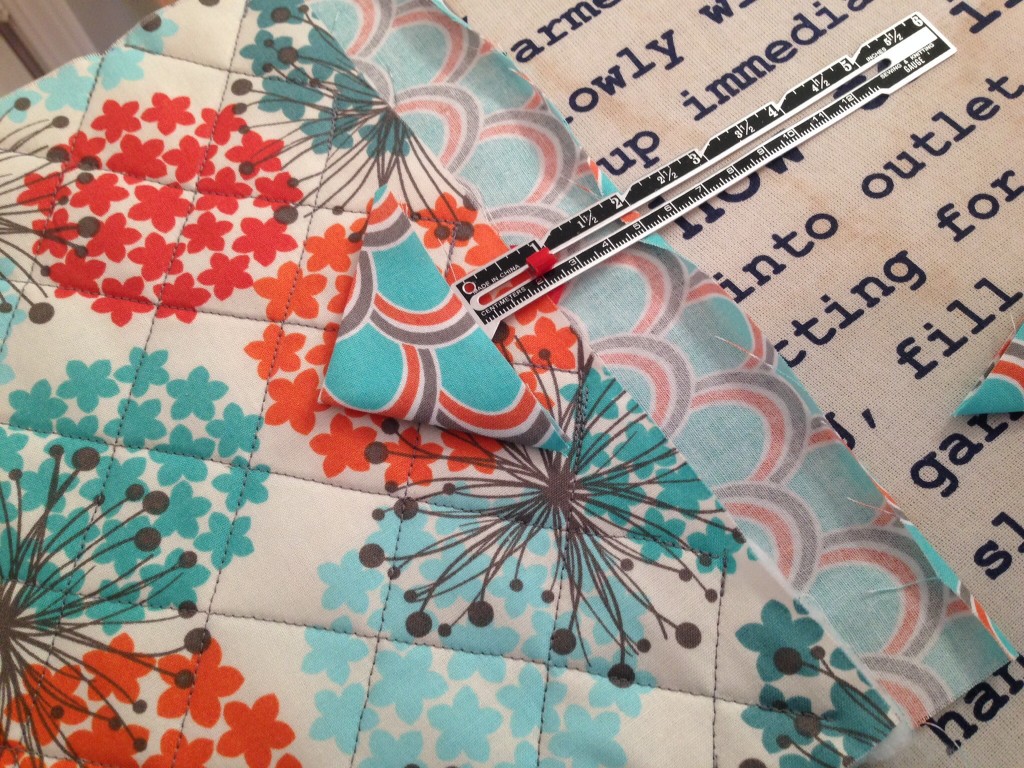
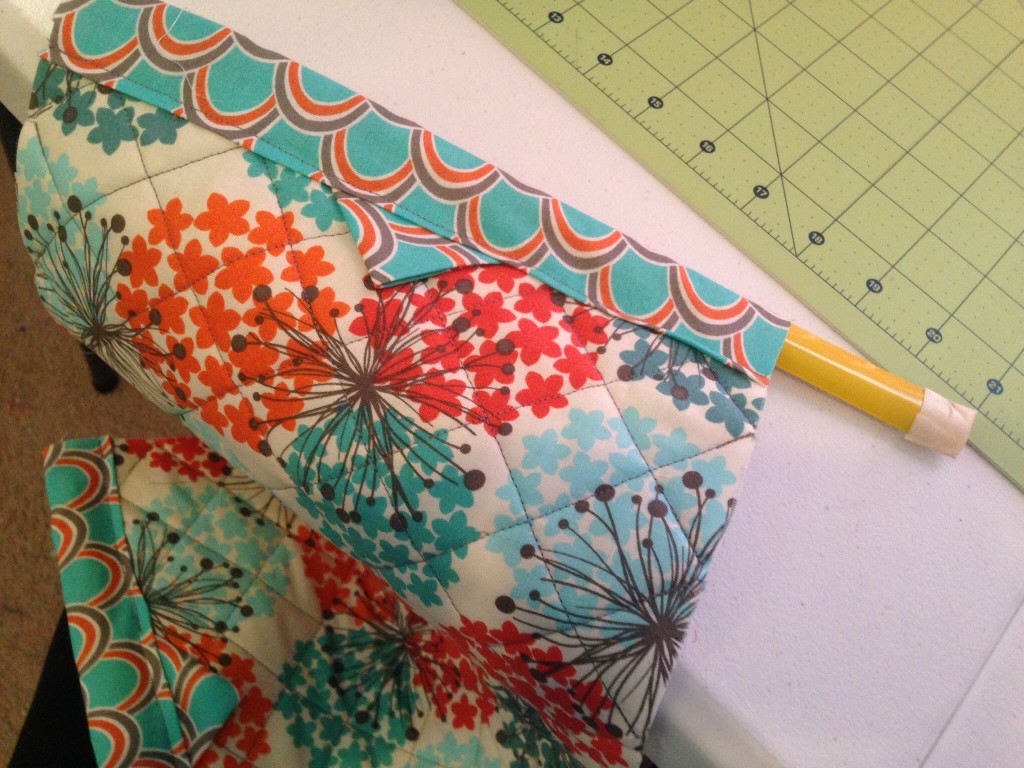
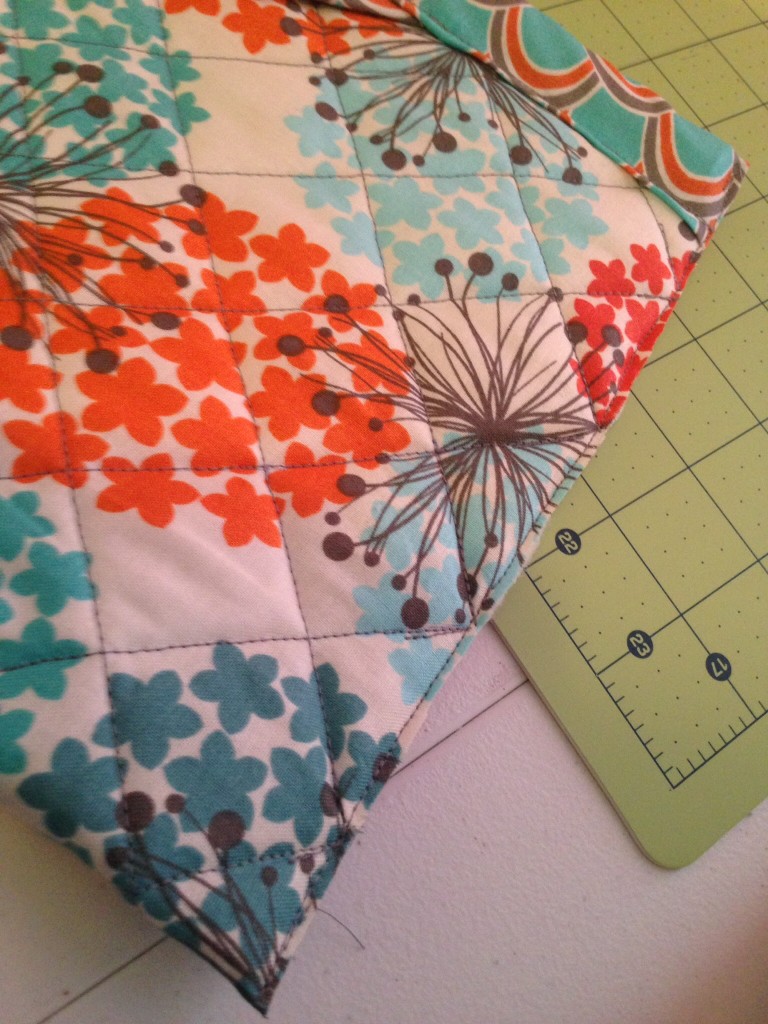
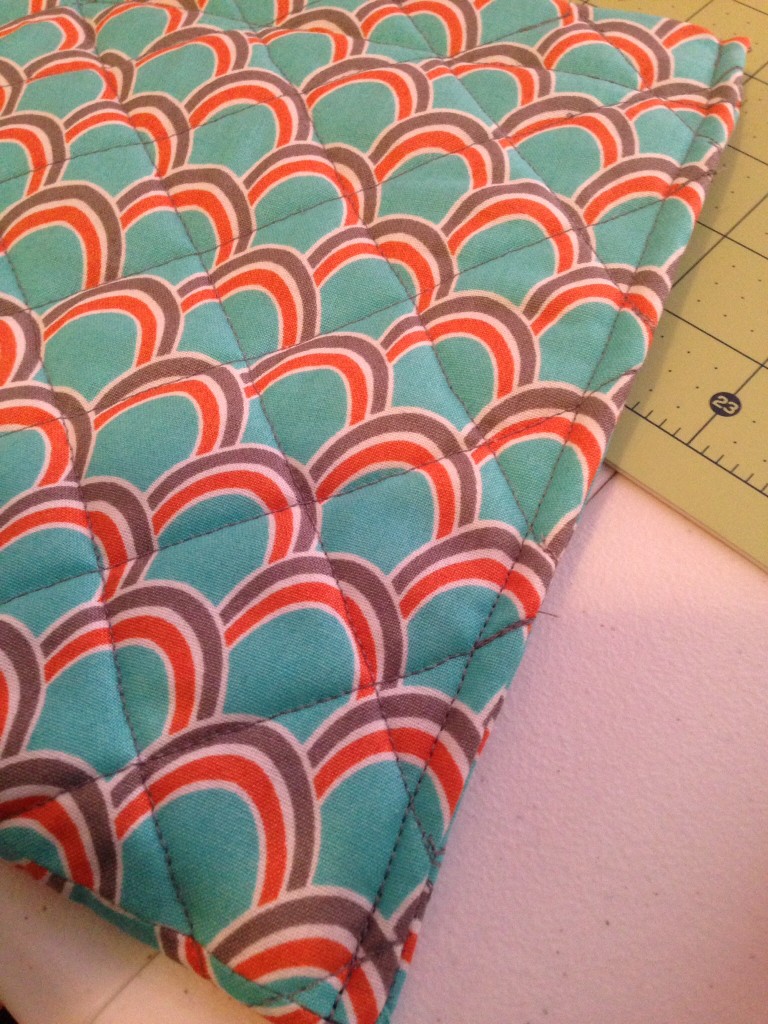
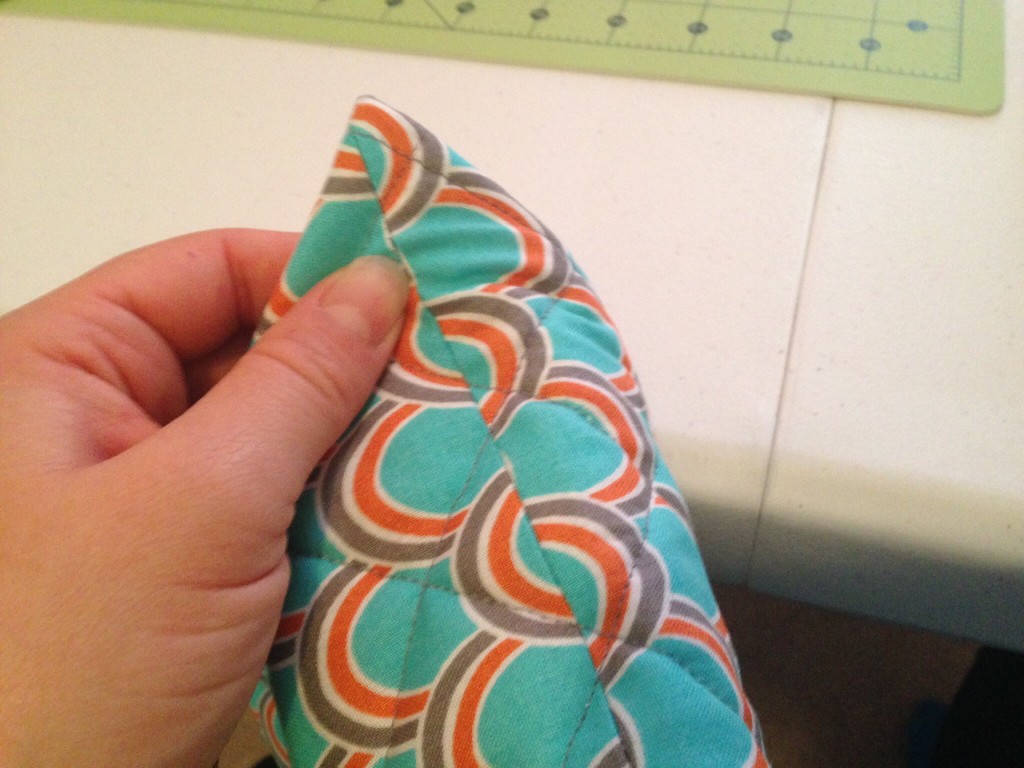
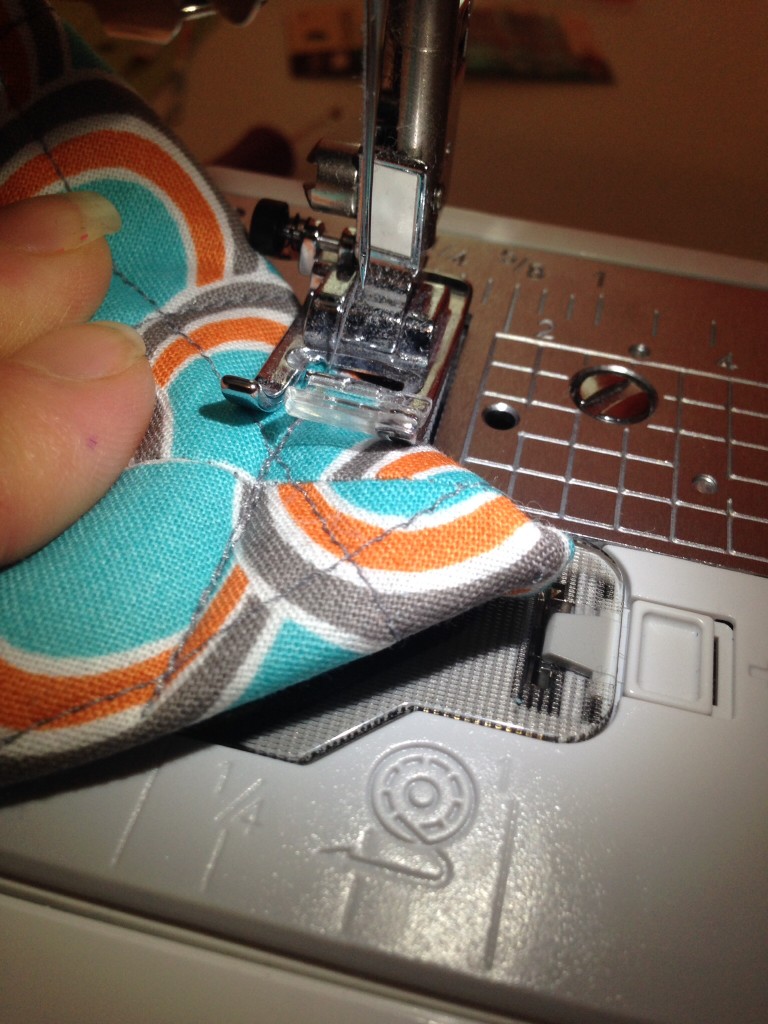
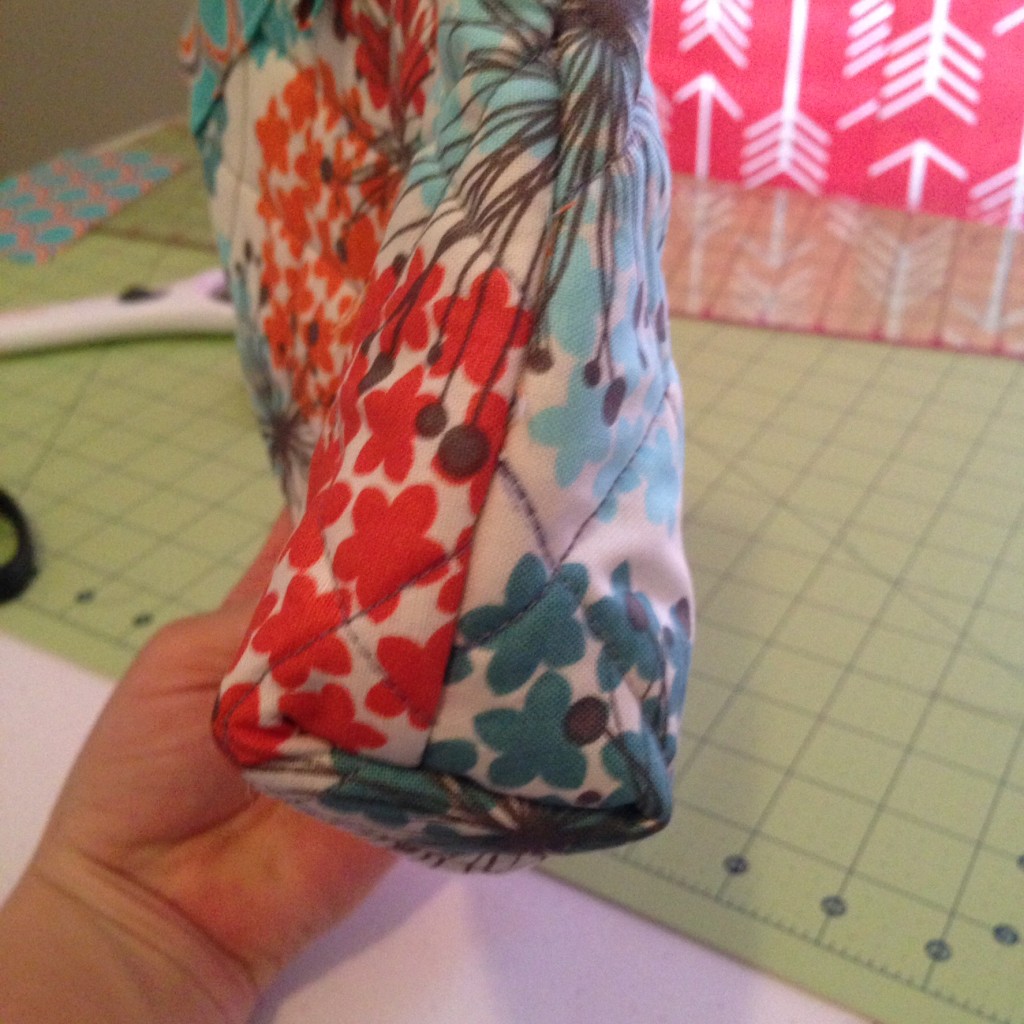
Now you need to quilt the pieces together. Make sure that they are at least 2″ apart. You can do a closer crisscross if you do every inch as well. After measuring 2″ along all four sides, you will need to start connecting them. When I connect them, I make sure to leave about 1/4″ on each short side, otherwise the stitching goes up on the casing when you are finishing your bag. On the long sides, you can draw them to the end of the fabric.I used this AMAZING pen by Pilot called the Pilot FriXion Ball Gel Pen that my grandma gave me. It goes on like a regular pen and disappears with the iron! After you get your lines drawn, pin down the sides like crazy so it doesn’t shift on you. Make sure to backstitch at the beginning and end of each line!Just to show you the magic, after I quilted you could still see the lines…Magic eraser!!!Here is what it looked like after I quilted and ironed away the lines. I love this pen!!!After you have finished quilting, you need to measure the lining material again. Sometimes it will shift when you quilt it, so pay attention here! If you have 1 3/4″ hanging off each edge, you need to fold over 1/2″ and press. If you have 1 1/2″ hanging off each edge, you need to fold over 1/4″ and press. Basically, when you go to fold over your casing, you need at LEAST 1 1/4″ before you sew it down for the measuring tape to fit in it!Take one of your squares and fold into a triangle and press. Do this one more time and you have your outside tabs that lay under the casing.Position the tab 3/4″ from the top of the outer fabric and 6″ from the side. Pin the casing over where you have 1 1/4″ total. Then stitch 1/8″ from the folded edge to form your casing.Cover the ends of your measuring tape with masking tape to ensure the sharp ends are covered. This helps in the tape not snagging your fabric when you place it in the casing.Be sure to place the measuring tape with the numbers facing the lining when you place it in the casing. Scoot it down until it is about in the middle.Pin your bag down with the lining on the inside and sew 1/8″ down the sides.Flip the bag inside out and create a french seam by sewing 1/4″ down each side. This will encase the raw edge and makes it look nice and finished!This next part is kind of tricky and is hard to explain, so check out the pictures if you are unsure. You need to flatten the bottom part of the bag with the bag still inside out. Pinch the corner and sew a line across where it looks like a small triangle. This will make your bag sit up a bit!Here is what the corner looks like when you are sewing it.Sewing the corner boxes up the side and helps the bag stand up.Turn the bag right side out and you have your snappy bag!
I made a ton of these for thank yous for my baby shower hostesses. They turned out so cute and make the perfect makeup bag! They all loved them and I am a pro at these by now! They take a while to understand how to get them put together, but now I can whip one up in about an hour!