Posted on Leave a comment

DIY Photo Album for Babies

With Christmas coming up, I have been trying to figure out what all to get our little munchkin.  Since she is only 6 months old, it is easy to not go crazy since she doesn’t know any better, but nonetheless, I still want her to have a fun first Christmas.  Alex and I had decided it would be fun to start the four gift tradition with her.  You know…something you want, something you need, something to wear, and something to read.  Then we will do one Santa gift and a stocking.  Her something to read will be this book!

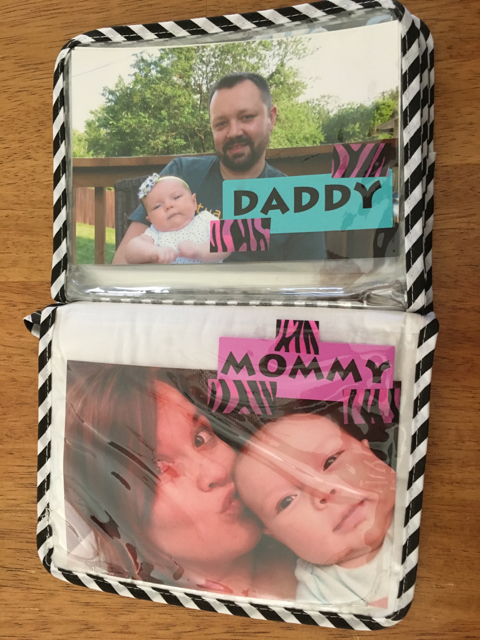
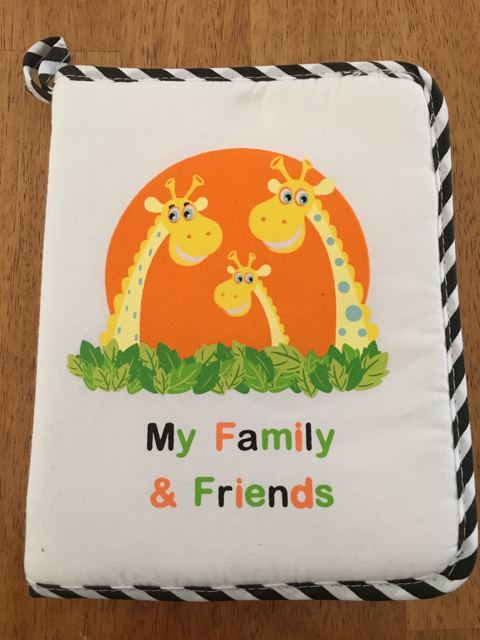
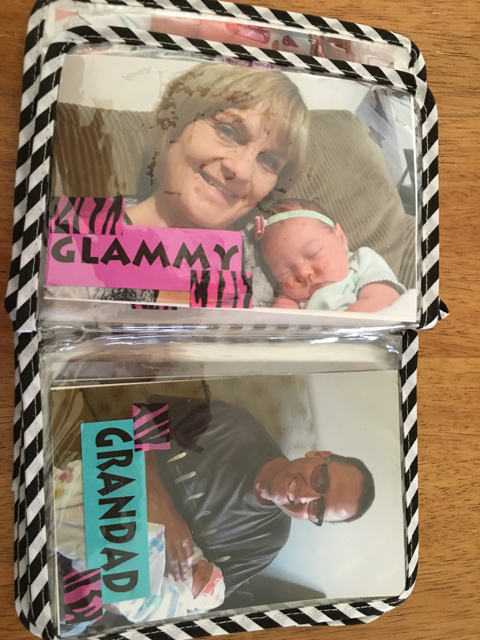
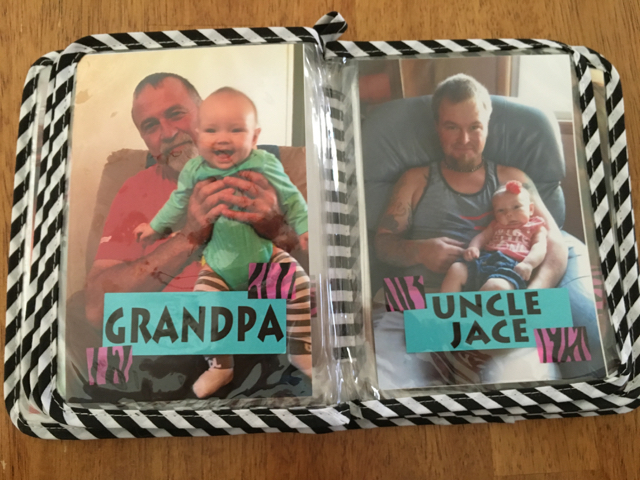
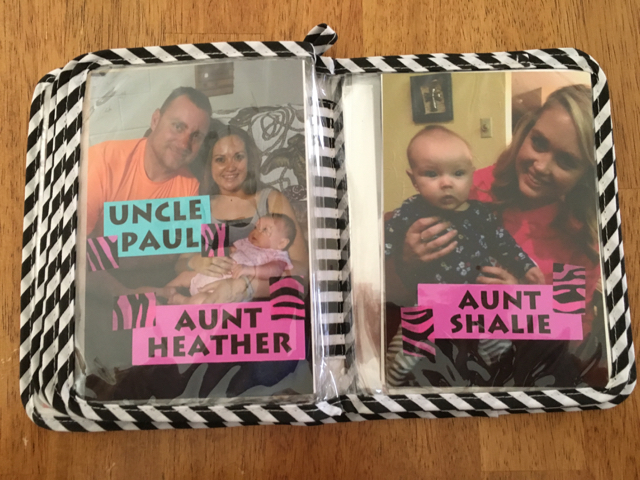
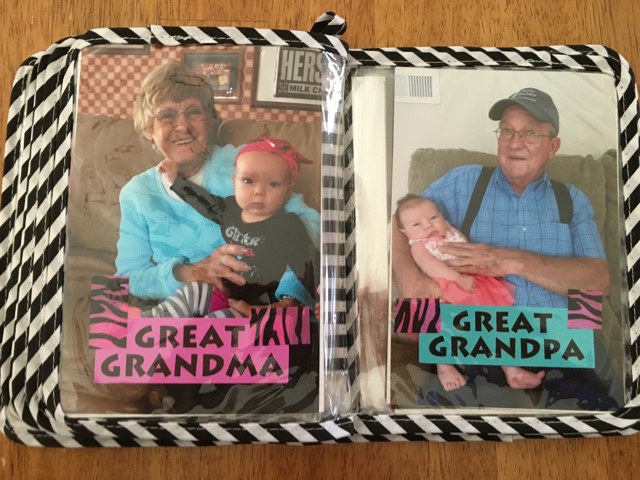
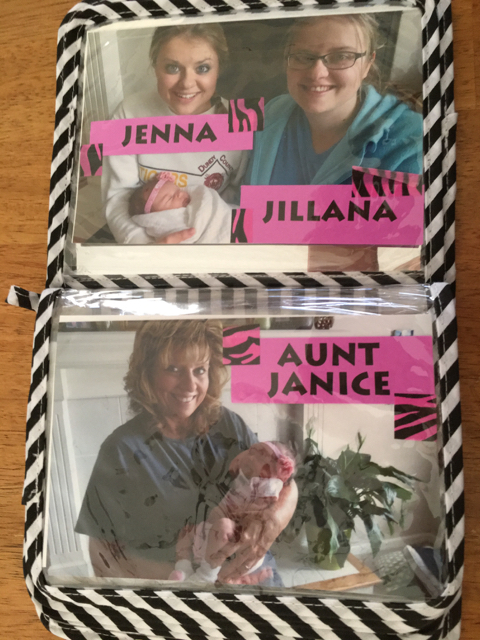
Since we live so far away from everyone, I still want Avery to know everyones names and faces,  Luckily with FaceTime, we do get to see our grandparents a lot.  I found this little photo album on Amazon.  I liked it because you can put 15 pictures in it, which was much more than other ones  I looked at and we have a big family!  I also liked that it is soft a flexible so she can slobber and chew on it!  I just printed out girls on purple and boys on blue and used washi tape that I had left over from a previous project.  It is zebra, so I figured it went with the animals on the front cover!

The front of the photo album.
Though she knows us, mommy and daddy made the cut!

IMG_0911 IMG_0912 IMG_0913 IMG_0914 IMG_0915 IMG_0916 IMG_0918 IMG_0919

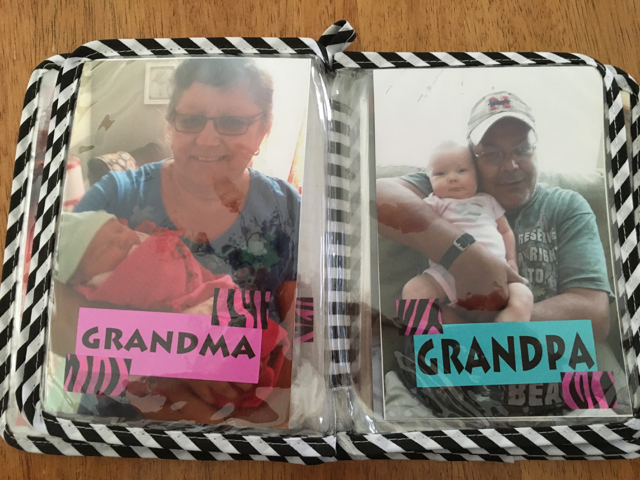
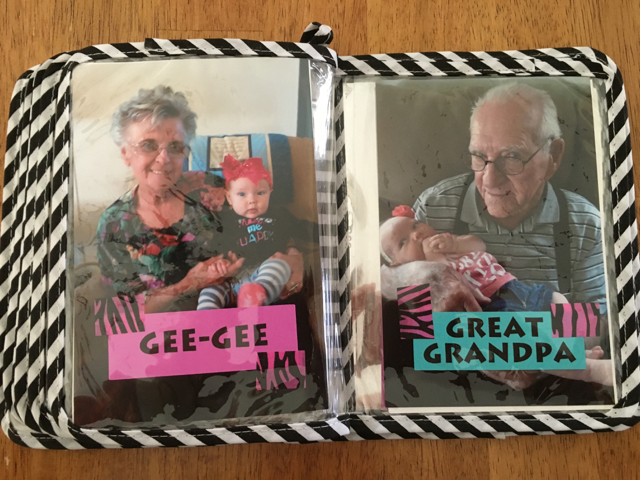
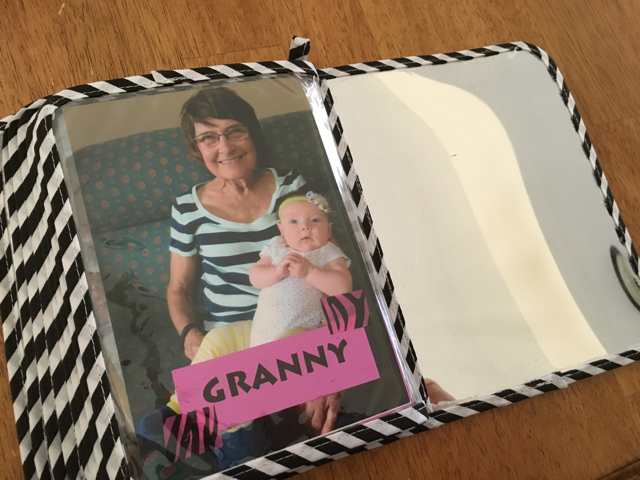
I love that the last page is a mirror for her!  This will be a great way to help her learn everyone’s names and titles!  What are some things you have done for your baby’s first Christmas?  I would love to hear other ideas!

Posted on Leave a comment

DIY New Baby Ornament

We have been getting ready for Christmas in the Tafoya house the past few days.  Alex and his friend Jimmy had a few brewskis and put the tree up, so Avery and I put the lights on and decorated it!

Avery was very interested in what mommy was doing!  After I got it all decorated I held her up and she just gazed at the lights and all the breakables in awe!  lol
Avery was very interested in what mommy was doing! After I got it all decorated I held her up and she just gazed at the lights and all the breakables in awe! lol
And before you ask, those two stockings are for the dogs, no announcements this Christmas!

So much has changed since last year!  We have a 5 month old!  I can’t believe it!  Before I get to my tutorial, check out the new family ornament that I added to the tree this year!

IMG_0617
Aw so cute I love hot cocoa and the marshmallows are the best part!
And our last year's ornament was pretty special too...
And our last year’s ornament was pretty special too…

I had plans to make a cute little shadow box with Avery’s hospital hat and bracelet. Then I got to thinking, after she gets older where would I hang it? I decided to put them in a glass ornament so we can get it out every year at Christmas time! I love how it turned out!  Before I get to the tutorial, just a little flashback to my little squish when she wore her hospital hat.

I love this picture.  It was taken after her first bath.  She looks so snug!
I love this picture. It was taken after her first bath. She looks so snug!

DIY New Baby Ornament

Materials:

Glass Ornament

Hospital hat

Hospital Bracelet

Any other memorabilia from birth

Vinyl

Directions:

Role call of materials.
I pulled the top off and set the bulb down in the tray to hold it there.  Avery's hat actually consisted of a hospital hat with another hospital hat as the bow, so I had to really work it in there!  After I finally squeezed it in, I added her hospital bracelet.
I pulled the top off and set the bulb down in the tray to hold it there. Avery’s hat actually consisted of a hospital hat with another hospital hat as the bow, so I had to really work it in there! After I finally squeezed it in, I added her hospital bracelet.
Add your vinyl and boom!
Action shot with the lights on!


Posted on Leave a comment

DIY Turkey Onesie

IMG_0135

I don’t get a whole lot of time to sit down and sew anymore.  So today, I made sure that I had some time to get Avery’s Thanksgiving outfit sewed up and ready for Turkey Day next week.  Sure, I could have bought an already made one, but that is not as fun for this crafty mama!  I am a part of a few sewing groups on Facebook and my newsfeed has been flooded with adorable turkey outfits and Avery needed her very own!  What I love about this project was I just used a bunch of scrap fabric that I had piling up and so it was very cheap!

DIY Turkey Onesie

Materials:

Scrap Fabric

Heat and Bond or Wonder Under

Brown Felt

White Felt

2 Buttons

Coordinating Thread

I made a template in my Silhouette and you can download my Turkey Template.  I did my onesie front and back, because let’s face it, Avery needed some turkey feathers on her booty!  Cut out the template and trace your parts onto some Heat and Bond or Wonder Under.

IMG_0126
Trace out your pieces on the Heat and Bond.

Then place the pieces on your fabric for the feathers, body, eyes, and beak.  Make sure you have your fabric RIGHT SIDE DOWN before you iron it on.  If you iron the pieces onto the fabric before you cut it out you make less of a mess with the Heat and Bond!  I figured that out the wrong way last time I played with the stuff!

Make sure to iron the pieces on with the right sides down!

After you iron on the pattern pieces, go ahead and cut out your pieces.  Place the pieces how you want them and peel off the backing before ironing down.  I found that the felt pieces didn’t iron on well, I am assuming because of the thickness of the felt, so I had to pin those down before zigzagging around the felt.  After ironing it all onto your onesie, zigzag around each piece with coordinating thread.  Take your time, it takes some patience, but it is worth it to go slow!  After that, you just need to sew on the eyes and the snood! (Yes I had to use Google to see what that red dangly thing was called!)

Zigzag the pieces down with coordinating colors.
I can't wait to see my girl's little feather booty!
I can’t wait to see my girl’s little feather booty!
I used my pinking shears to cut mini feathers for the headband. I just used a few buttons and piece of circle felt and glued down the feathers then placed it on a piece of elastic. The googly eyes were the perfect touch! I just used scrap cardstock for the beak and snood (yes I had to use Google to see what that red hangy thing was called!).
I used my pinking shears to cut mini feathers for the headband. I just used a few buttons and piece of circle felt and glued down the feathers then placed it on a piece of elastic. The googly eyes were the perfect touch! I just used scrap cardstock for the beak and snood.

I will have to add a picture of my little turkey wearing her outfit next week!  For now I will leave you with my snoozing little turkey…

All tuckered out!
All tuckered out wearing her turkey hat from cousin Melanie!