Tis’ the season to make some wonderful memories! I am so excited to share this quick DIY holiday activity we do for almost every season at my house. I have been doing it for as long as I can remember. I love being able to decorate my house with something that Avery has created! Axel is finally at the age where he can do things too! He is already a master scribbler and yesterday we tried paint for the first time and he did so good!
We had so much fun painting our holiday garland together!
This activity is so easy and you literally can just make with whatever materials you have around the house. I cut shapes out for whatever season and we usually paint with watercolor paints, or finger paints, but you could totally use crayons, markers, etc. to decorate your garland. Heck if you can stand the mess, break out some glitter too!
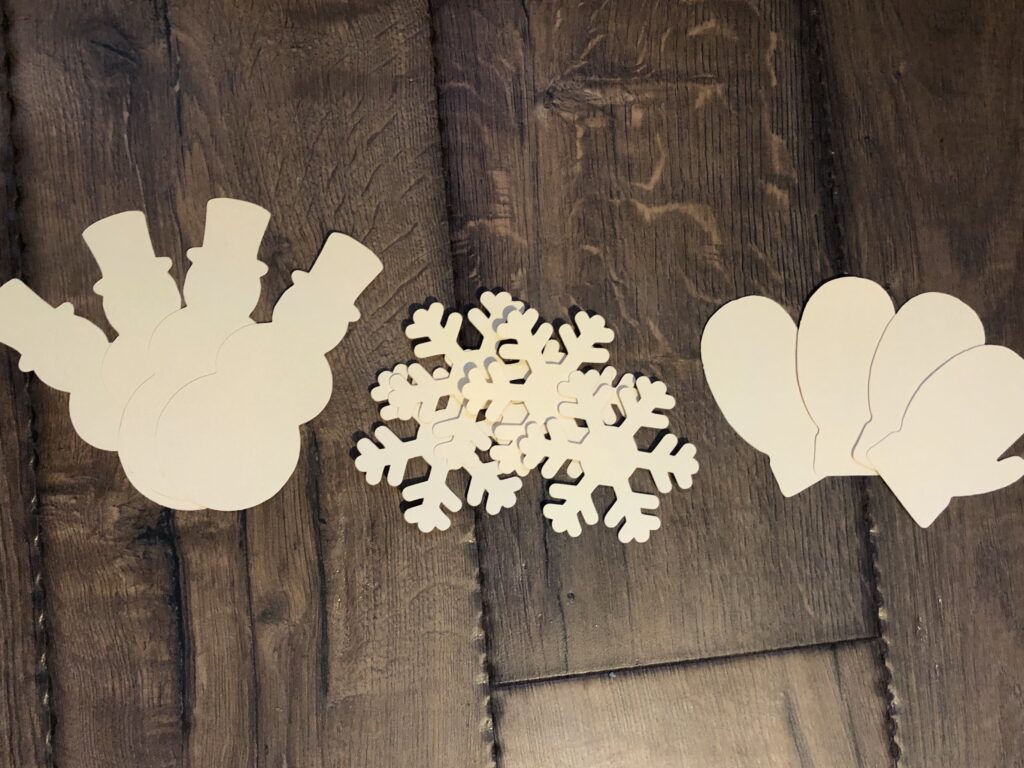
Cut out some shapes for the season. I like to go for something more seasonal like snow and snowflakes vs Santas and Christmas trees as it seems as though I get more use out of them as they are wintery instead of just one holiday.
Artists at work!
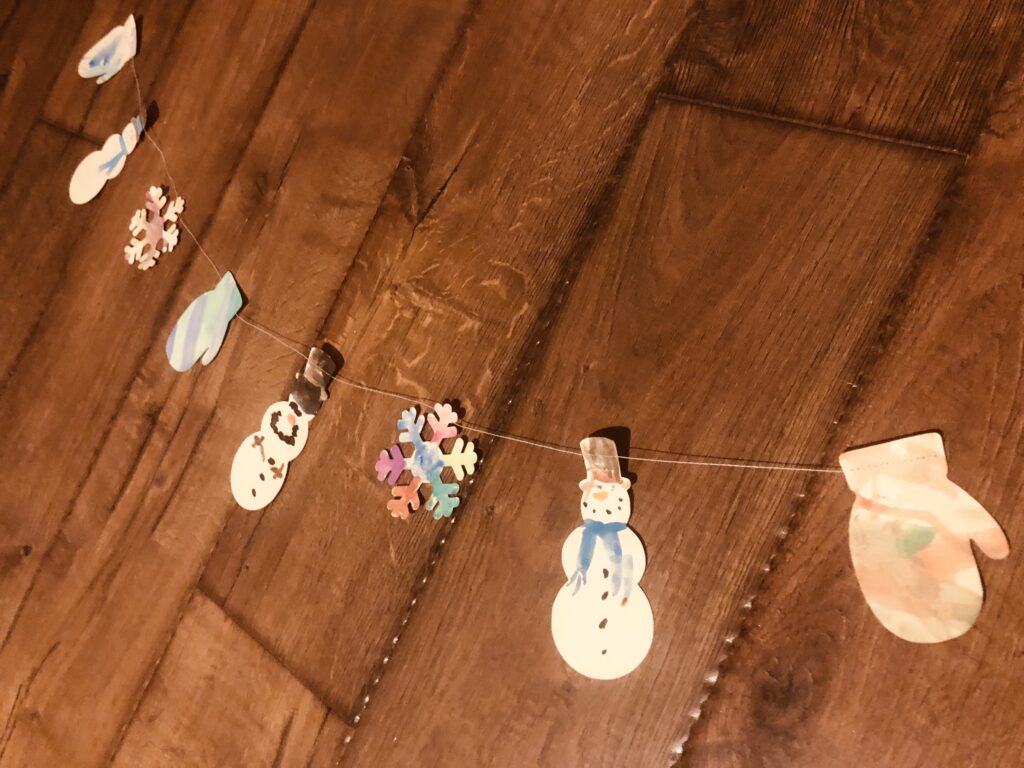
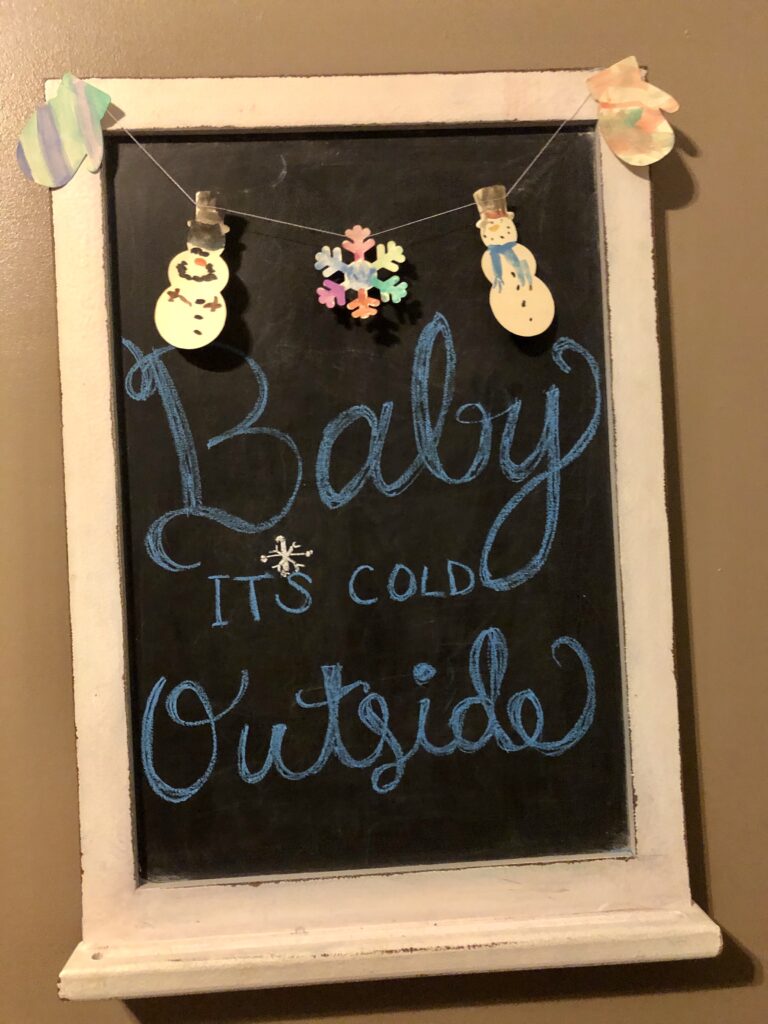
When the kids were finished, I waited for them to dry and ran them through the sewing machine. If you don’t have a sewing machine, you could easily use mini clothespins to clip them onto some string or punch holes and string it! We like to hang it up in the window of the kitchen, on my chalkboards, wreaths, or even in the kids’ rooms! Avery loves to have her art hanging in her room to enjoy!
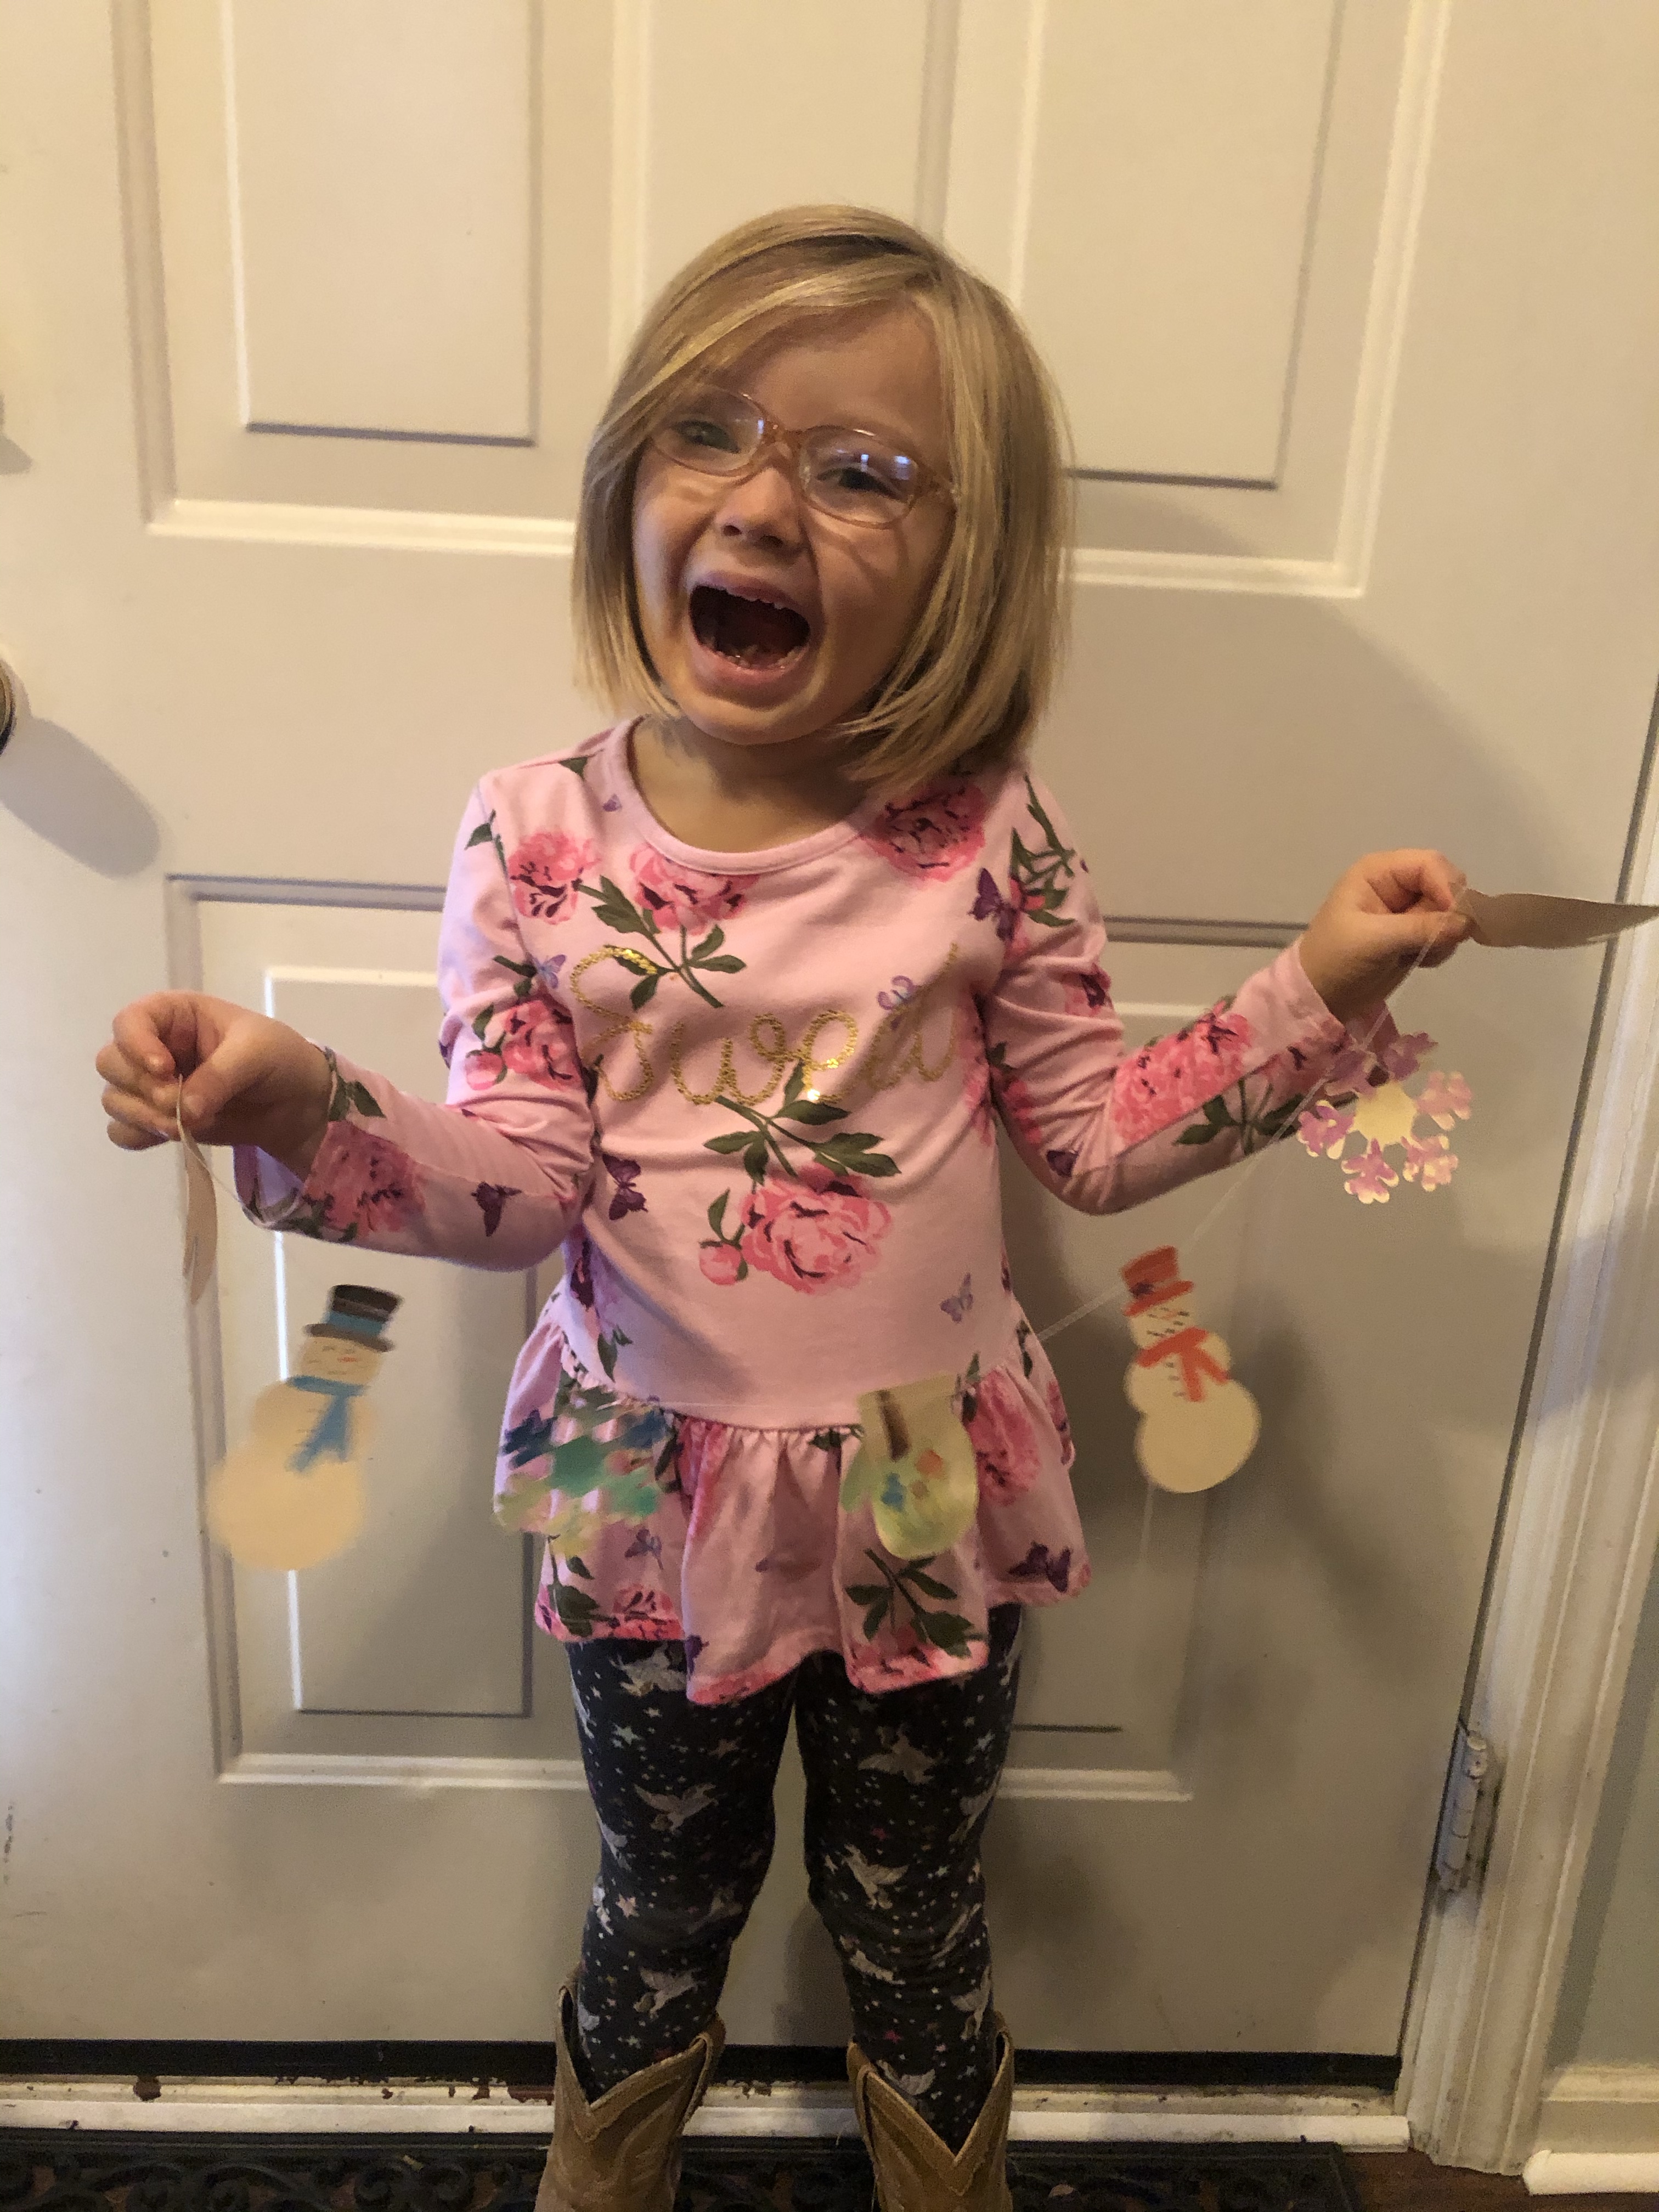
Such a cheese ball! Voila! Super festive and fun to show off when company comes over!
Being a stay at home mommy can be monotonous at times. We literally have the same daily and weekly routines most of the time. Now that I’m home with two of them, outings are lesser as it’s so much work to get all three of us out the door.
I feel like Avery gets bored more now that we don’t go places more often. Sometimes I have to throw something different in the mix. The last few weeks Avery always says, “I want to do something fun today.” Sometimes we will throw a blanket in the yard for a picnic, have tea time after snack, or an impromptu art activity. This particular day I decided to spice up lunch! I was perusing on Pinterest and saw some fun kid lunches so I did a search for things to do with hot dogs since I had a package in the fridge.
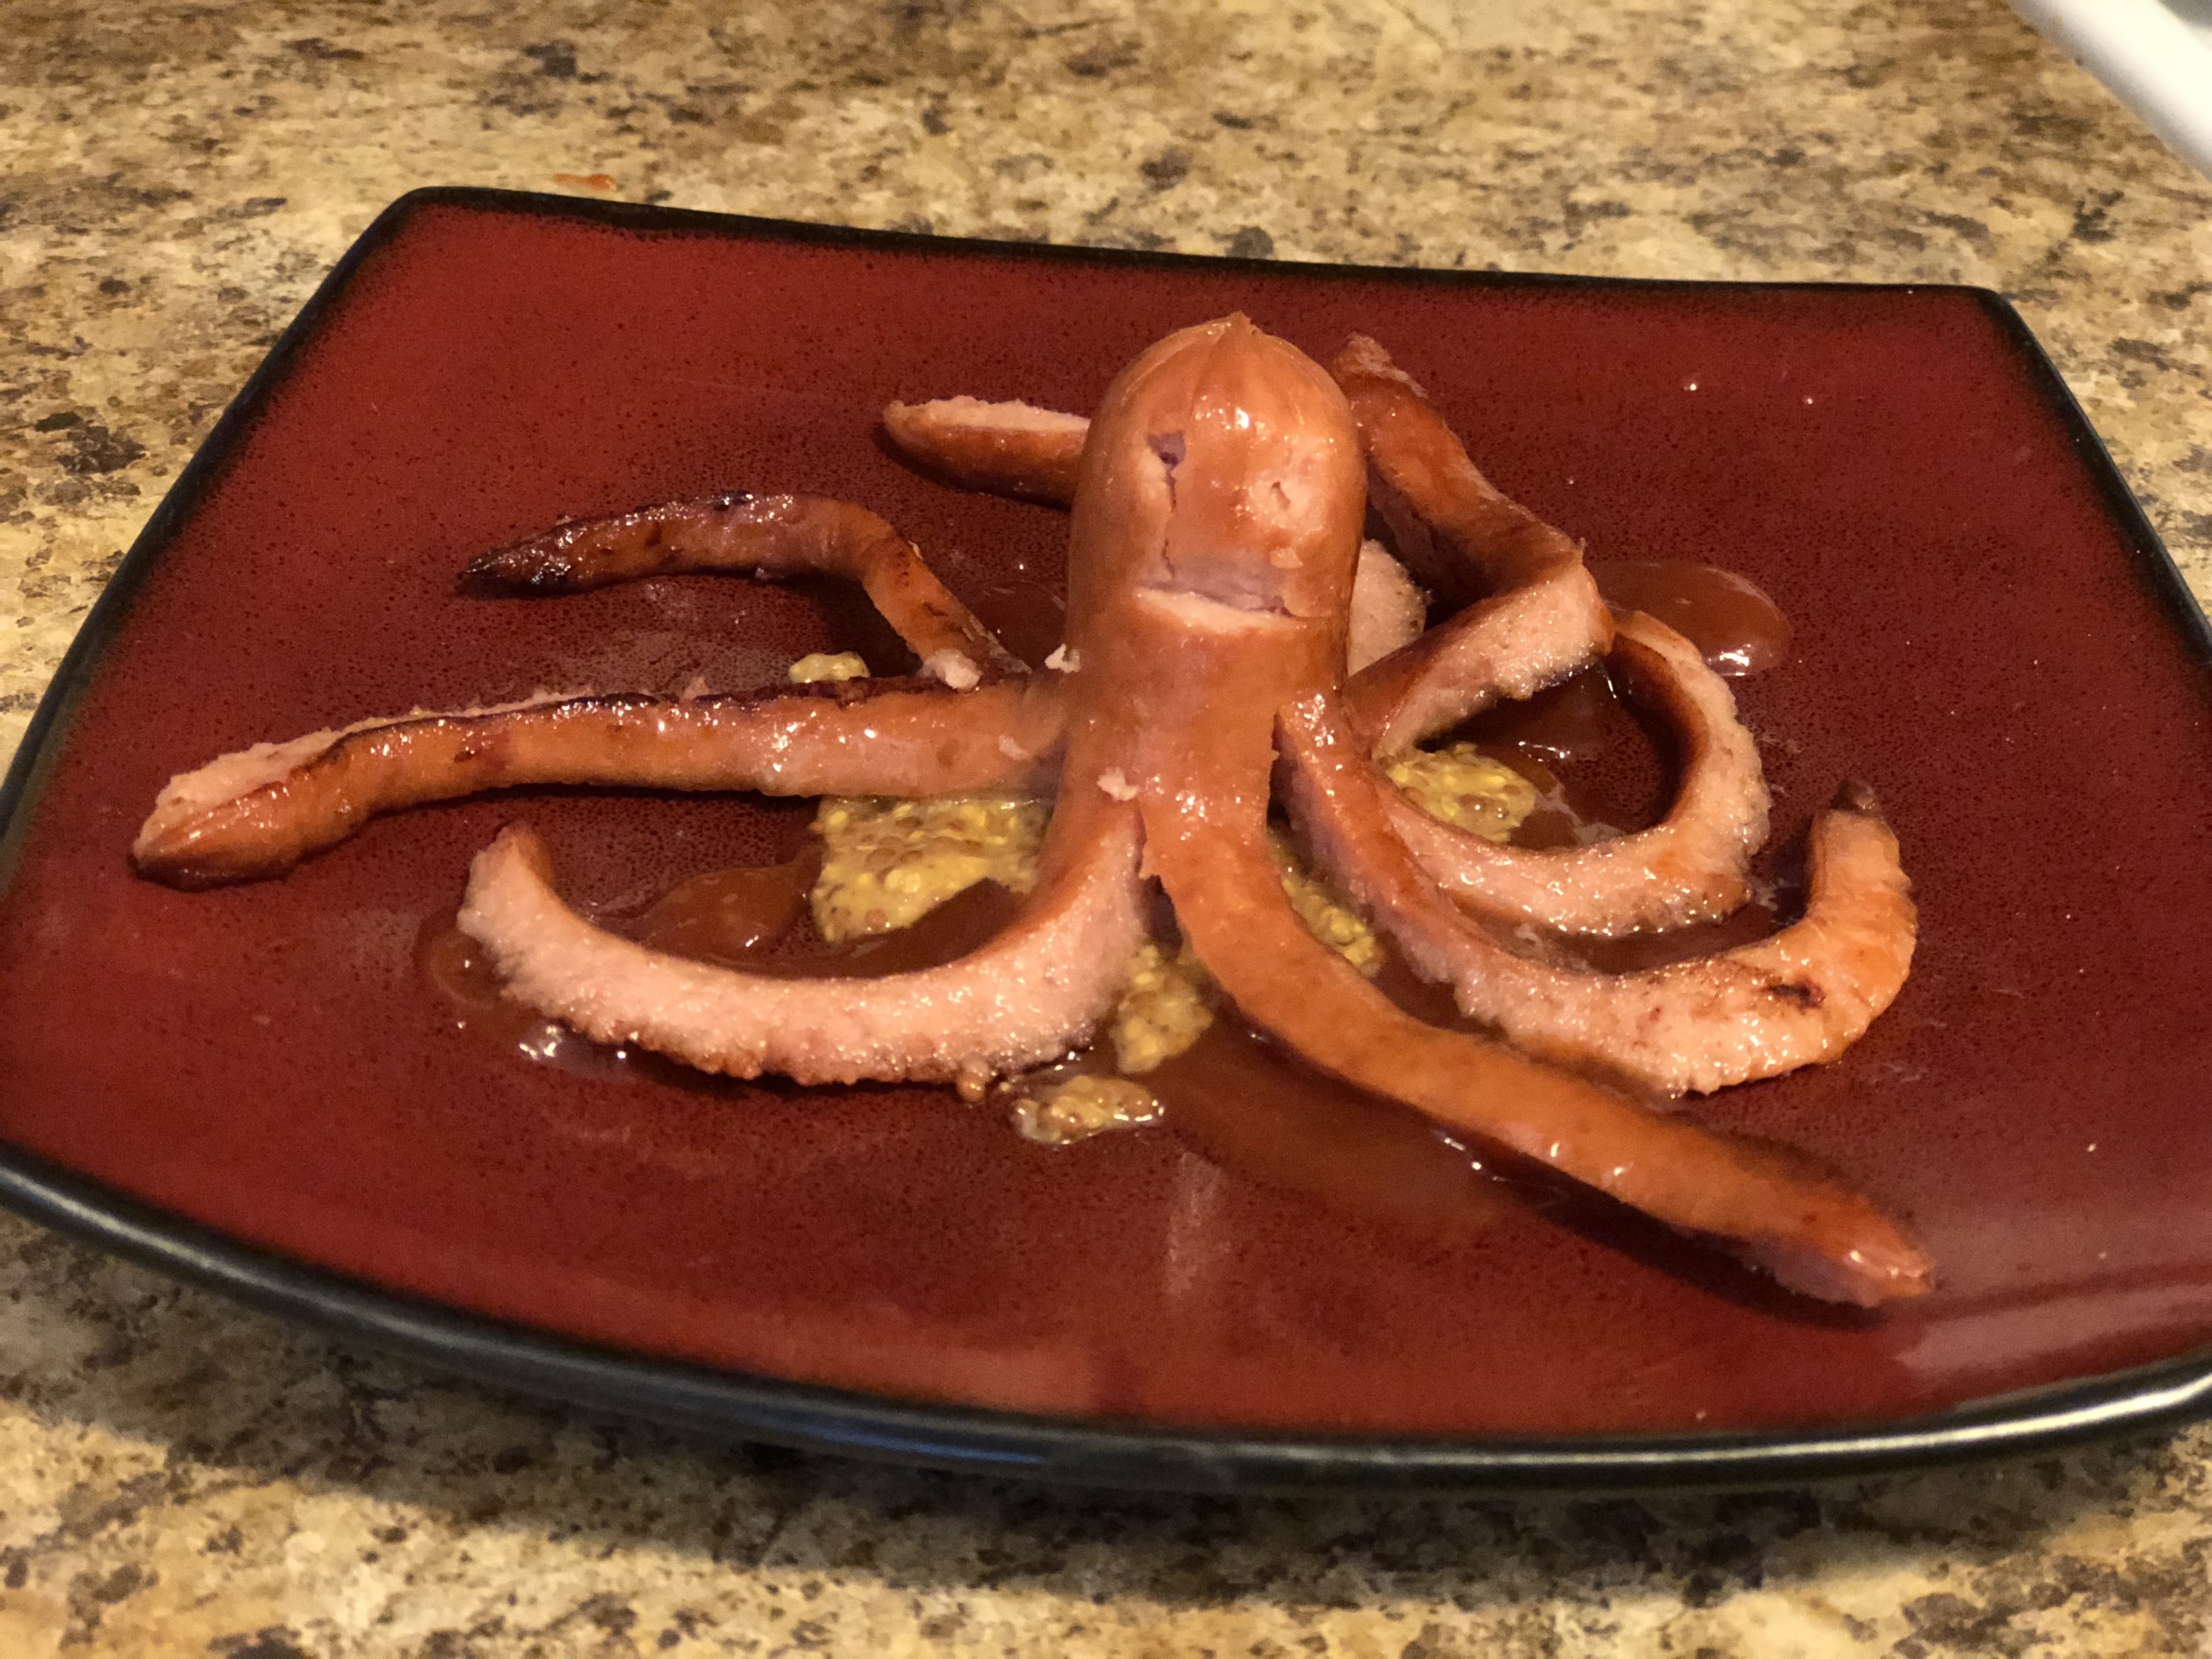
There are all sorts of things you can do with a hotdog! Butterflies or snails with crescent rolls, spiral dogs. There was even one where you took the hot dog and make a dog with toothpicks. I decided on a simple one, the hot dog octopus!
All you need for the hot dog octopus is hotdogs and a knife! There were all sorts of clever things to serve them on. Some pins had things like green colored ramen noodles for “seaweed”. I was in the need to go to the store so I didn’t get too crazy! A bed of ketchup and brown stone mustard was what I went with!
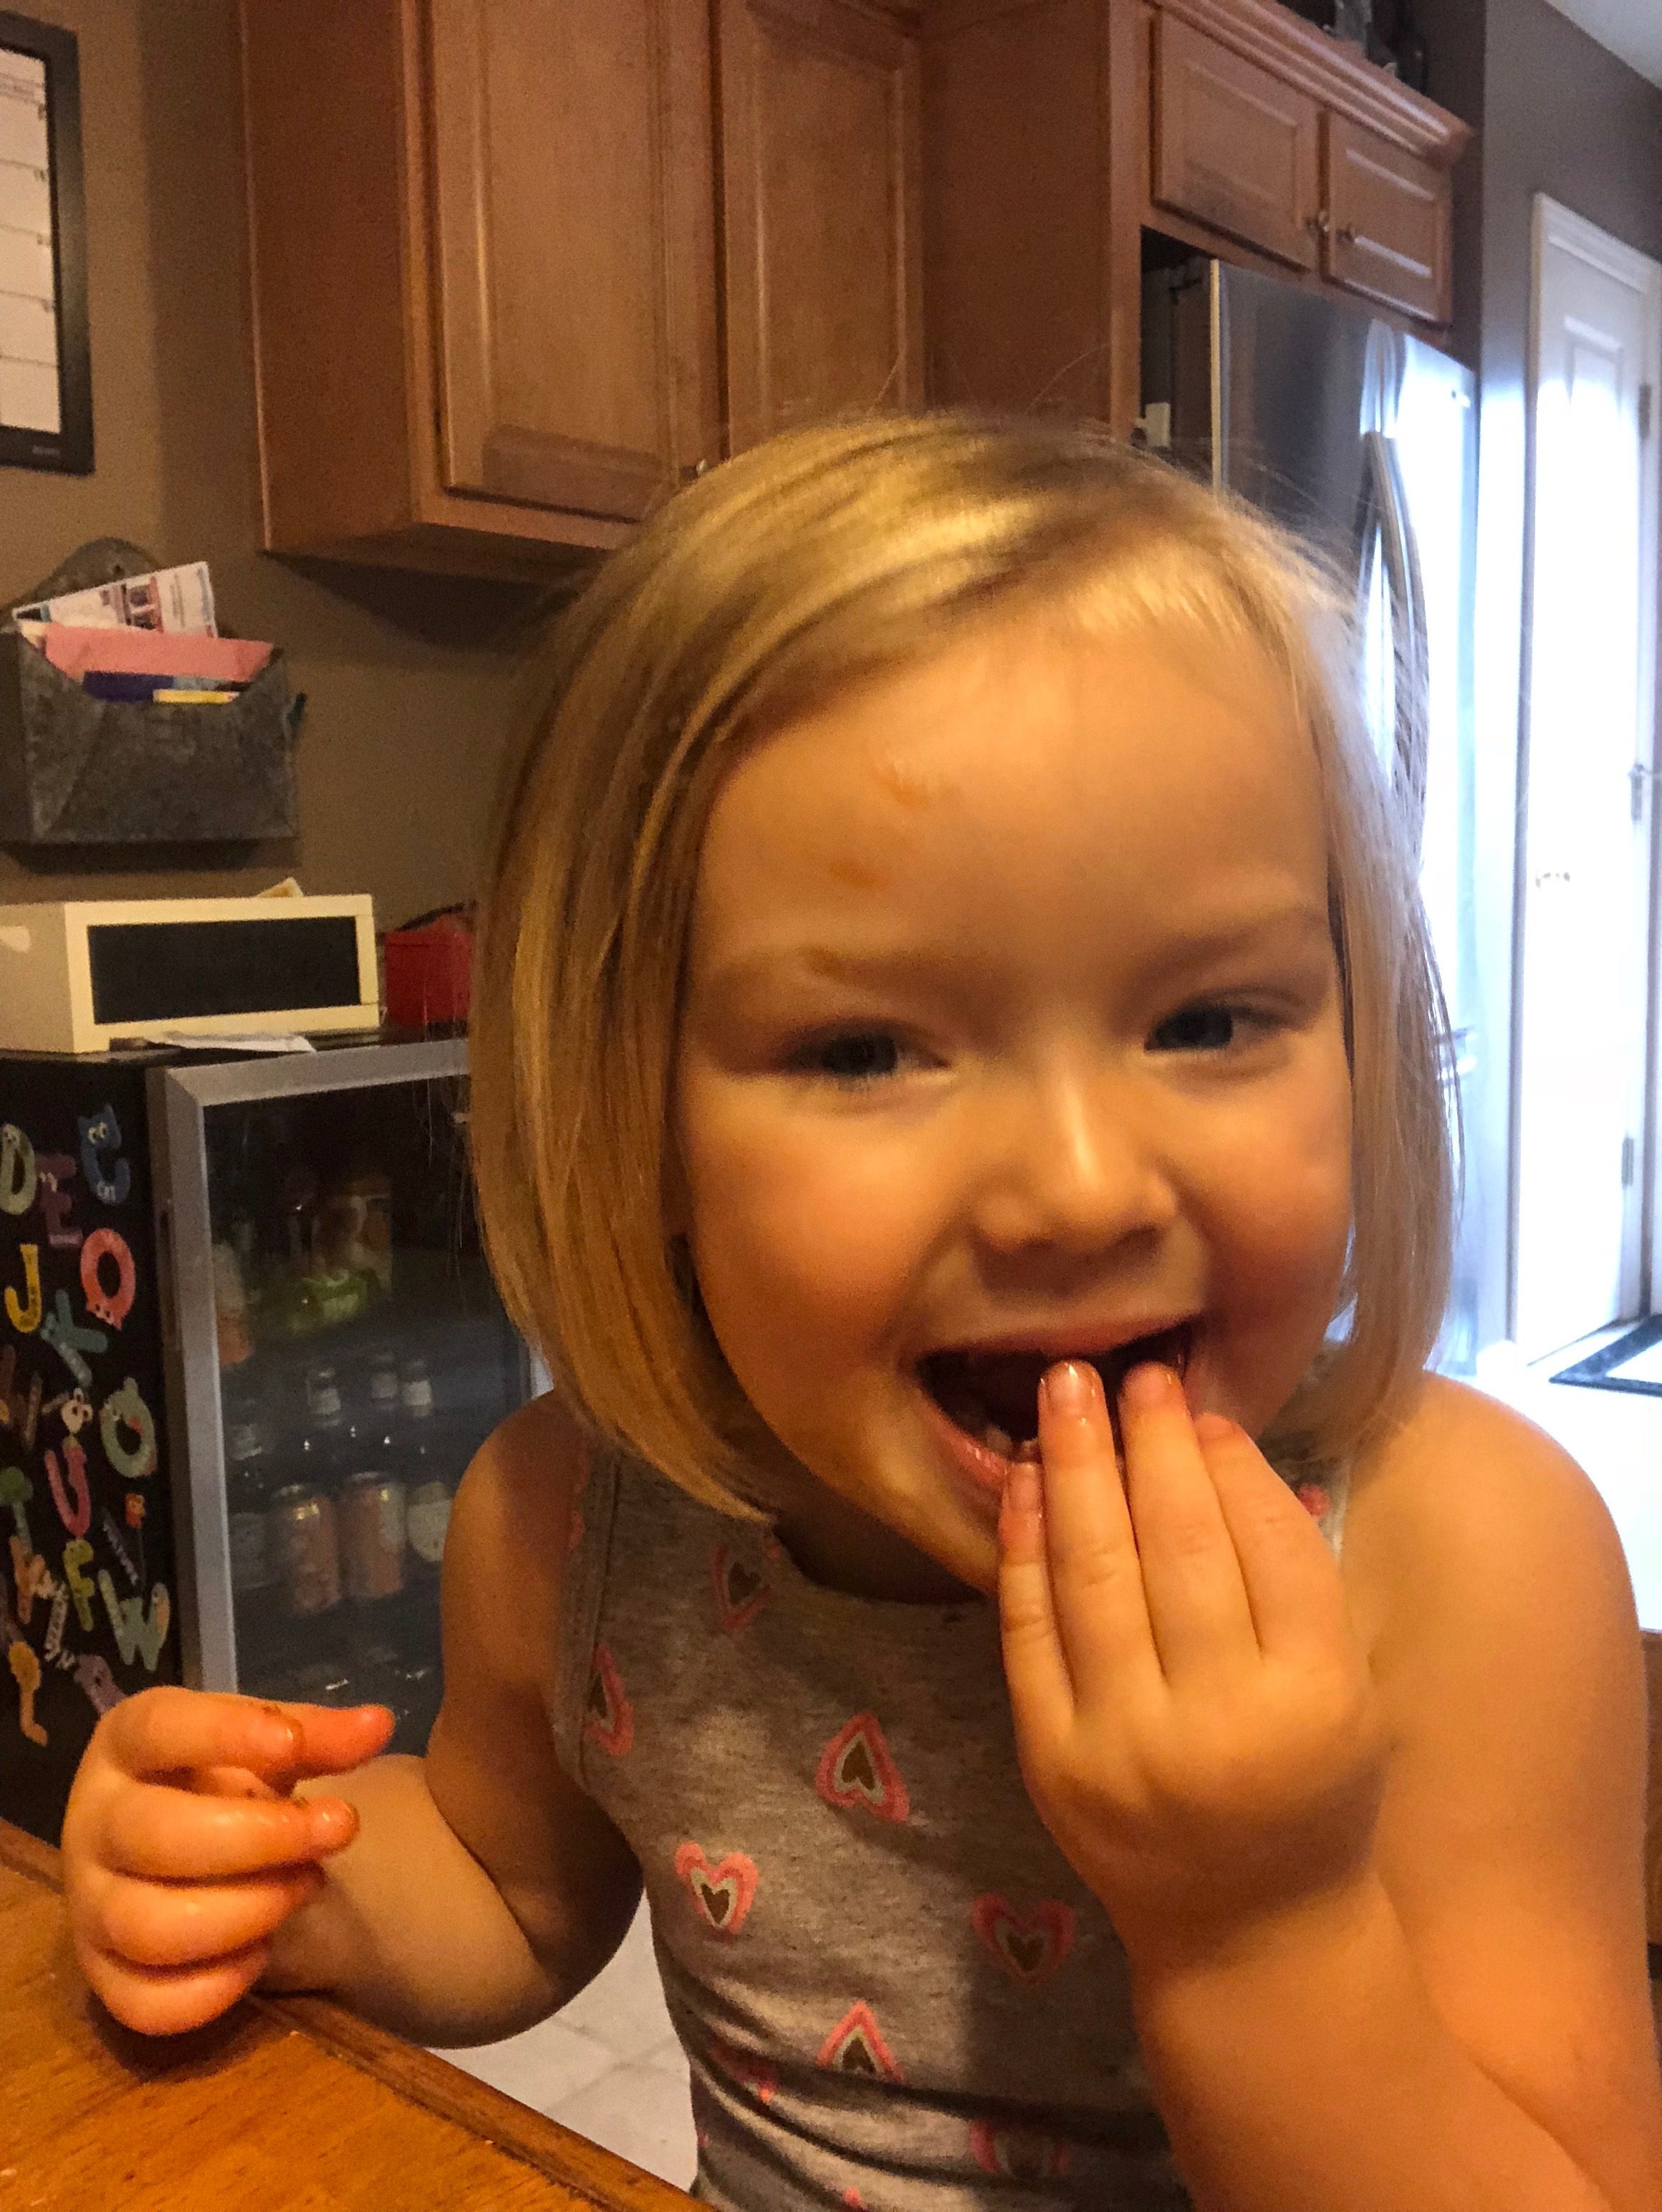
Avery’s reaction was priceless! She even came up with a clever name for them all on her own! She has been obsessed with surprise toys lately. I have been trying to surprise her with things other than toys to show her that it doesn’t have to be a toy in an egg to be a surprise!
Hoctopus
Ingredients:
Package of hot dogs
Knife and cutting board
Directions:
1. Cut the hotdog in half about 2/3 of the way down leaving 1/3 at the top for the head. Turn the dog to do to again to make 4 legs. Then cut all of those in half creating the 8 legs. You can poke holes for the eyes and cut a small mouth out. (Or if you want to get fancy, you can get some candy eyeballs!)
2. Heat a little olive oil in a skillet on medium-high heat. Put the dogs in and turn occasionally to heat all sides. The legs will curl up a bit and give it a real octopus feel!
3. Once the hot dog is heated evenly, I propped the dog up so that the insides of the legs would cook up a bit.
4. Plate it up and get a few giggles from your littles!
Such a happy girl!
i hope your kiddies have as much fun with this lunch as Avery did! Comment and let me know what their reactions were! I’m thinking we will have to serve these up for a lunch when we host playgroup next! So much fun!
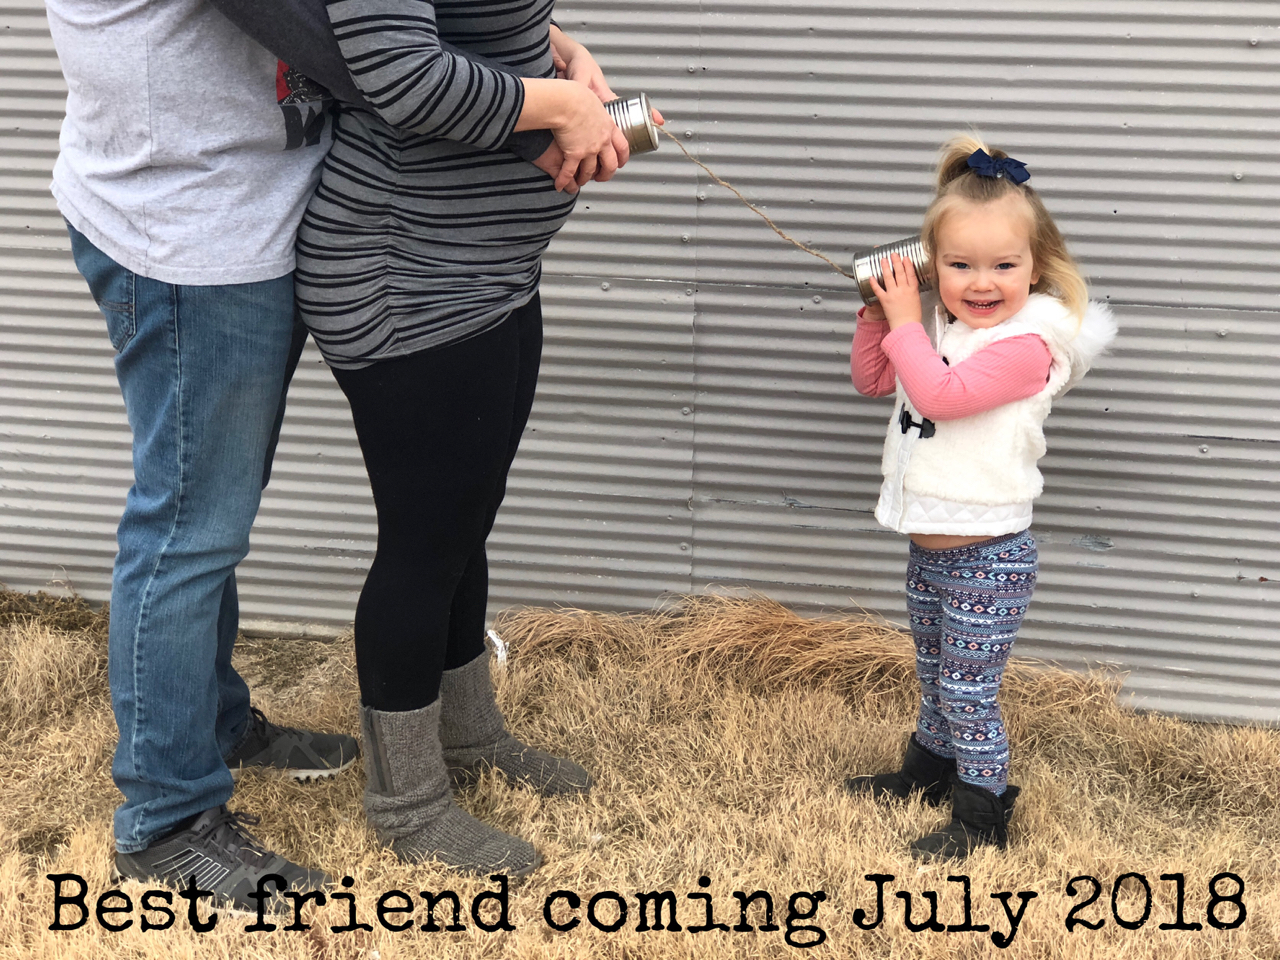
A little late on the post since my babe just turned 2 months, but I love our pregnancy announcement and reveal so I just had to share! Look at how excited my baby girl was to be a big sister! She is the best at her new role as big sissy! We are so blessed!
I am trying so hard to get back in the groove of blogging again, but there is is much to catch up on! It’s amazing how busy you get when you have kids! I am just going to start working them in when I can!
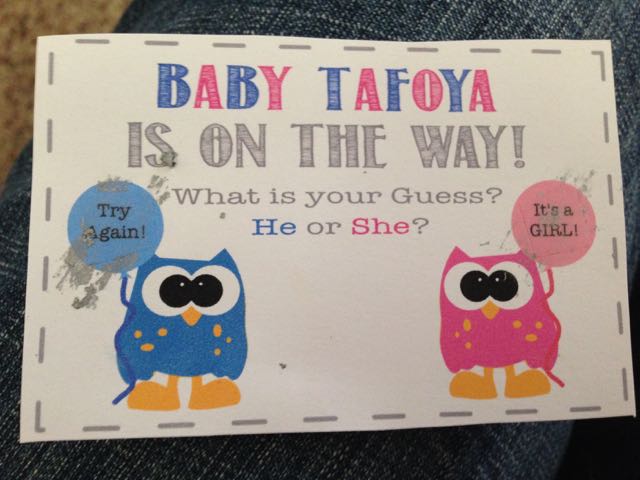
Now onto the gender reveal. We did a blood test at 11 weeks. Last time, we did scratch off tickets to reveal that we were having a little girl. We actually were the only two that knew, so it was a surprise for the family.
These are the scratch off tickets we used to let my family in on the sex of the baby! They were fun, but the ladies were screaming , “It’s a girl!!” before some people even got them scratched off!
These are the scratch offs we made for Alex’s family. He wanted something more complicated. I put all the letters for girl along with a b and y, they had to scratch them all and spell either “girl” or “boy”
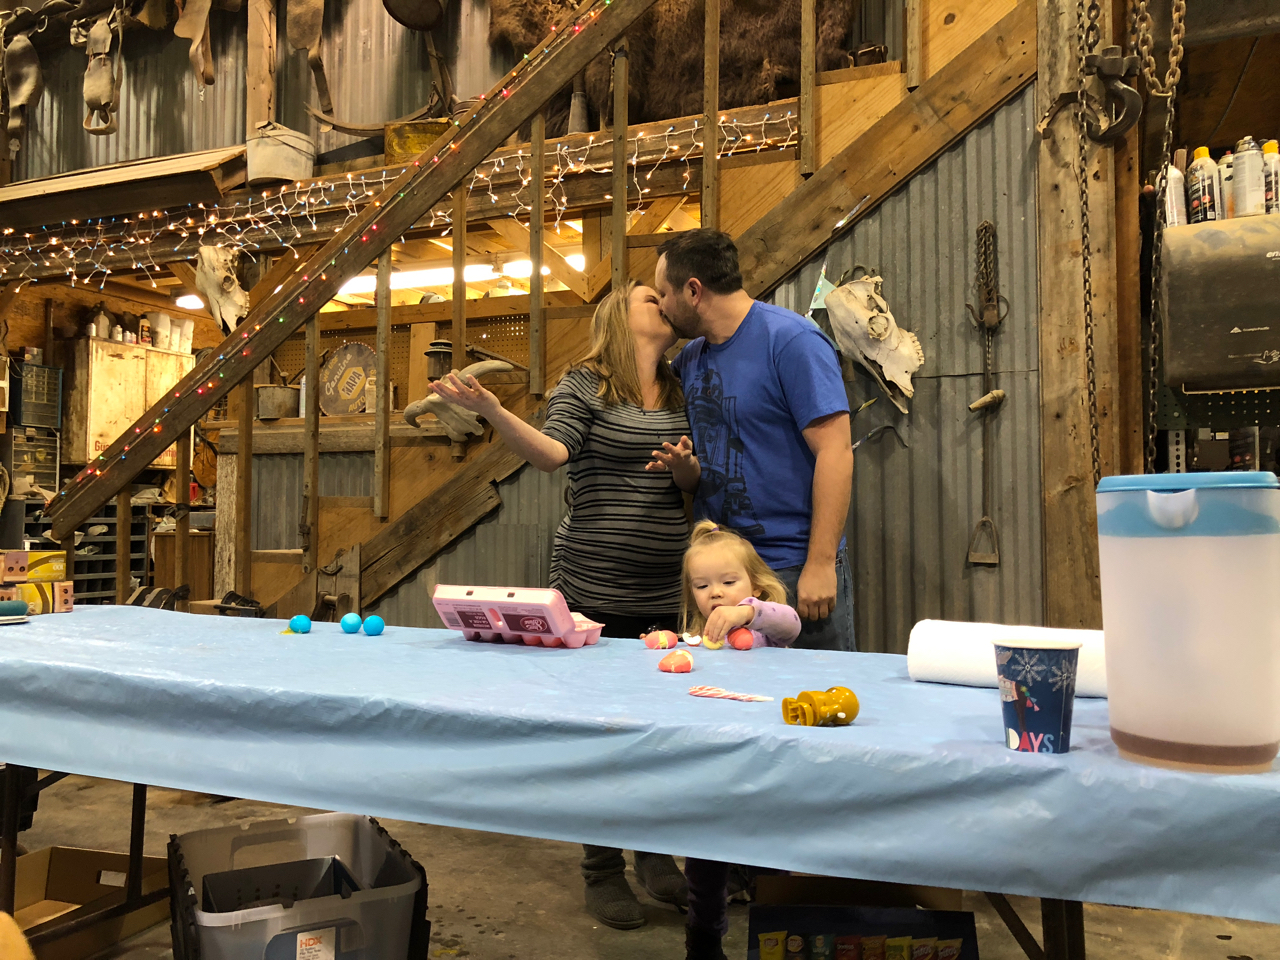
This time since gender reveal parties are all the buzz, we decided to do it a little different. I wanted to find out with everyone, so my mom was the only one who knew. We were all getting together for a late Christmas in January, so we decided to do it then.
I didn’t even have an idea how we were doing the reveal until the minute we were getting ready to do it. We did the “Jimmy Fallon Russian Roulette.” Basically you boil a 11 eggs. Then you dye 6 pink and 6 blue including the 12th raw egg. Then mom and dad take turns breaking eggs on their heads until you get the raw one and that tells you what the gender is!
Click below to see the reveal footage!
Click here to watch our Gender Reveal Russian Roulette!
I will admit, it was really fun to find out with everyone versus knowing ahead of time. We were both shocked to find out we were having a boy! All of Alex’s boy cousins have all had two girls so we just assumed we would follow suit.
So I have a million things to catch up my followers on this blog, but today I wanted to take a second and do a quick post on a new recipe for lactation cookies! I recently welcomed baby number two to the world and he is as sweet as can be, however, the handsome fella has an intolerance to dairy so I have been spending the past month changing everything about my diet to help his tummy feel better.
Meet Axel. He is the sweetest little guy. He was almost a pound heavier and an inch shorter than his sissy.
Avery is over the moon to be a big sister! We have been blessed with a very smooth transition from only child to big sister! The other night she was loving on him and I said, “Avery, you sure do love your brother, don’t you?” She replied, “Yes, I do. Thank you for putting him in your belly!” If that doesn’t melt your heart, I don’t know what will.
She is so proud!
When I get some extra time, I need to do some catch up posts and I will do our announcement, maternity photos and all of these adorable newborn pictures from Jo Snaps. I am also hoping to create a shop store front right here so you can purchase party decor from my Etsy store Savor Each Second right here on my blog!
Look at that face I get during feeds! He’s such a cutie!
So here we are at 2 months and the chunker is already over 13 pounds! I sure need to keep my supply up for this boobie monster! Going dairy free has been easier than I thought, but it has definitely been an adjustment. We are 4 weeks going strong and I am seeing many improvements in his tummy! What is crazy, is that it actually takes 8 weeks to see if it even works completely. I have learned so much from a Facebook group called Dairy Free Diet – Breastfeeding. If you are in need of a good support group for a dairy intolerance in your infant, I highly recommend searching for that group on Facebook!
Since going dairy free, my oversupply has taken a huge dip. I am having to do a lot of things to help keep up my supply. It is amazing all of the good fat you get from all those delicious dairy filled foods. I am eating lots of avocado, oatmeal, lactation cookies, and drinking a ton of Body Armour drinks and water.
I have posted a no bake lactation cookie recipe when I was breastfeeding Avery and had tried the Keto diet and it killed my supply. I used the recipe to up my supply and they worked wonderfully.
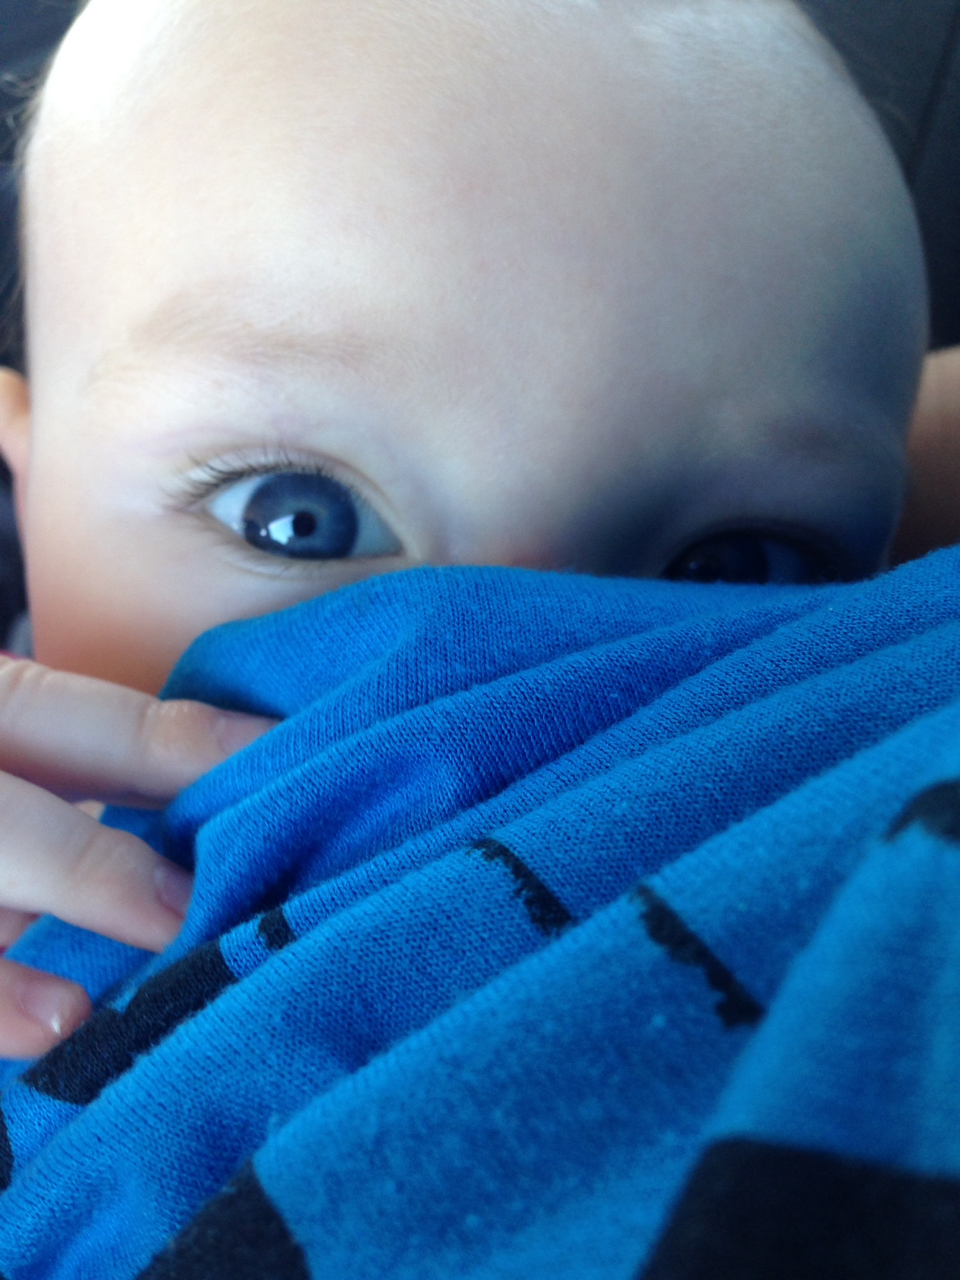
Look at Avery’s baby blues! Click here to see my original recipe.
Now that I have gone dairy free, I have tweaked the recipe a bit and am loving the results! I have had to substitute dairy free chocolate chips and added some coconut oil to up the healthy fats. Coconut oil is a new staple in my house. I have always used it for diaper cream, but now I am using it as a butter substitute as well! I should probably start putting it in my coffee too! Coconut oil is so good for you!
I did not get pictures of this tutorial as I am lucky to even have time to make them these days, let alone blog on them, but here I am! (You should see me typing right now with my babe strapped to me in my Solly Wrap as I type!) I have just a few minutes to finish this post up before starting dinner for the hubs and toddler so it’s ready when they get back from the gym. So here is the recipe!
DAIRY FREE BOOBIE BITES
2 1/4 c instant oats
1 1/2 T Brewer’s Yeast
1 1/4 c ground flaxseed
1 1/4 c shredded coconut
1/2 c dairy free chocolate chips (I like the Enjoy Life Mini Chocolate Chips)
1 1/4 c peanut butter
1/2 c raw honey
1/3 c coconut oil
splash of vanilla
Throw all dry ingredients into a bowl and mix them up. Add peanut butter, coconut flakes, honey, coconut oil, and vanilla and mix well. Roll up the cookies in balls and put in the refrigerator.
Final product! Delicious Boobie Bites!
I like to make mine pretty big so I can easily grab one out of the fridge and go! I feed these to Avery and she loves them. I usually make a batch and eat a few throughout the day. What is great is they are full of good things for breastfeeding and the chocolate chips help that sweet tooth! I actually used to use more chocolate chips, but the dairy free ones are more expensive so I try to make the bag last. I like the mini ones because they spread out in the recipe more!