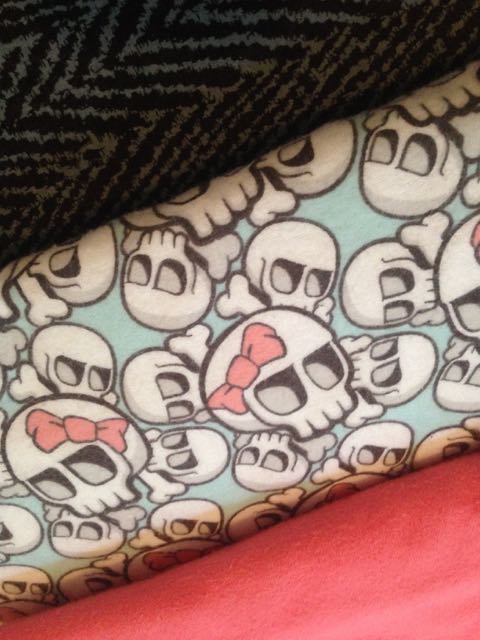
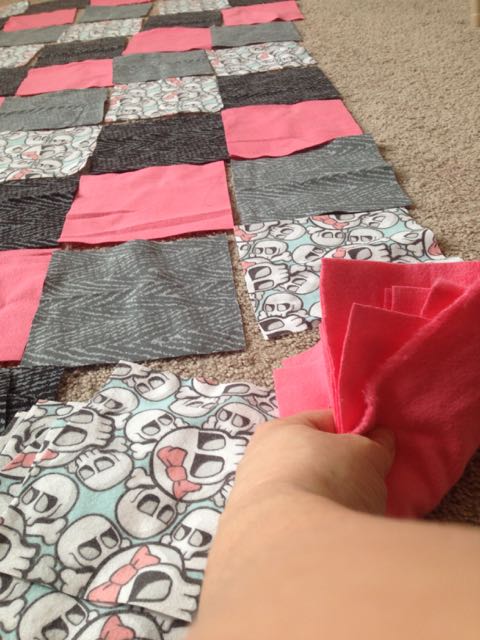
I posted a tutorial last month about how to make a flannel rag quilt using strips of flannel. This tutorial is a more advance version of the same technique. I was walking through the amazing flannel section at Joann’s and found the most adorable skulls with bows flannel and I had to have it! Alex loves skulls and since we are having a baby girl, I thought he would get a kick out of that fabric!
Skulls with bows!
Now when I purchased the material, I only got 1 yard of each, because I was thinking I was just going to make a strip rag quilt. After I got home, I decided to challenge myself and do the square quilt. Since you cut the sides of each square all the way around, this was going to shorten my blanket quite a bit. I went back, and of course I could not find the black and gray chevron anywhere. I did find a gray chevron that was the same, just a much lighter shade. I ended up getting another yard of the skulls and pink flannel and one of the gray chevron. I probably could have got away with 1 1/4 yard of each material since I did 4 different fabrics.
Square Rag Quilt
Materials:
4 coordinating fabrics 1 1/4 yard each
rotary cutter and mat
sewing machine
2 spools coordinating thread (I ran out and had to get more, but this project takes a lot of thread, especially when you quilt an X through each pair of squares. I would have 2 just in case!)
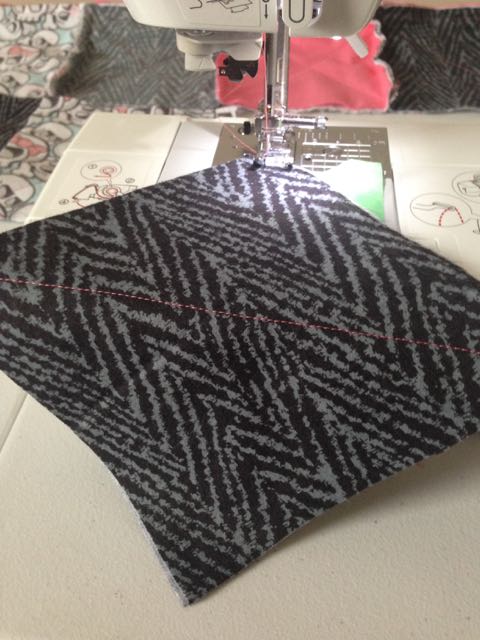
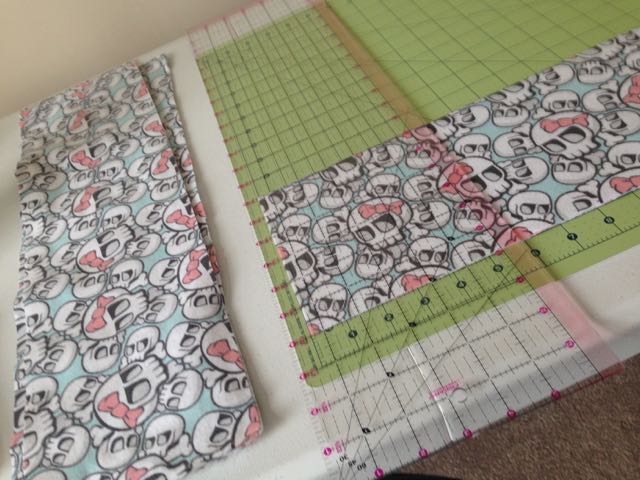
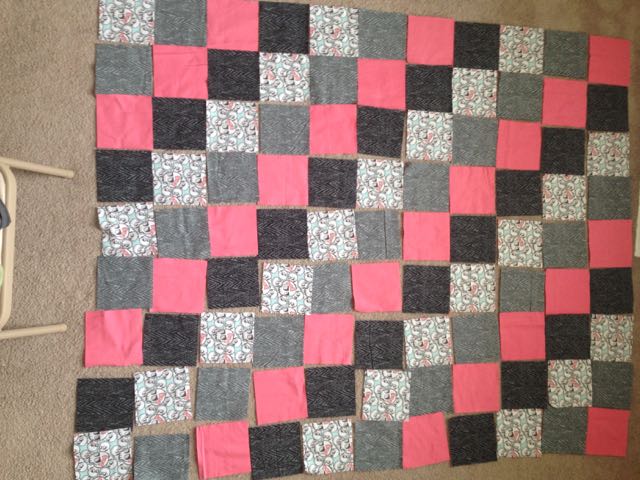
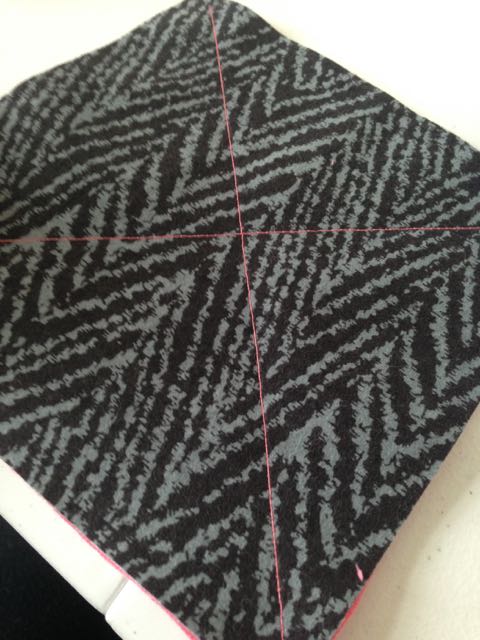
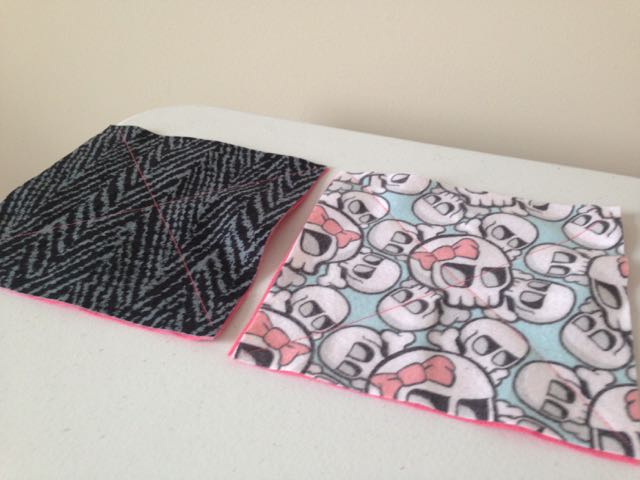
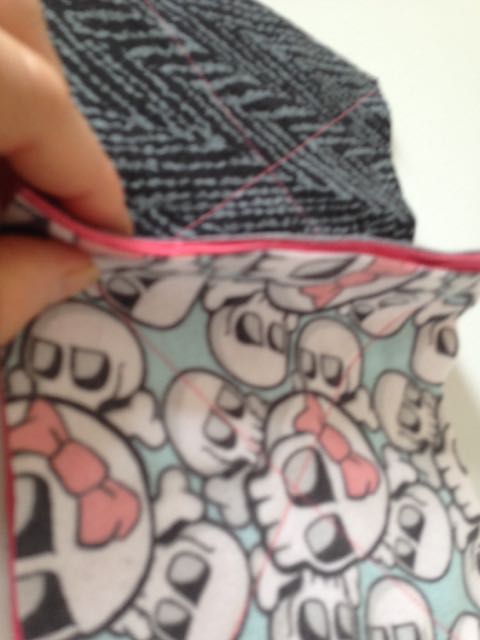
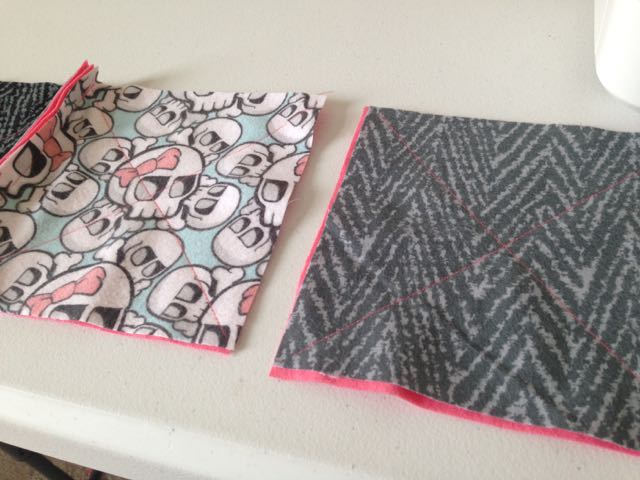
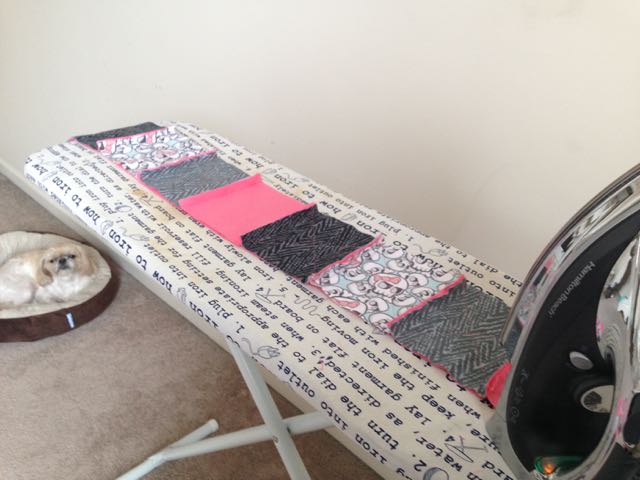
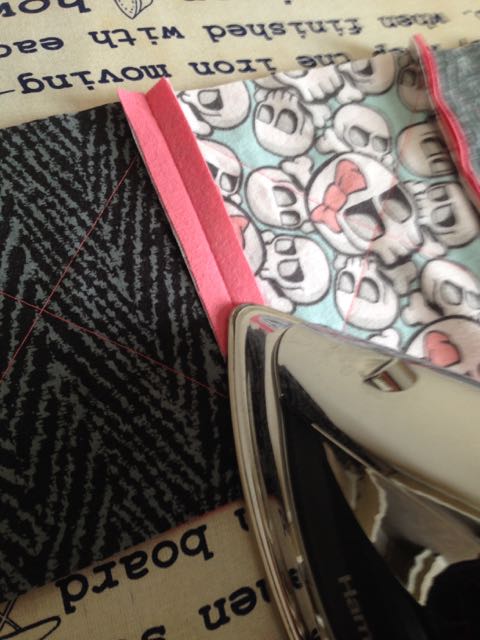
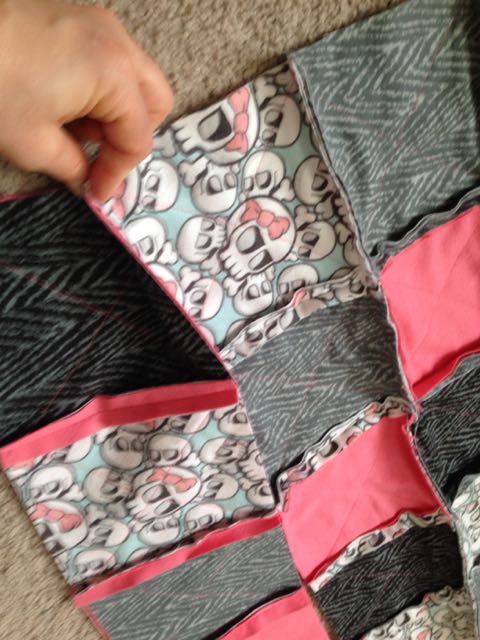
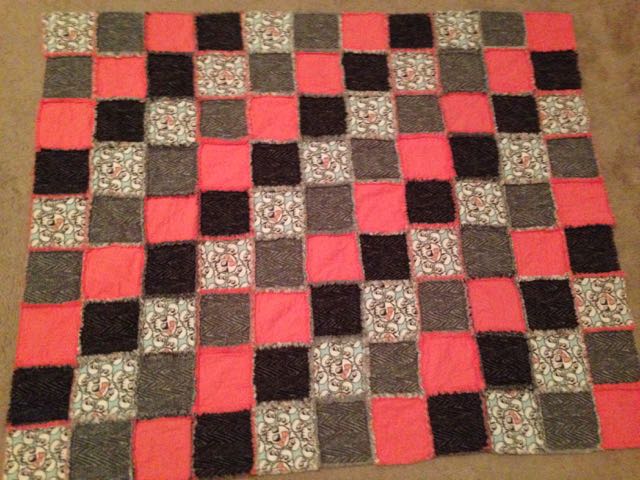
First, you need to cut your flannel into 6×6″ squares. I ended up folding the fabric in half and pressing it to get all the wrinkles out. Then I cut 6″ strips that I cut into 6×6″ squares. It makes it much easier when you have a rotary cutter and mat!After you cut out all of your squares, you need to lay out the pattern you would like your quilt to have on the front side.I ended up doing strips on the back side, and I was glad I did. It was hard enough to keep track of the pattern on front. Here I just laid out 9 of the same squares next to the front row it was coordinating with.Next, sandwich your front and back pieces and quilt an “x” on each one.I just used the table behind my sewing machine to lay them out in the order that they would be sewn into a row in.Once you quilt an “x” into each flannel sandwich in that row, put the back sides together and a 1/2 inch seam across. Sorry this is a terribly blurry picture, but you get the point.Now do the same to the next piece. Just remember you want that raw edge at the top so that your rag will all be on one side.Now press the seams open.This step is important when it comes to sewing the rows together!
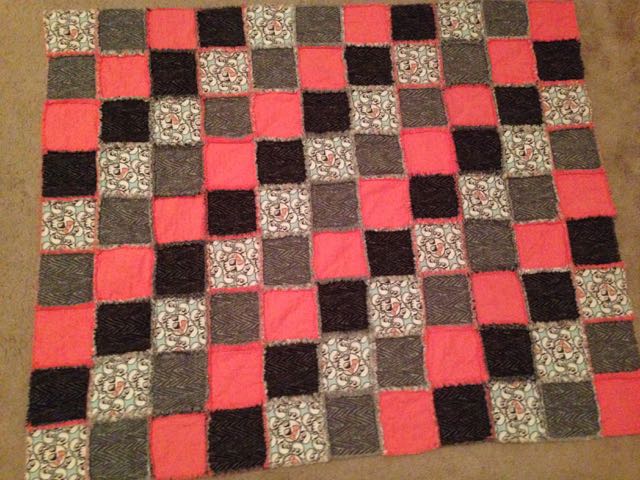
Continue doing this with each row until you have all your rows sewn. Then it is time to sew the rows together!
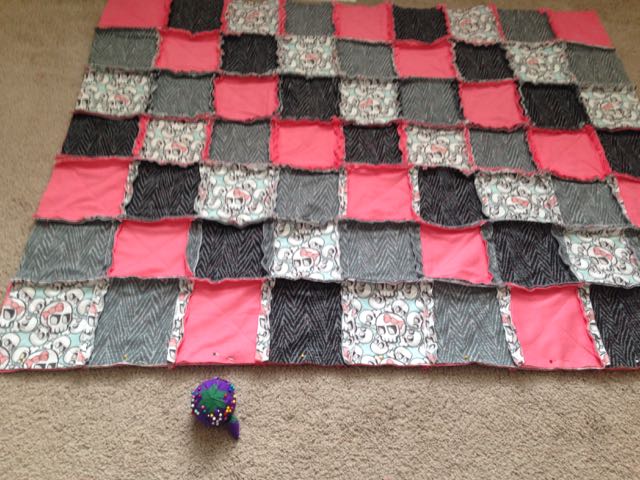
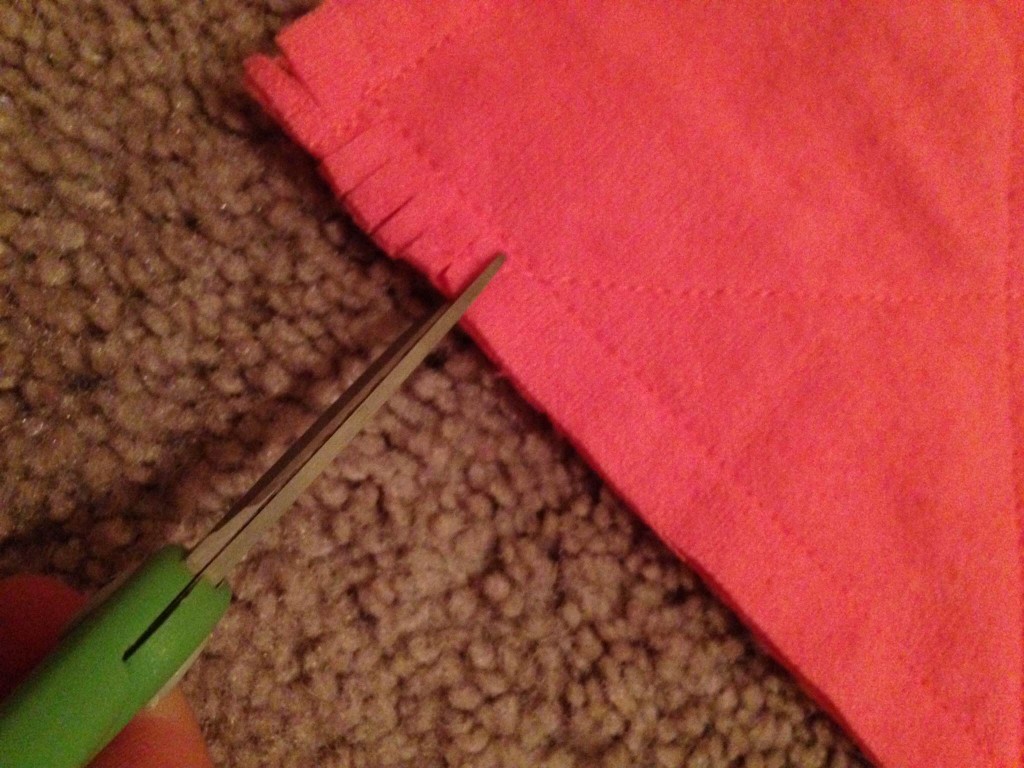
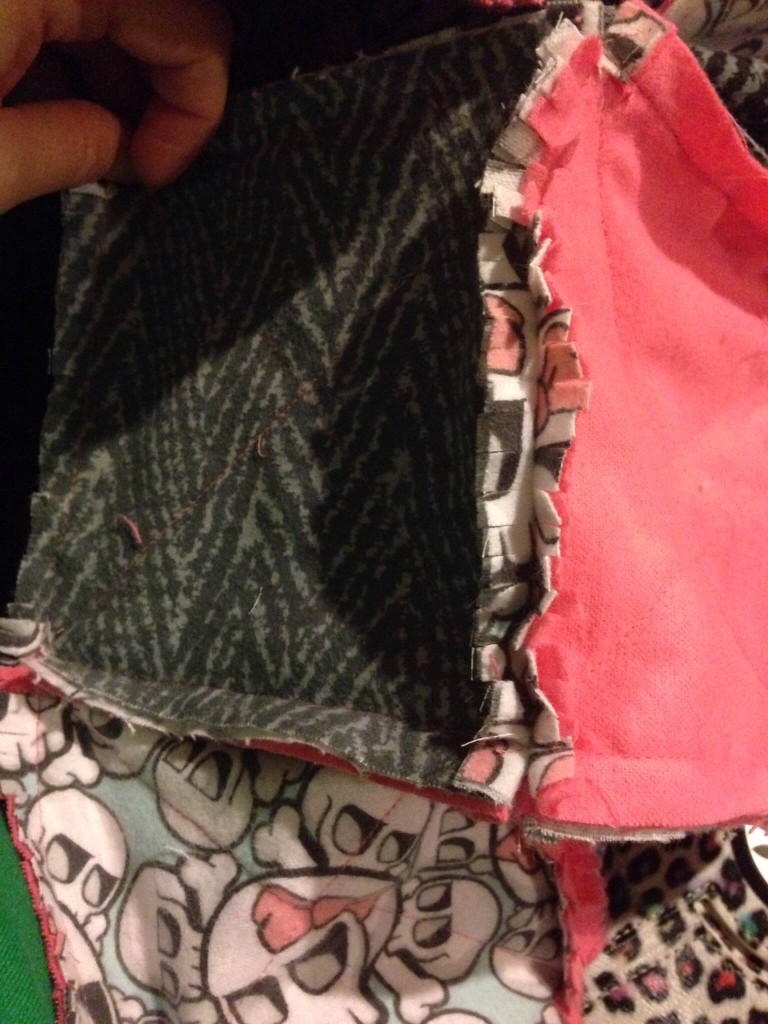
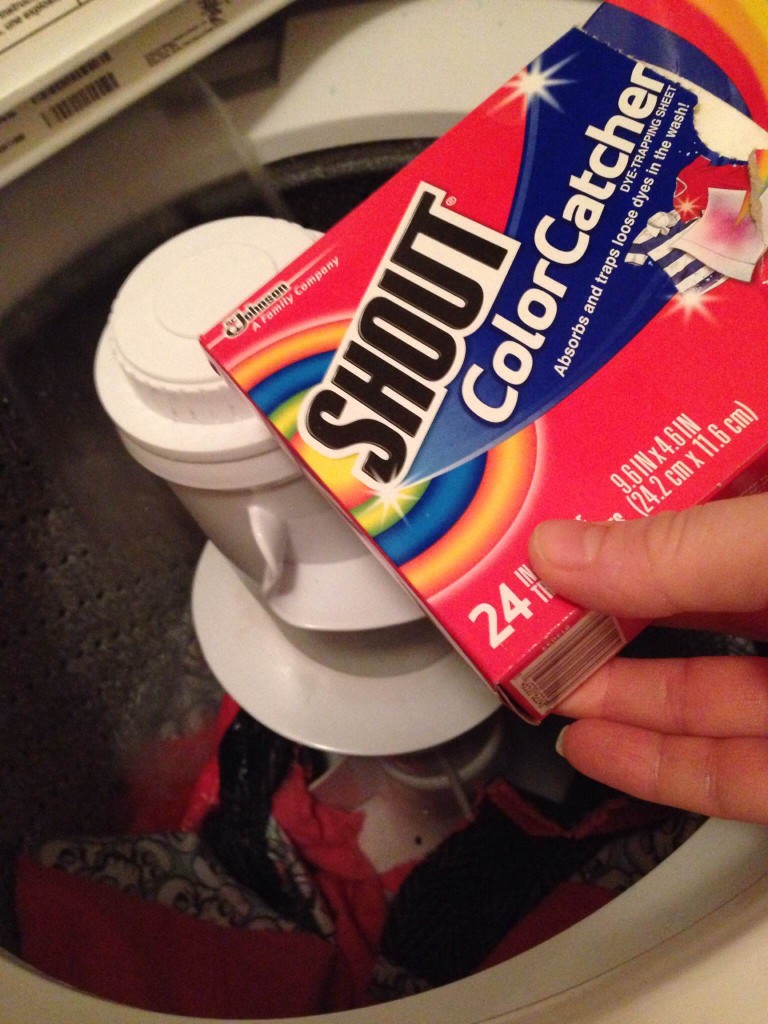
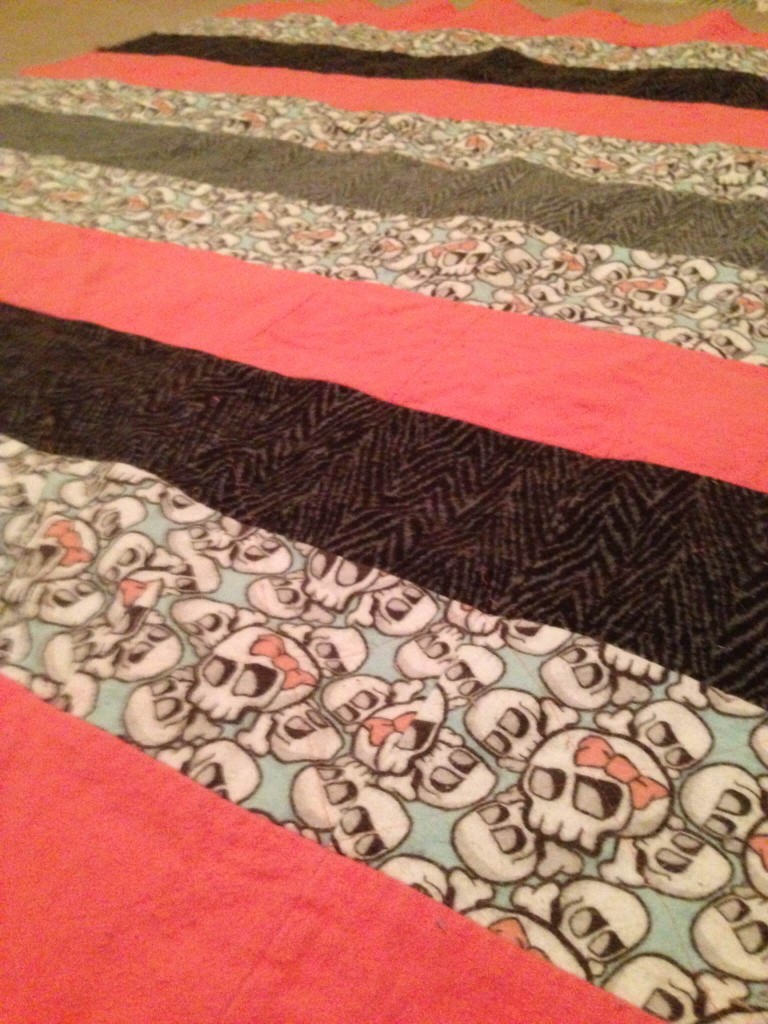
Now you do your rows the same as your squares. Make sure you get the raw side up. If you pinch them together like this, it will help you remember!I make sure to pin it good. This will help your rows not shift as you are sewing. I have my bottom sides together and pin all the way down.Once you get all the rows sewn together, make sure to square up the sides with your rotary cutter. Then starting at one side, sew a 1/2 inch seam all the way around the blanket pivoting at the corners.Now you need to get really friendly with your scissors. I usually would watch tv while I was doing this because it takes FOREVER. The result is worth it though, I promise!Do the same thing around every square.Once you have cut all your raw edges, it is time to wash! My grandma recommends to use a color catcher when you wash just in case your material bleeds. It would not be fun to ruin all that hard work!After you wash and dry the quilt, you will have to spend some time getting the pills off with a lint roller. I have gone through an entire lint roller on these blankets before. It is not fun, but once you are done it is totally worth it!Here is the back of my quilt! I am still in love with these skulls with bows!