![Chloe and Mia think we are really setting them up a nice bedroom!](https://www.savoreachsecond.com/wp-content/uploads/2015/03/IMG_1526.jpg)
My Grandma Bloesser came down over my Spring Break and we sewed til we dropped! I had a long list of things to make and we sure got a lot done even though I was still recovering from being sick. Many people told me I was crazy for wanting to sew my own crib sheets, but I am so glad I did! They were so easy and fun to make! I have looked at crib sets that they sell out there and I can’t justify spending over $100 for crib bedding when they say crib bumpers and comforters shouldn’t even be used because of suffocation risks. All you really need is a few crib sheets to get you by. I love this because I got to shop for all my materials to coordinate in Avery’s nursery and it is coming together so beautifully!
DIY Crib Sheet Tutorial
Materials:
2 yards of fabric
80 inches 1/4″ skinny elastic
Sewing machine
Coordinating thread
Rotary cutter and mat
Directions:
Prewash your material and iron good before cutting.
![Make sure to cut off your selvage edges before getting started.](https://www.savoreachsecond.com/wp-content/uploads/2015/03/IMG_1509.jpg)
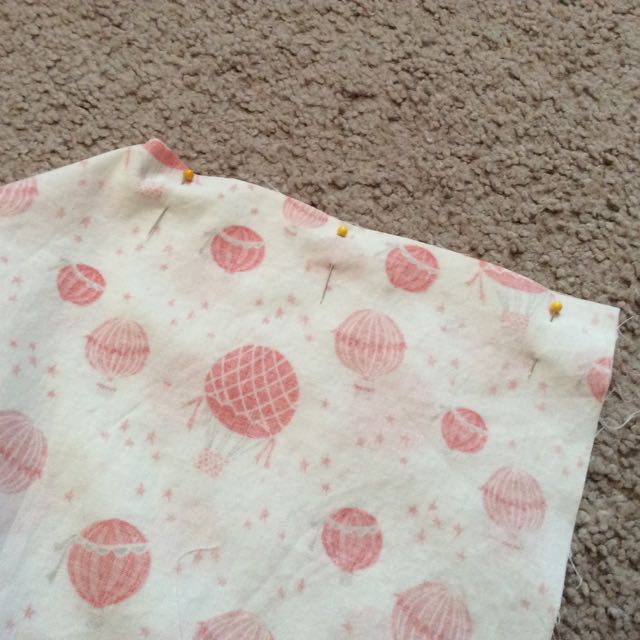
Cut your material to 42×67″. Cut out a 7.5 x 7.5″ square from each corner. You can fold the material and cut two out at a time. We tried doing 4 the first time and they were a little off.
![I used my Silhouette Cameo to cut out a good square to use over and over to avoid me having to measure over and over.](https://www.savoreachsecond.com/wp-content/uploads/2015/03/IMG_1511.jpg)
![Pin right sides together of each corner.](https://www.savoreachsecond.com/wp-content/uploads/2015/03/IMG_1515.jpg)
![I did a 1/2" straight stitch and added a zig zag stitch in between to help with fraying.](https://www.savoreachsecond.com/wp-content/uploads/2015/03/IMG_1517.jpg)
![After sewing up all four corners, sew a zig zag all the way around the sheet. If you have a serger, you can just serge all around. Again, this will help with fraying.](https://www.savoreachsecond.com/wp-content/uploads/2015/03/IMG_1521.jpg)
![Using a seam gauge, fold over the edge all the way around the material at a 1/2" seam.](https://www.savoreachsecond.com/wp-content/uploads/2015/03/IMG_1522.jpg)
![Leaving at least a 2" gap from start to finish, sew a straight stitch with a 1/4" seam allowance. Try to stay as straight as you can as this is the casing you have to push the elastic through.](https://www.savoreachsecond.com/wp-content/uploads/2015/03/IMG_6562.jpg)
![Use a safety pin and feed it through the casing all the way around.](https://www.savoreachsecond.com/wp-content/uploads/2015/03/IMG_65631.jpg)
![After you get through the end, stitch the elastic together. I did this a few times front and back to make sure it stays together!](https://www.savoreachsecond.com/wp-content/uploads/2015/03/IMG_6564.jpg)
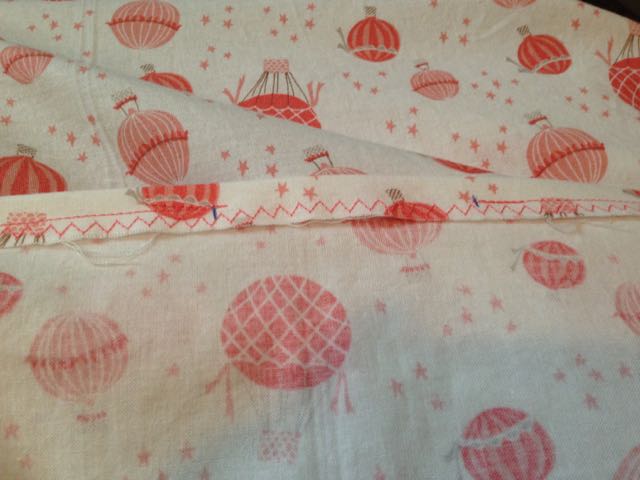
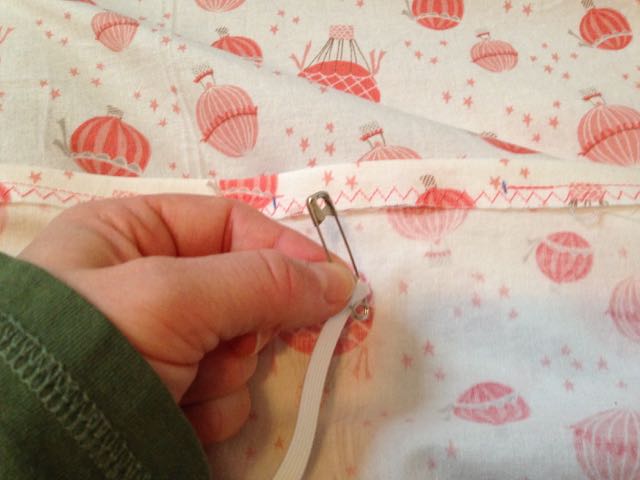
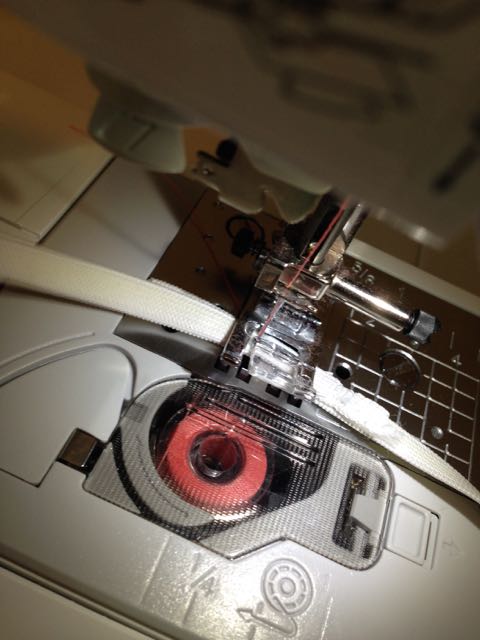
Stretch out the elastic all the way around all the corners and voila! A crib sheet is made!
![Here is my hot air balloon crib sheet complete with our ruffle crib skirt and teething rail!](https://www.savoreachsecond.com/wp-content/uploads/2015/03/IMG_6604.jpg)
![This is the crib sheet that Grandma Bloesser whipped up! I love the owls with the pops of coral in the material. So cute and custom too!](https://www.savoreachsecond.com/wp-content/uploads/2015/03/IMG_6561.jpg)
I will get more tutorials up over the next few weeks, so check back!