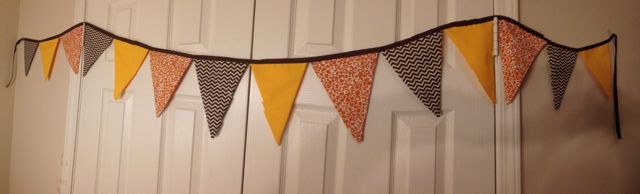

I am now making fabric bunting in my Etsy Shop! The idea is to get a picture of the baby’s bedding and make it to match. Then the bunting has dual purpose as decoration for a shower and then can be hung in the nursery after!


I am now making fabric bunting in my Etsy Shop! The idea is to get a picture of the baby’s bedding and make it to match. Then the bunting has dual purpose as decoration for a shower and then can be hung in the nursery after!
There are so many things that we have to watch in our diet these days. Alex found out that he has a gluten intolerance. He felt like this might have been the case for awhile and decided after the holidays were over that he would try to take gluten out of his diet. Alex has always had a love for a large variety of beer, so this wasn’t an easy change to make.
Gluten is in wheat, barley, and rye. That means no flour, bread, or pasta! I think the biggest adjustment I have had to make is not being able to eat flour tortillas. I do still eat gluten, but at home I pretty much follow his diet for the most part. Luckily, Alex can have corn tortillas, which means we eat Mexican food a lot! (This is ok with this SWKS girl!)
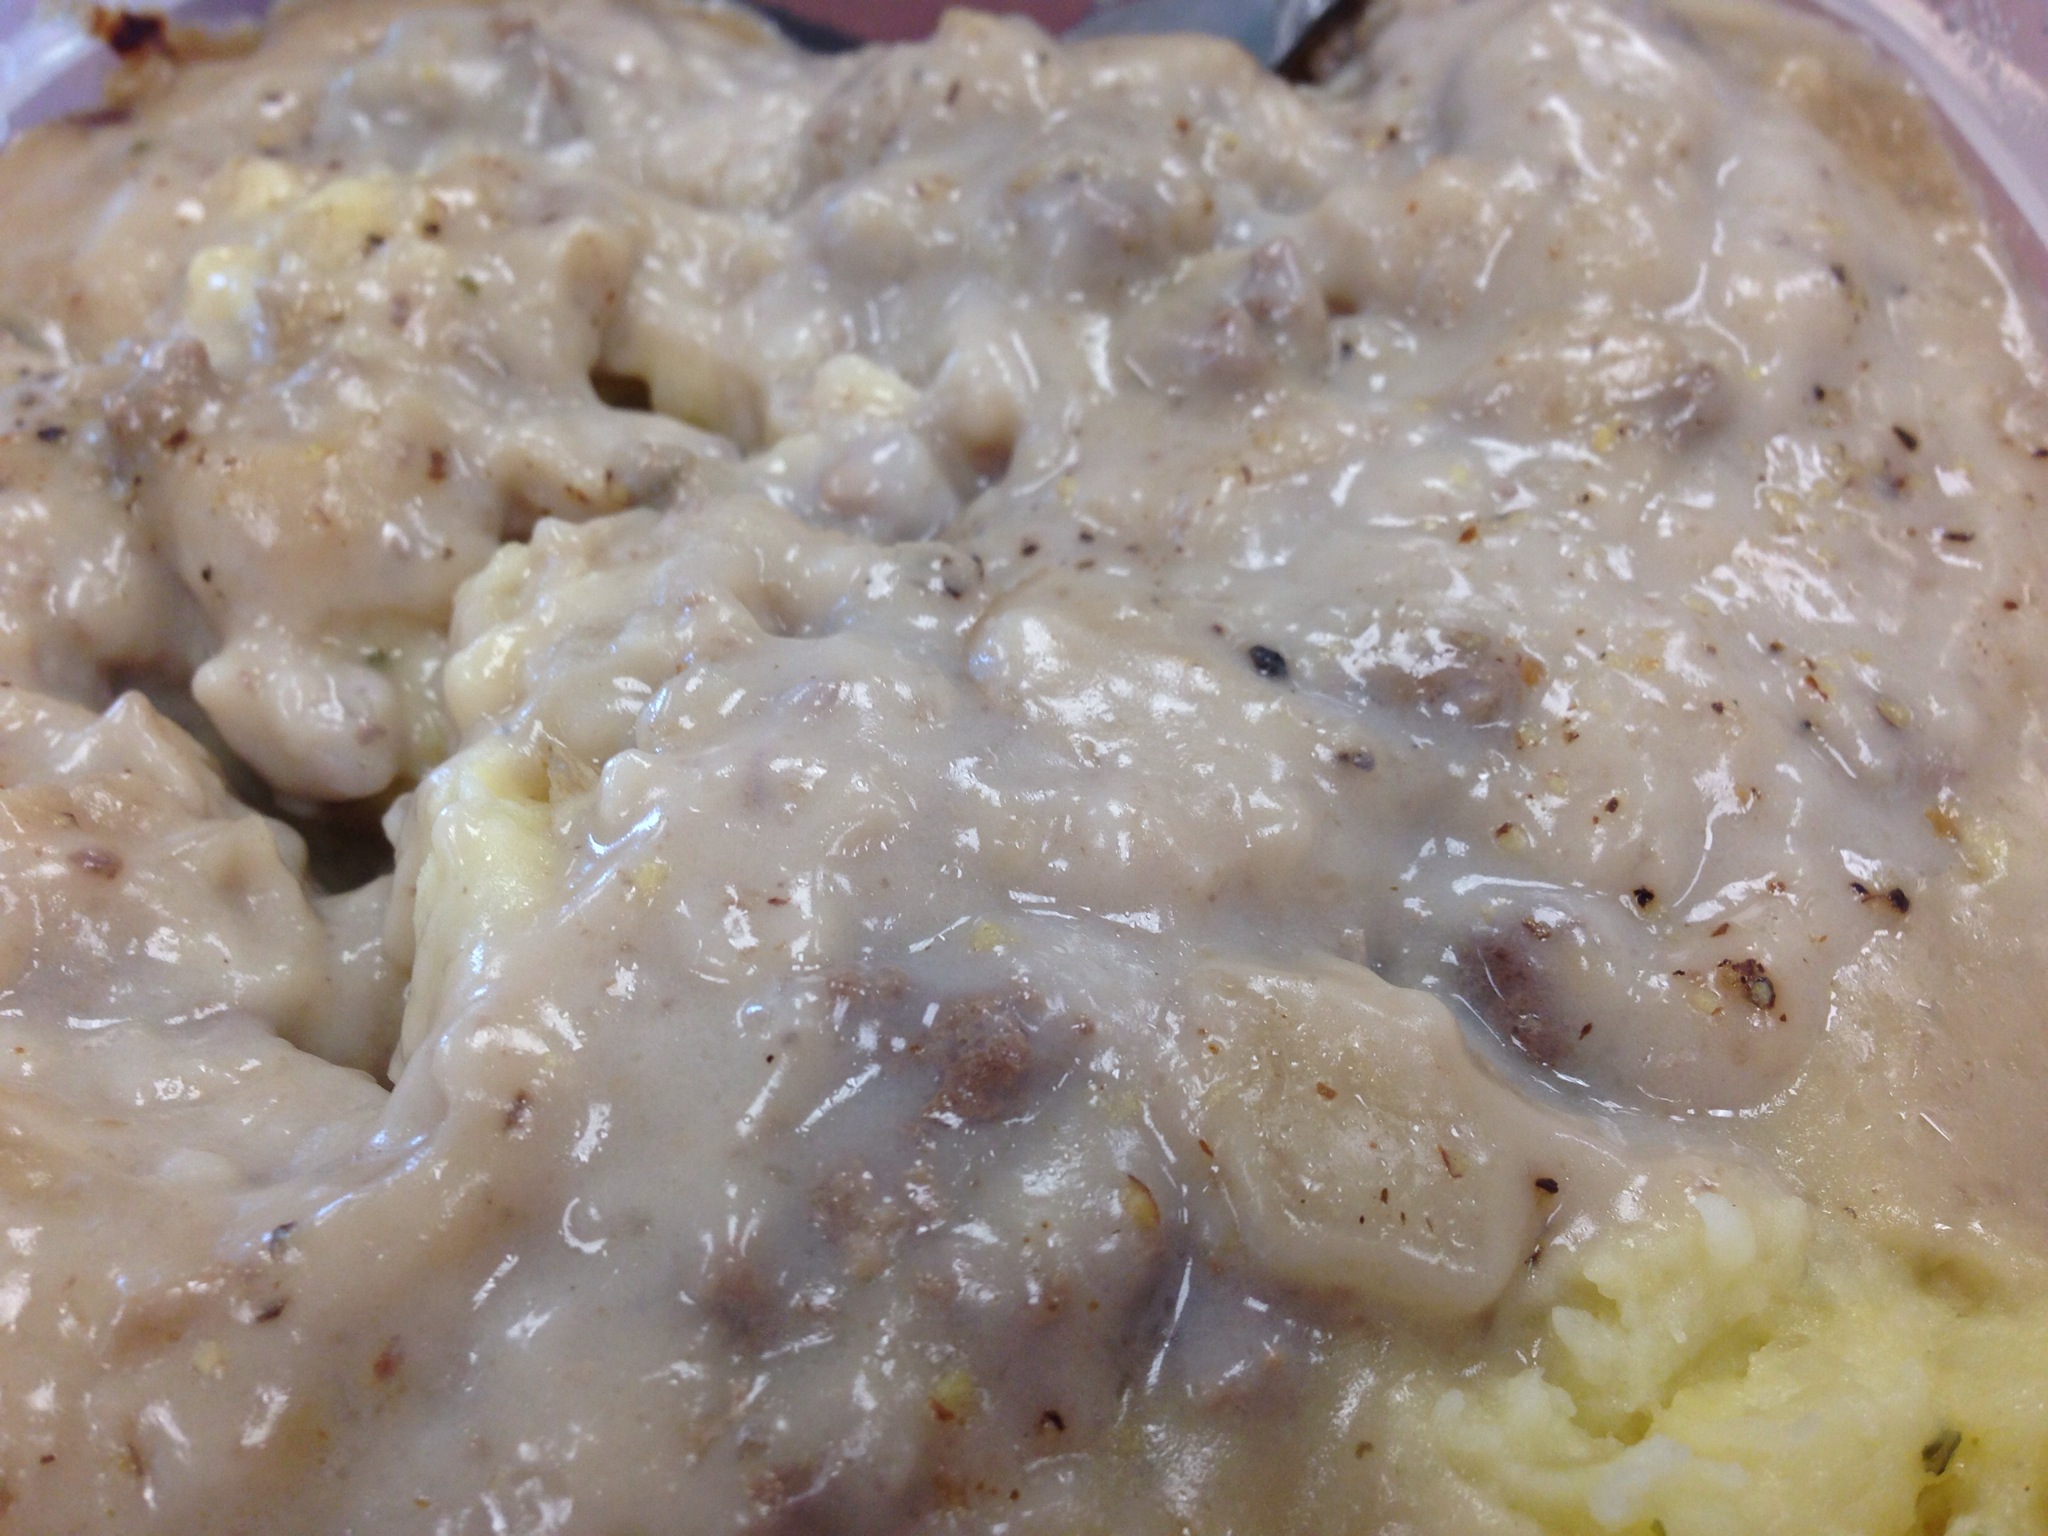
There are things that he misses a lot. I found a blog that had a gluten free hamburger gravy recipe and a few weeks ago I tried it out and last night I made it again! You really can’t even tell it is gluten free! Alex found this recipe online and wanted me to give it a try. Check out Karissa Wagner’s recipe here.
I added some minced garlic and used a “Beef flavored Better than Boullion Soup Base” in lieu of boullion granules. I have the chicken flavored that I use as well. It has a really rich flavor.
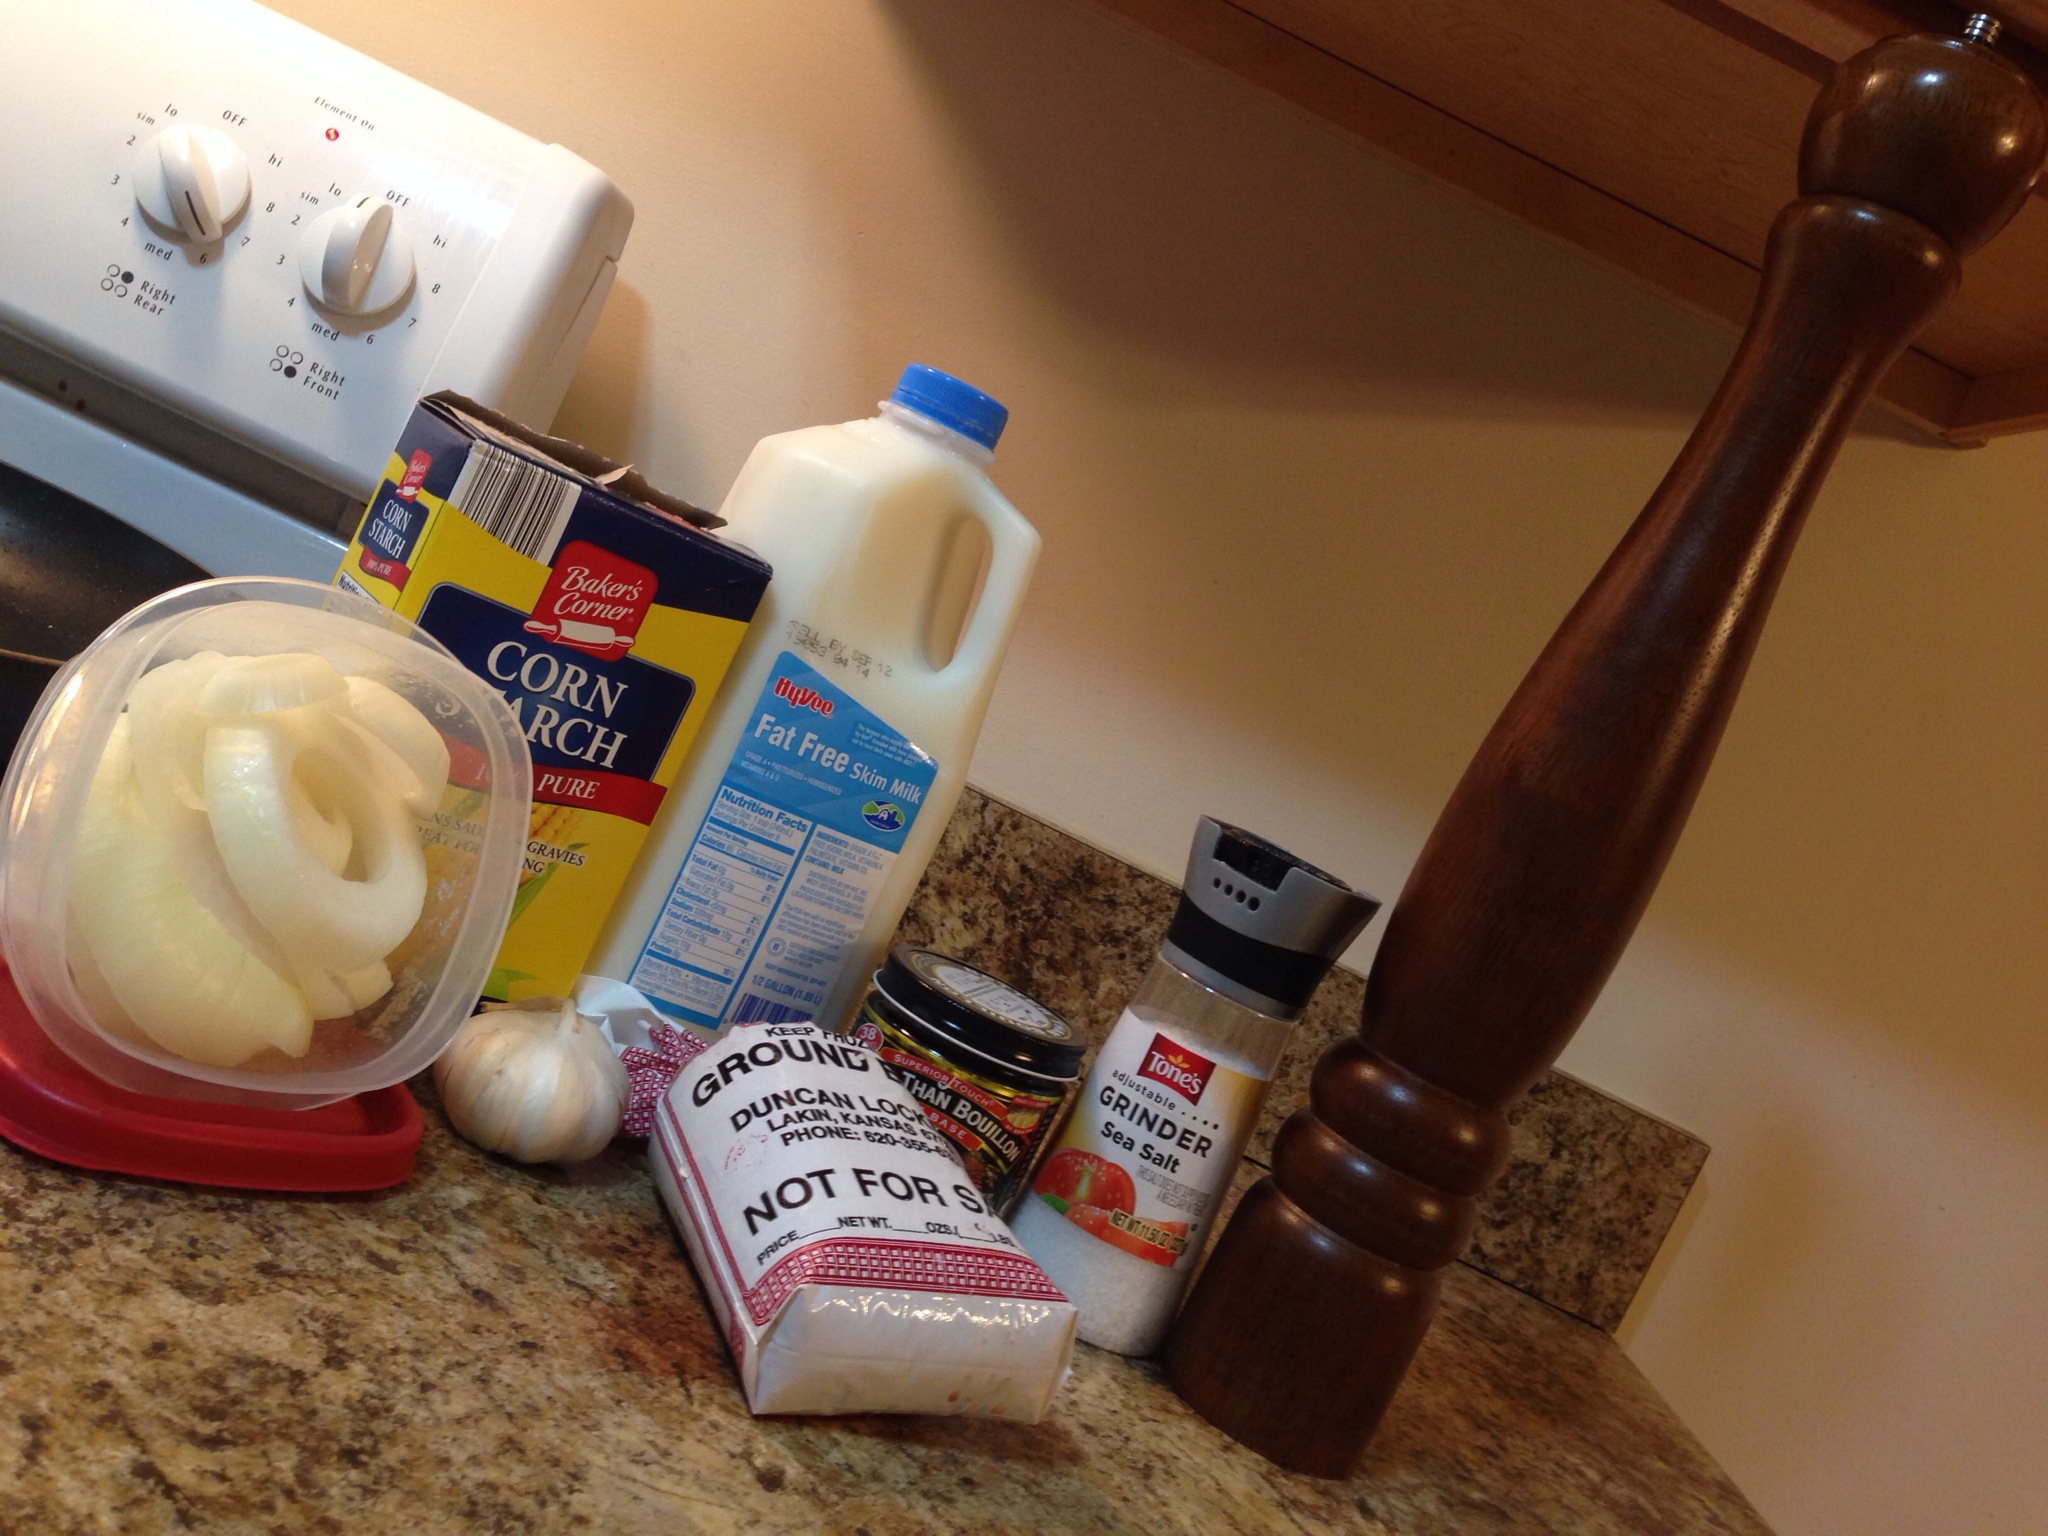
Gluten Free Hamburger Gravy
5 cups milk
1/2 onion chopped
2 cloves minced garlic
1 tsp beef bouillon soup mix
1/2 cup corn starch
Salt & Pepper to taste
Brown hamburger, garlic, and onion. Drain grease. Add bouillon and corn starch stirring well. Slowly add milk while stirring constantly on med high heat until gravy thickens. (12-15 minutes) Add salt and pepper while the gravy is thickening.
Serve over hot mashed potatoes!


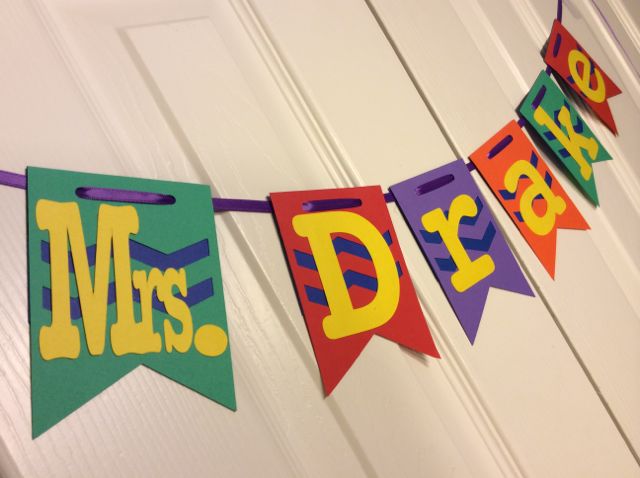
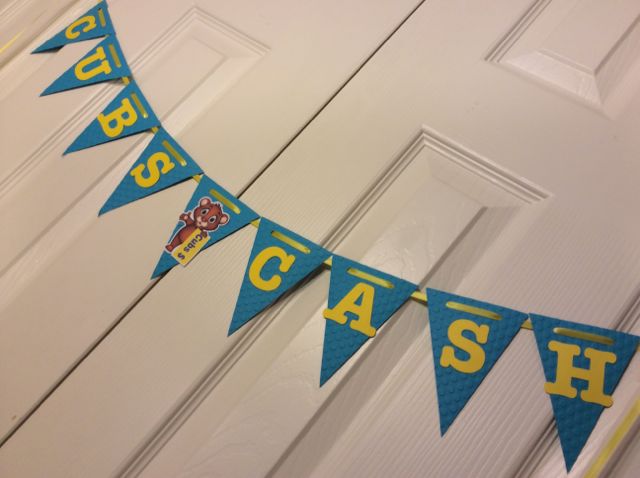
Most schools are already underway and I would be lying if I said I didn’t miss my classroom! Getting my classroom ready was one of my favorite things! Thankfully, I had a few banners that I put together for some of my teacher friends to keep me busy. When I cleaned out my classroom, I put all of my bulletin board banners in the lounge. I sent an email out letting everyone know that they were up for grabs. I will never forget Mrs. White running down the hall saying, “Why didn’t you ask me first?! I want those banners!” She has incorporated all of the banners in her classroom this year and asked if I could make a couple more for her.
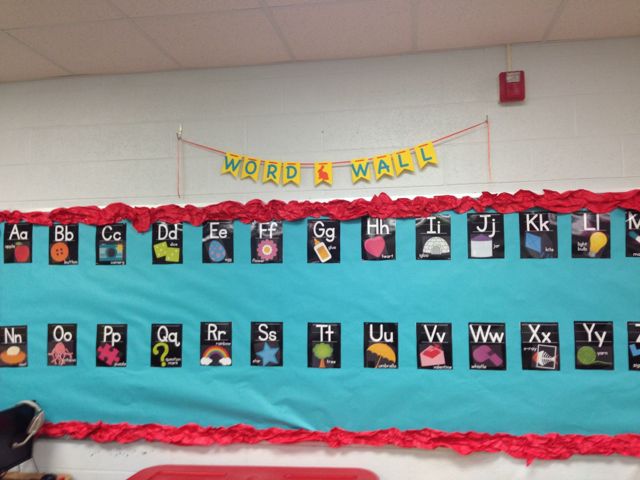
Mrs. Heather was another one of my teacher friends that wanted me to help her with her room. She sent me a pin with a theme that she liked. It was so cute with little silhouettes of children all over the room. Since the theme of the school was animals, we decided it would be fun to do silhouettes of animals instead. Since she is teaching Kindergarten this year, we did farm animals! (The pig is my favorite!)


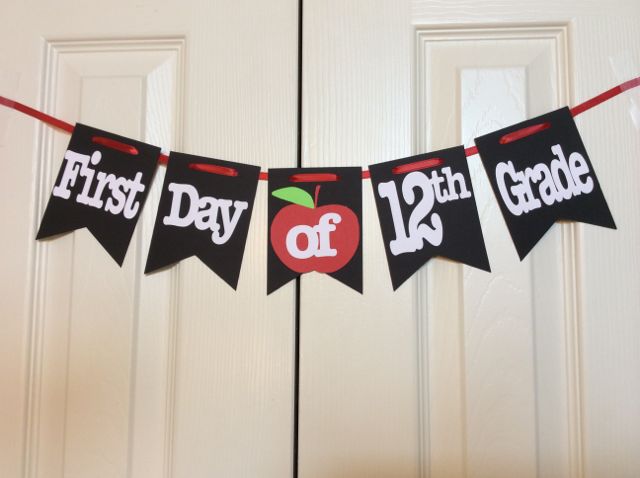
I definitely had fun whipping up some school banners for my teacher friends! I also wanted to share a banner that I made for first and last day school pictures. I was contacted by a girl from my hometown that had a little girl getting ready to start preschool. She had seen my posts on Facebook and wanted a banner that she could hold in the pictures. I was excited because this was a banner that I was already brainstorming, but she gave me a reason to whip it up! The banner comes with two sided pennants with all grade levels so you can use it for multiple kids and all the way through school! To purchase this banner check out my listing on Etsy!


That is all for today! If you are in need of any banners for your classroom or your child’s teacher, let me know!

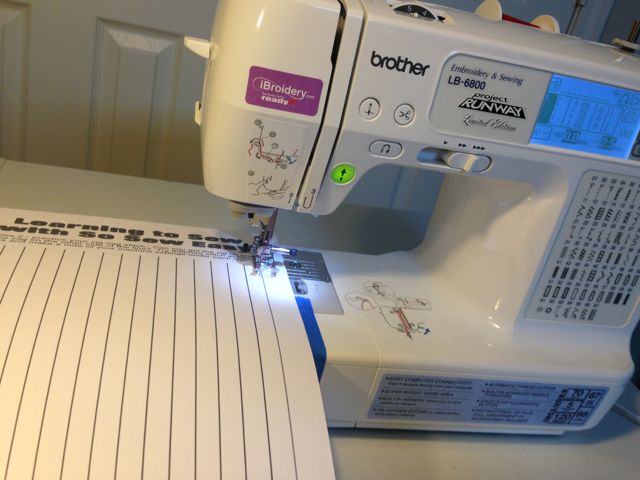
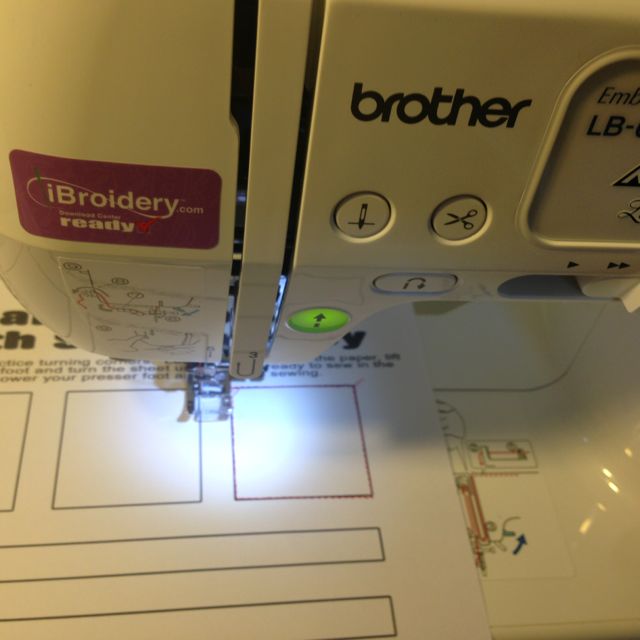
In June I purchased my first sewing machine! I did my homework and found a good machine on amazon.com. The machine I purchased is the Brother LB-6800. It was a combo pack that came with a tote to store it! I made sure to get a machine that has embroidery capabilities. I figured embroidered items would be a great addition to my Etsy shop! Both of my wonderful grandmas can sew and my great grandma was an amazing seamstress as well. I wish that I would have taken it up more when I was younger, but I got frustrated easily and never really learned how to sew without the help of someone over my shoulder. That being said, I have the “craft” gene and I should be able to catch on pretty easy.
When I graduated college, my Grandma Bloesser gave me an old machine of hers so I could make some curtains. I got it home and couldn’t figure out how to thread the damn thing, broke a few bobbins and handed it off to a cousin because I had no idea what I was doing! I wish I could go back to that day now, because with YouTube and Pinterest, there are so many great tutorials out there that would have helped me. Keep in mind, I was not even on Facebook yet back then! It is amazing how much technology has changed since then! (I still have college papers on those old “floppy” disks!)
I found a Sewing 101 class at Joann’s and have officially completed my first class as of Tuesday this week! I was surprised to get there and be the youngest one there. I figured older ladies already knew how to sew! Our instructor, Jeanette was a sweet lady that was very impressed that a woman my age was interested in learning to sew! I felt bad though, because she had to stay an extra half hour after class to help me because I managed to break 2 needles and have a few other issues with my machine. She was so patient and helpful! I even signed up for her next class making a pair of Lazy Pants next month.
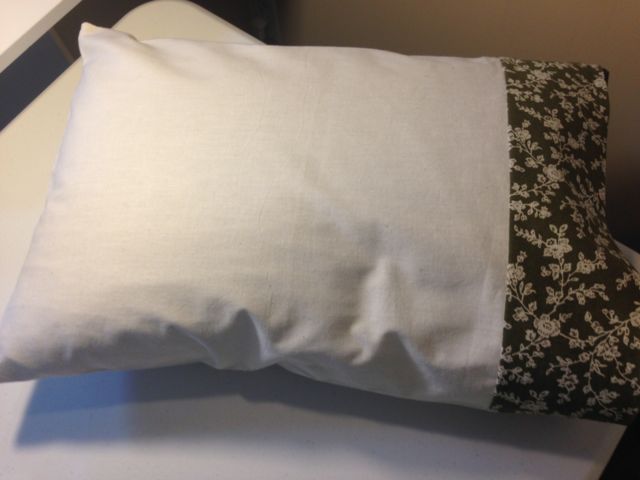
We talked about different terminology, parts of the machines, picking out fabric, using patterns, etc. I made sure to ask questions when I had one. We made a travel pillowcase with a jelly roll and a french seem. I have to admit, I had a hard time understanding what a jelly roll was and why we were doing it, but once the project started going it was easier to get a visual. My pillowcase was not perfect, but I learned so much in the class!
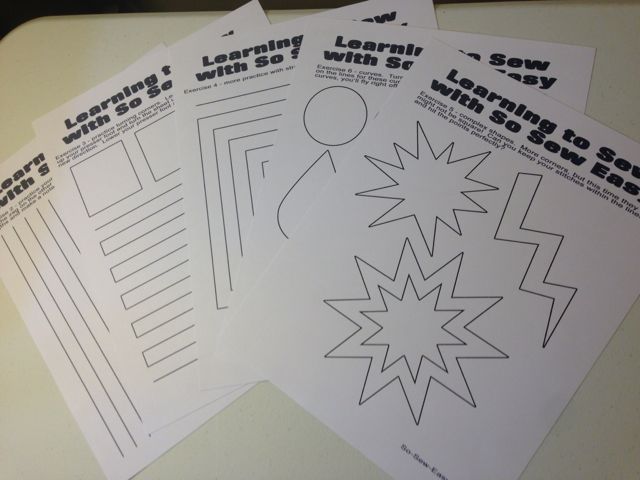
I wanted to write this post and share with you my sewing journey, as I plan on mastering it and sewing up some beautiful creations! I found an amazing website on Pinterest that I wanted to share. It has different worksheets to practice sewing a straight line, corners, turns, and curves. I am working on my second set of worksheets today as I found them very helpful! Check out the following link at Sew So Easy to print off your practice sheets today!