I recently spent about 2 weeks back in my hometown. It was so nice to spend time with my family! My Grandma Bloesser had just had knee surgery and my Grandpa Bloesser had been dealing with kidney stones for almost a month! I felt so blessed at the support the community of Ulysses. Every day there was someone checking up or dropping something off whether it was frozen meals, comfort foods, and some delicious sour cream lemon pie!
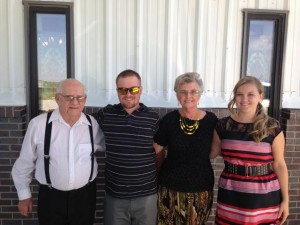
Chloe and Mia posing by Grandma Bloesser’s Hibiscus flowers while we were home.Here is a shot of my brother and I with my Grandpa and Grandma Underhill. Grandma was sweet enough to give me a box of poppy seeds when I was back home when I told her how amazing that meal was! Now this meal reminds me of my grannies!
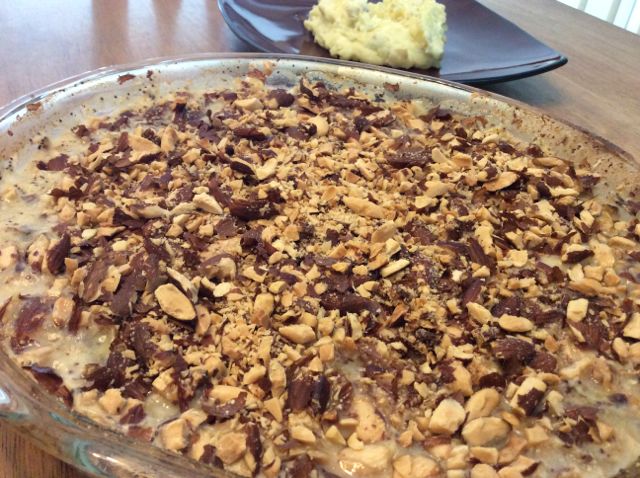
My home ec teacher, Mrs. Chadd was one of the amazing community members I was talking about. She brought over a poppy seed chicken dish that was DELICIOUS! An hour after eating that night, I messaged her for the recipe. She was kind enough to send it to me! Unfortunately, I learned that the delicious crunchy topping is a sleeve of crushed up Ritz crackers and 1/4 c melted butter. Alex can’t have the crackers, so I had to get creative with my topping. I am pretty happy with the results as it is a pretty healthy meal packed with protein! The first time I made it, Alex suggested mashed potatoes next time and I think it would be delicious over quinoa too! Enjoy!
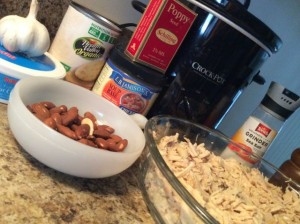
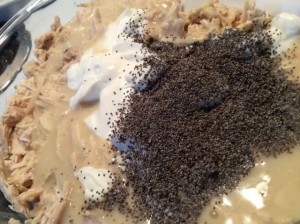
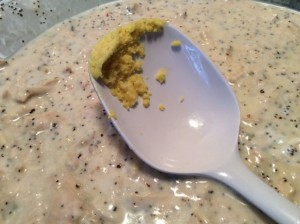
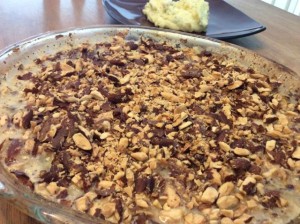
The only ingredient missing here was the butter for the crushed almond topping.After shredding the chicken, mix the sour cream, cream of chicken, poppy seeds, and shredded chicken.If you have never used this stuff, it is amazing! You have to be careful because it tends to be a bit on the salty side, it is powerful stuff!However, since the gluten free cream of chicken is a little bland, I like to add an extra tablespoon to give it a kick! If you are not worried about making it gluten free, you can probably omit this extra addition.Top with almond topping and toss in an oven on 350 degrees for 35 minutes!Alex likes his over mashed potatoes!
Gluten Free Poppyseed Chicken
4 boneless chicken breasts
2 cups water
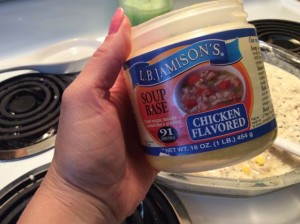
1-2 T chicken flavored soup base
Salt & Pepper to taste
2 cloves minced garlic
8 oz. sour cream
1 can gluten free cream of chicken
3 tsp. poppy seed
1 1/2 c. almonds (crushed)
1 T melted butter
Throw some frozen chicken breasts in the crockpot with water, garlic, soup base, salt & pepper on high for a few hours to get the chicken breasts thawed out. After a few hours, put the chicken on low. When the chicken is finished, put chicken in a casserole dish to cool. Using two forks, shred the chicken. Add sour cream, cream if chicken, 1 T of chicken flavored soup base, salt, pepper, and poppy seeds. Melt 1 T of butter and mix with crushed almonds. Cover the top of the dish with crushed almond topping.
Has it been a million years since I have published something on here? I am pretty sure it has! It makes me sad because I love blogging so much and I miss it! I am going to try to get some more posts going on here starting today! This summer has flown by so fast it is crazy! Let me update you on a few things.
My biggest news is that Alex and I are getting married! We don’t know when or where and I have stressed myself over the entire thing. Let me tell you one thing…weddings are EXPENSIVE! We don’t want to spend a ton of money, but we do want a great time with our family and closest friends. Stay tuned for many DIY wedding projects!I opened up an Etsy shop in January. I create handmade banners, party accessories, and vinyl signs. In June, I decided to try to take my shop full time. Click this picture to check out more about my services!I am taking a break from teaching full time and will be substituting this year. This will give me more time to try to get my Etsy shop going full time. I am excited to be trying a new district that is closer to my house. I will miss having my own classroom, but am excited to try out multiple grade levels!
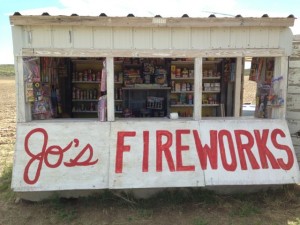
We have had a pretty busy summer. My soon to be in-laws have a fireworks stand that they have done the past 32 years. The last two years, Alex and I helped run the stand with his cousin Jillana. It is fun to spend time with Alex’s family and get to know the family business. I have learned so much about fireworks! It is fun to see how excited everyone is when they come.
This is Jo’s Fireworks located in a wheat field outside of Haigler, NE. Click this photo to check out our Facebook page!Here is the vinyl sign I made with my Cricut last year for the stand.
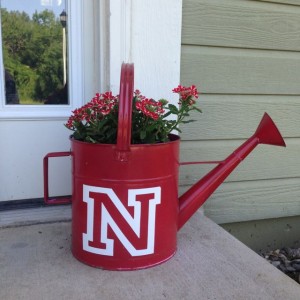
When we went back to Haigler for a week, my neighbor was sweet enough to water all of my plants for me. I never really started planting things until last summer. I love planting and taking care of my flowers. It can be stressful being away from home that long, so I am glad I have great neighbors to help out!
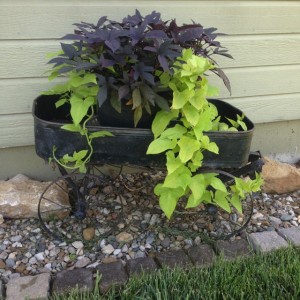
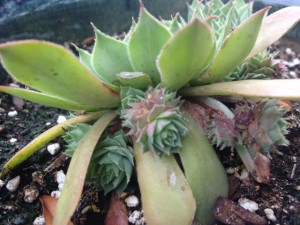
This year I planted Vodoo Red Stars instead of Geraniums in my Nebraska watering can! Click on the photo to see the DIY blog post to learn how to make your own!My Grandma Bloesser urged me to try sweet potato vine in my yard and I am in love with it! Look how pretty it drapes around the wagon!Chicks & Hens are also a new addition to my yard! They are super easy to take care of and I love watching the babies appear! Alex’s mom had some of these at her house and I decided to try them. I need to move them to a flowerbed, as they just want to spread all over the place!
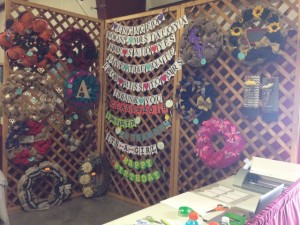
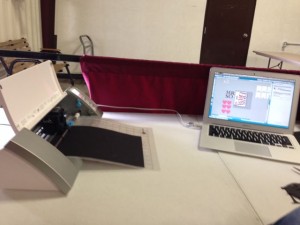
After being gone selling fireworks for a week, I had to get home to get ready for my booth at the fair in my hometown. After the fair, Alex came down and we headed to my great-grandparents cabin with the whole Waechter bunch! Let’s just say that it was a crazy July with a lot of stuff going on! Check out a few pictures from our trip.
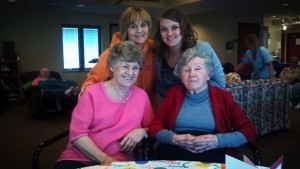
This was the booth I had with a friend of mine. She made the wreaths and I did the banners.Most of my business was custom orders that I did right there! It was fun, but I wish I wouldn’t have tried to guess what everyone would want!The whole bunch!Chloe and Mia got to spend the weekend with Grandma and Grandpa Bloesser. Grandma had just had surgery and Grandpa was not feeling well either. I was glad they were able to keep them company!The day before we left, we found out that my Great-Grandma Chilson passed away. She was 94 and boy, was she a tough old bird! Here is the last 4 generations picture we took at her 92nd birthday.The Chilson family getting together to celebrate Great-Grandma Chilson’s life.
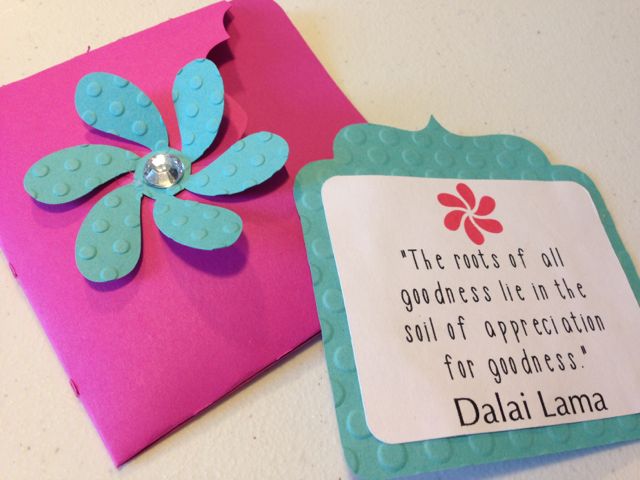
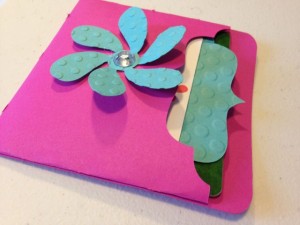
Now that I have updated you on my summer, it is time to get down to business. I wanted to thank my neighbor for being so helpful while I was gone. I had a gift card to give her and wanted a nice Thank You to go with it.
I thought the quote was a good way to thank her for taking care of my plants! “The roots of all goodness lie in the soil of appreciation for goodness.” Dalai LamaI used a library pocket that I found on the Silhouette Online Store for $0.99!
The library pocket was blank, and I added a flower cutout and a darling rhinestone to dress it up a little bit. I also used my Cricut Cuttlebug to emboss the card and flower with polka dots! If you have a die cutting machine and do not have one of these…GET ONE! They are amazing!
If you in need of anything party related, I am your new best friend!
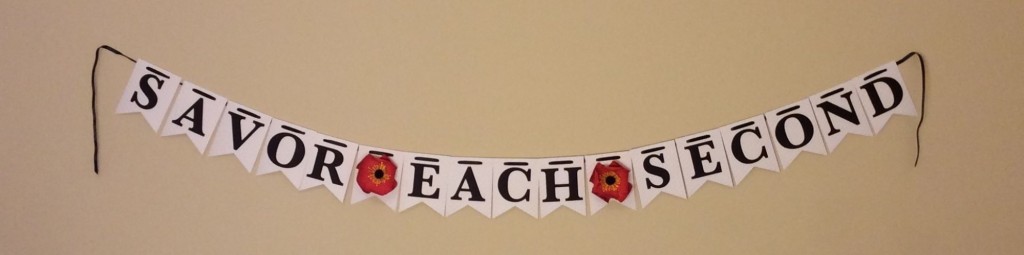
I have a shop on Etsy called Savor Each Second. I create custom banners and party accessories for almost any theme imaginable! Just tell me what you are wanting as far as theme, color, etc. and I will create your party decor! I specialize in making custom banners, but I also do invitations, cupcake toppers, party favor tags, centerpieces, photo props, and many other items. I can even do custom vinyl signs with lettering up to 12 inches tall and 6 feet wide! Click on the items below and go straight to my shop.
INVITATIONS
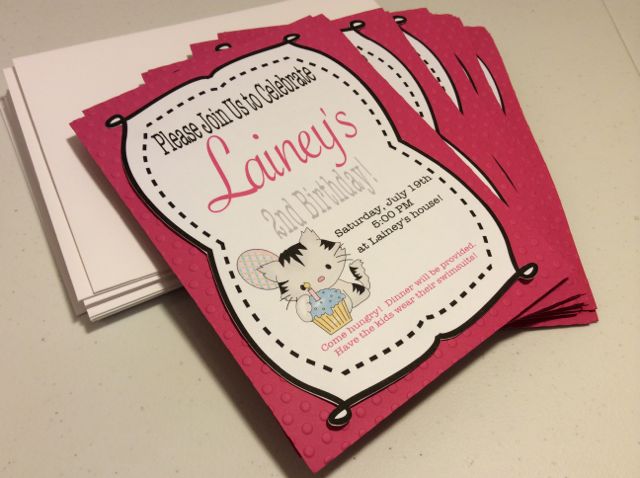
These handmade invitations were created for my amazing friend Amy. Her daughter Lainey was turning 2 and loves kittens.
BANNERS
Lainey’s Kitty Party BannerThese cupcake toppers are the perfect personalization for your party!These are the photo props I created for her centerpieces. I love doing photo props for centerpieces! They are such a great way to get fun pictures. They are too much fun!“Thanks for making my party purr-fect!” from Lainey. These party favor tags were the purr-fect thank you!
For those of you wondering, yes I am still alive! Things have been so crazy around here and I have not messed with my blog for WAY too long! I have been busy setting up my SavorEachSecond Etsy shop since I will be going full time with it this summer! I am pretty excited and have been having a lot of fun creating things in my craft studio. Keep on the lookout for a gallery coming soon of all of the banners and items I have in my shop!
Since I am going to be taking my shop full time, I needed to get more organized. I needed a bigger filing cabinet for easy organization of all of the different colors of cardstock that I have. I am not sure if you are aware, but filing cabinets are expensive! Luckily, I love to makeover things and save a dent in the pocketbook, so I headed down to Maj-R Thrift to see what they had in stock. They had 2 matching filing cabinets for $7.99 a piece! I grabbed both and gave one to Alex for his office.
Maj-R Thrift was the same store I found the chair to recover for my studio. Click here to see my first office chair makeover!
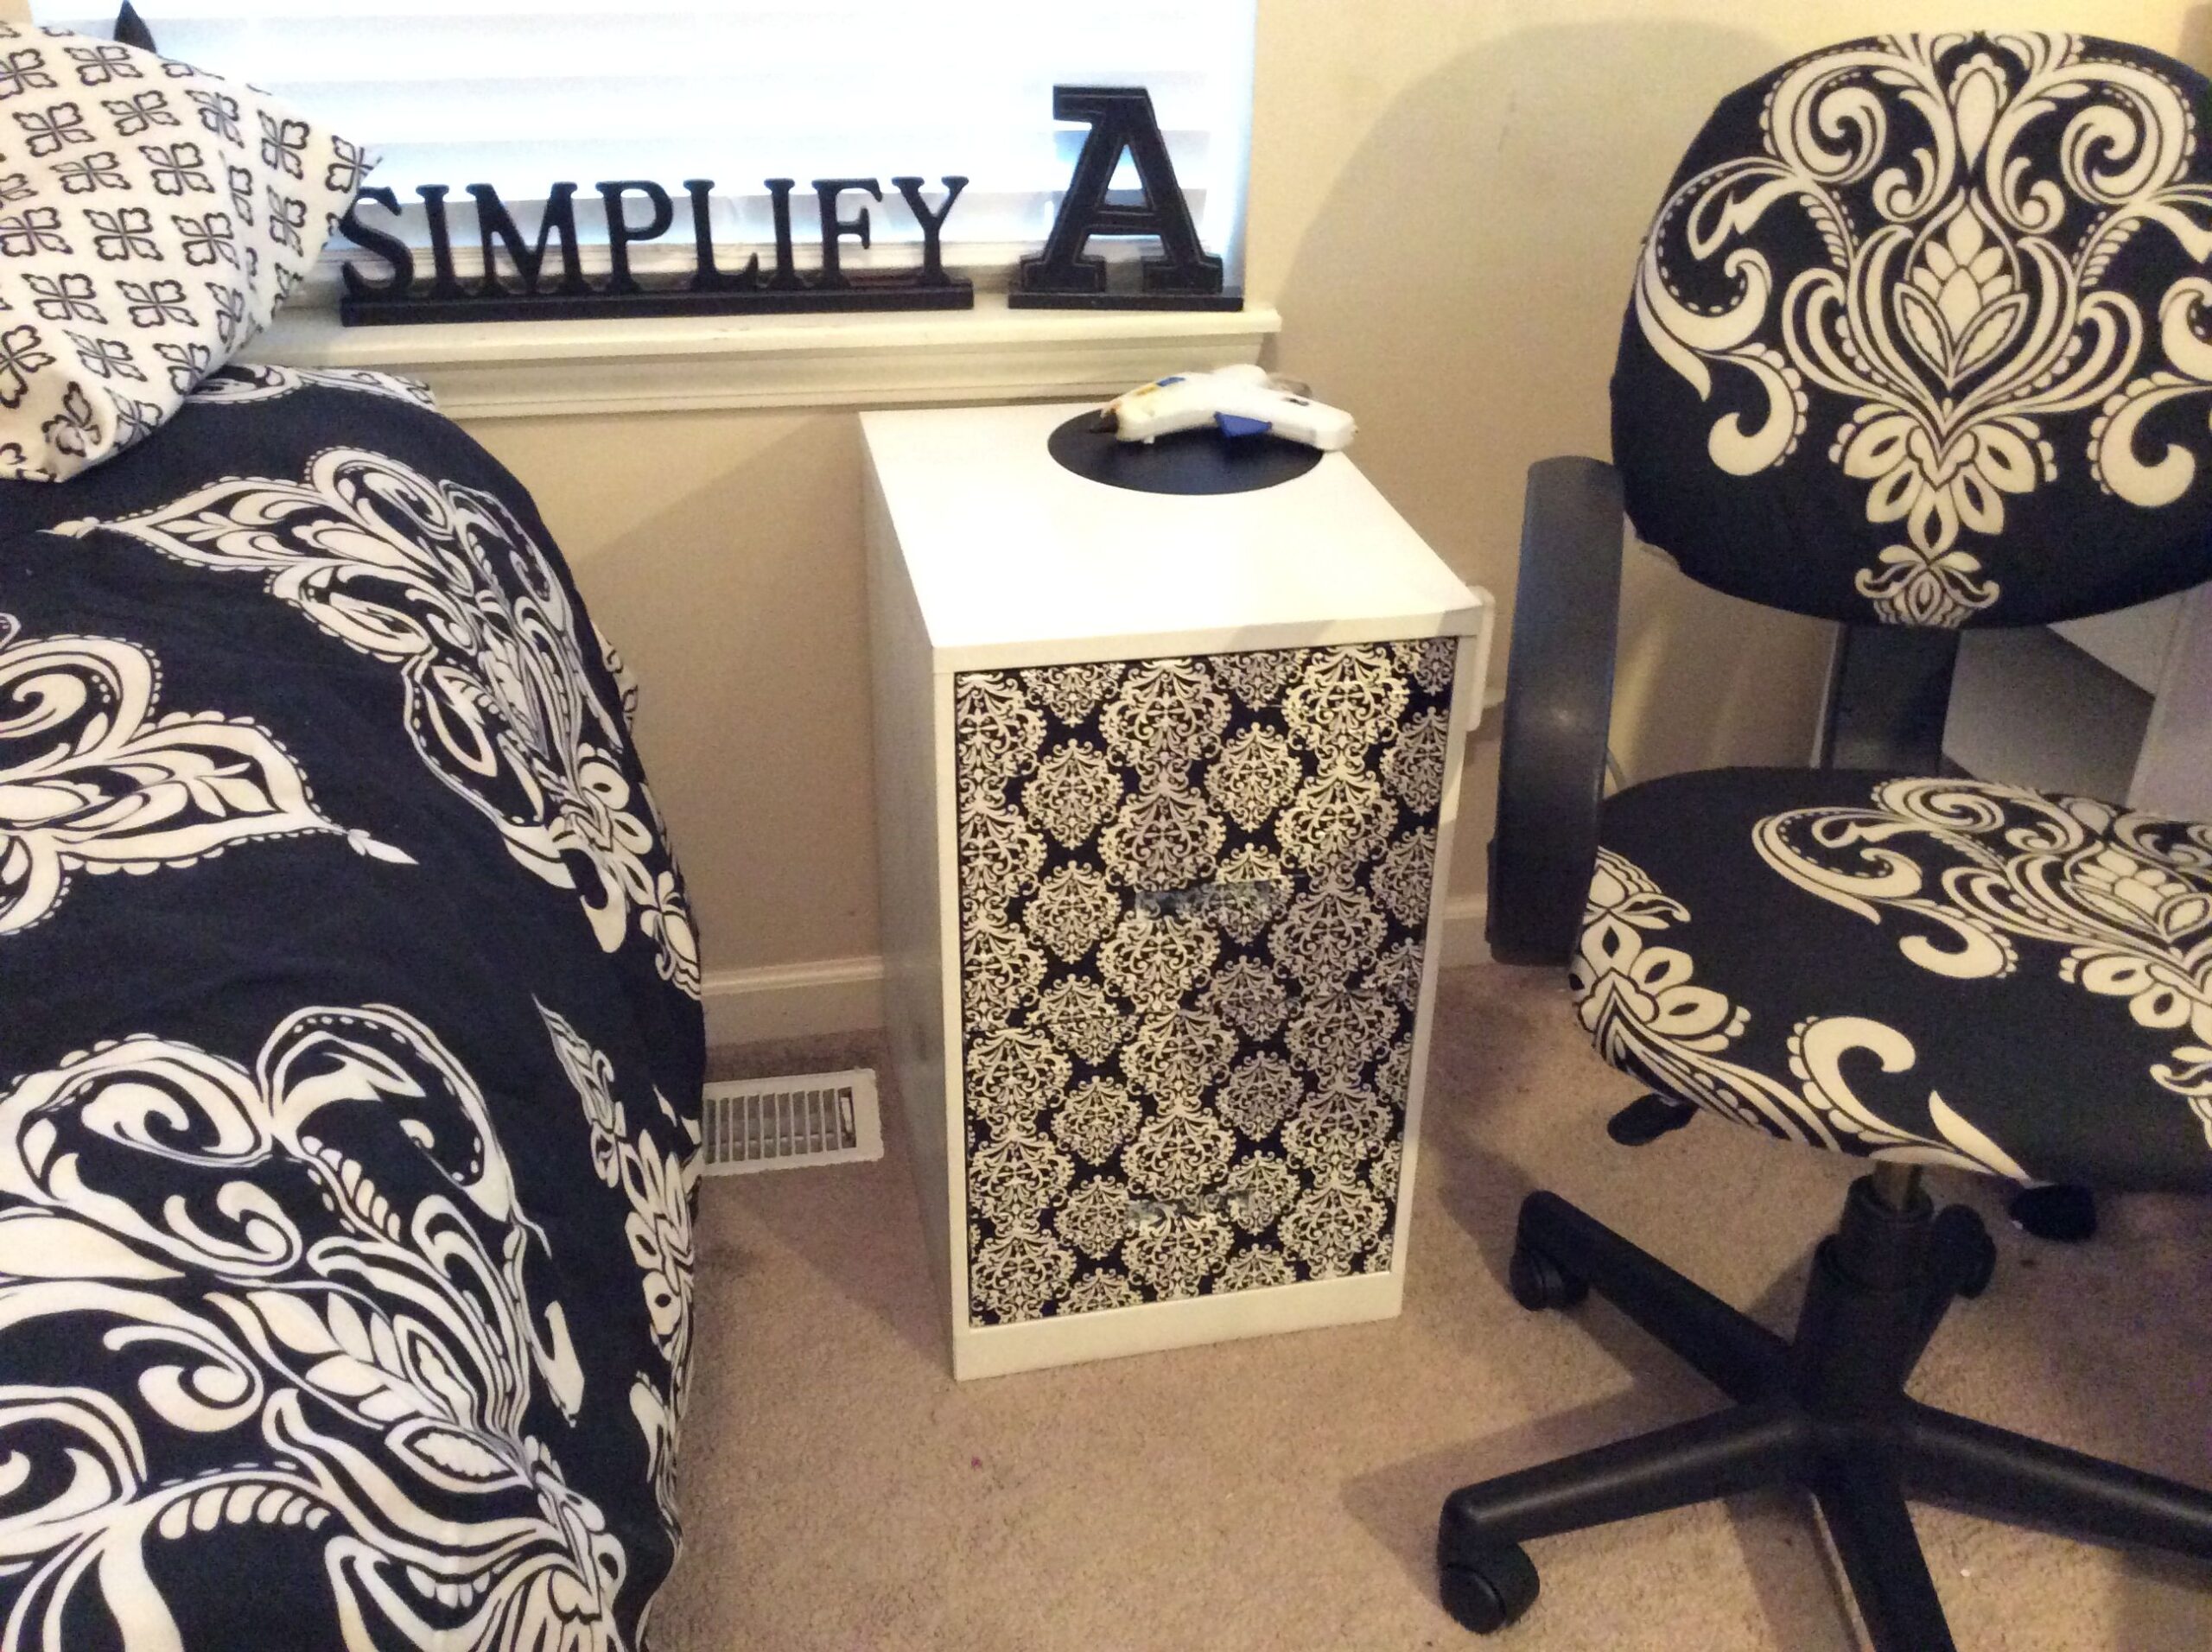
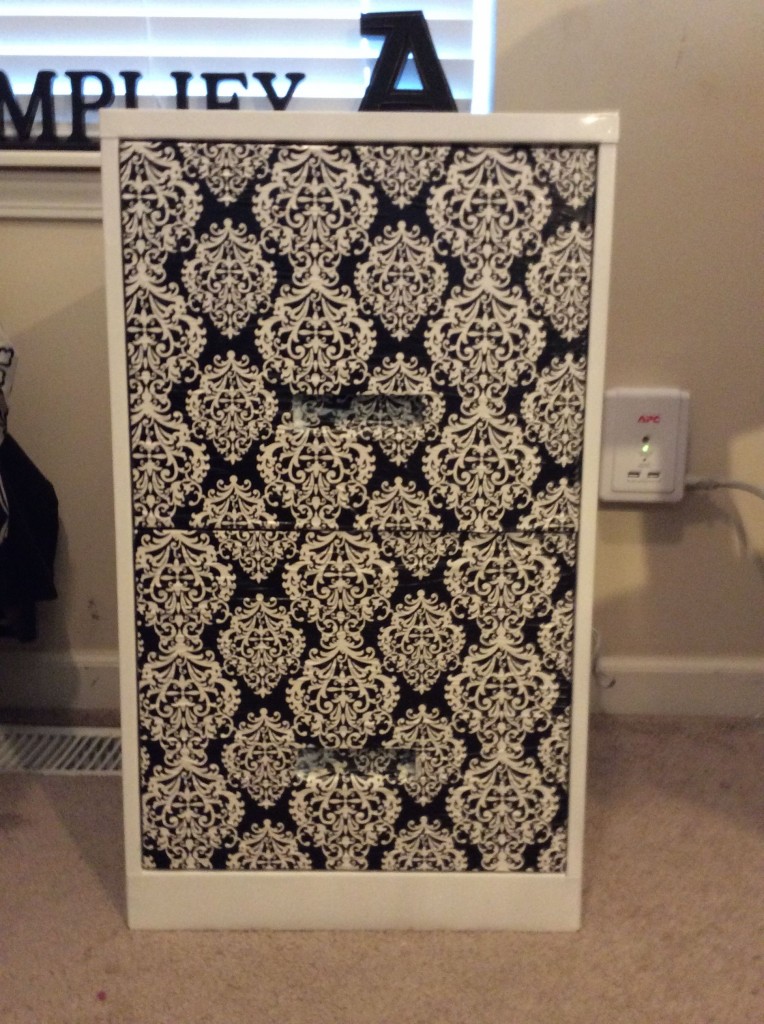
Since I am loving my damask black and white theme that I have going on in Amber’s Craft Studio, I only felt like it was right to make my filing cabinet match the same decor. I happened to find a roll of wrapping paper from Michael’s in their bargain section for $1.50 that went perfectly so I knew it was meant to be! I grabbed some white spray paint and my handy dandy Mod Podge and went to work!
Materials
filing cabinet
spray paint
wrapping paper or scrapbooking paper
Mod Podge
Instructions
Make sure before you get started, to wipe down the filing cabinet really good and remove any stickers. If you top the stickers with chapstick and wait an hour or so, it helps the sticker peel off easier. I also used a scraper tool and it came right up.
After you clean the filing cabinet good, it is time to paint! Spray paint the filing cabinet the desired color and let dry thoroughly. After two coats are completely dry, use Mod Podge to attach paper to the front of the drawers. I used a razor blade to cut along the handle areas perfectly. Wrap the paper around the top, bottom, and sides of each drawer and let dry. I always make sure to have a good thick coat of Mod Podge to seal it.
Finished product!I added a vinyl circle for my glue gun and now I have a workspace as well!
I love the way it turned out! My studio is looking stylish and is rocking some organization! Happy Pinning!!