Posted on Leave a comment

Our Baby Bump Chalkboard Story

When I found out we were pregnant, I was all over Pinterest finding fun things to do to track our journey.  One thing that we did that was a lot of fun, was taking pictures by a chalkboard to watch my bump grow!  (My husband might disagree, as getting a good angle on a growing pregnant girl can be difficult!) He survived and we got really good at getting the picture done in only a few snaps by the time it was all said and done with!

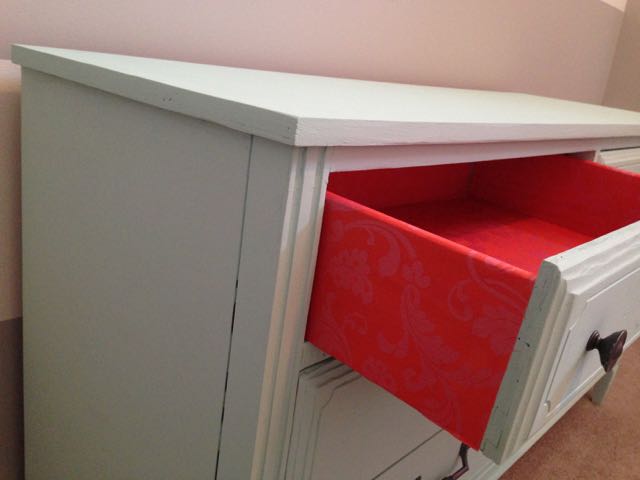
The first thing I had to do was find a chalkboard to track the week number and size of the baby.  This was actually a lot harder than I had imagined.  Originally, I planned on up-cycling an old large picture frame into a chalkboard, like I did when I distressed this old picture frame.  After several trips to various thrift shops, this just wasn’t going to happen.  I couldn’t find anything that was just the right frame size or style, so I decided to just find a chalkboard.  I went to Hobby Lobby, Michaels, Gordmans, and finally settled on one from Jo-Anns. This hunt was almost as bad as trying to find one to make.  They were either too big, too small, or too EXPENSIVE!  I ended up getting one that was going to work for our needs.  I think it was $49.99, but I had a 50% off coupon, so that worked for me!

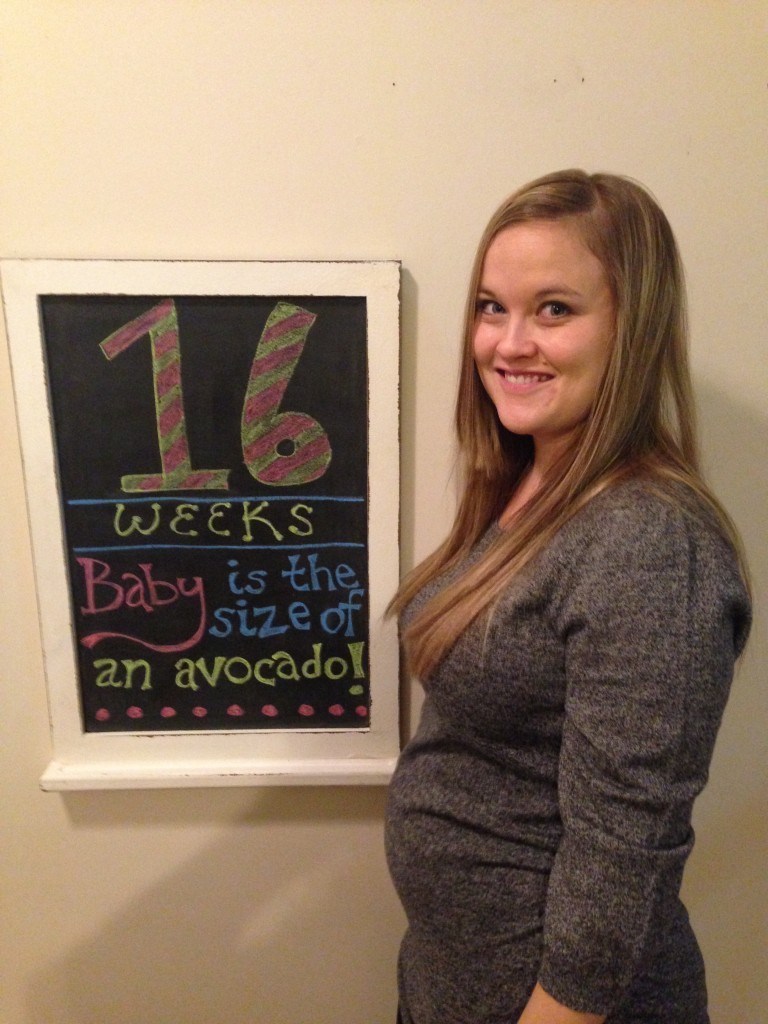
The expensive part was actually figuring out the chalk for the chalkboard.  After researching how to do good chalkboards, I found everyone said that chalk markers were the way to go.  They were almost $10 for 4 markers and I wish I wouldn’t have bought them.  In fact, below is my first picture with the chalkboard and I wasn’t happy at all with how the chalk markers turned out.  I was even more upset when I went to take it off to do the next week and the markers had stained the chalkboard!  As a very hormonal pregnant woman, I was very upset and in tears due to the fact that these expensive markers ruined my board!  I ended up having to buy chalkboard paint and repainting the chalkboard.  I then decided to get colored chalk and do it the old fashioned way!  I was much more happy with the result, but this is why Week 15 is missing.  I just ended up starting at Week 16 instead.

IMG_6017
Do yourself a favor and skip the expensive chalk markers!

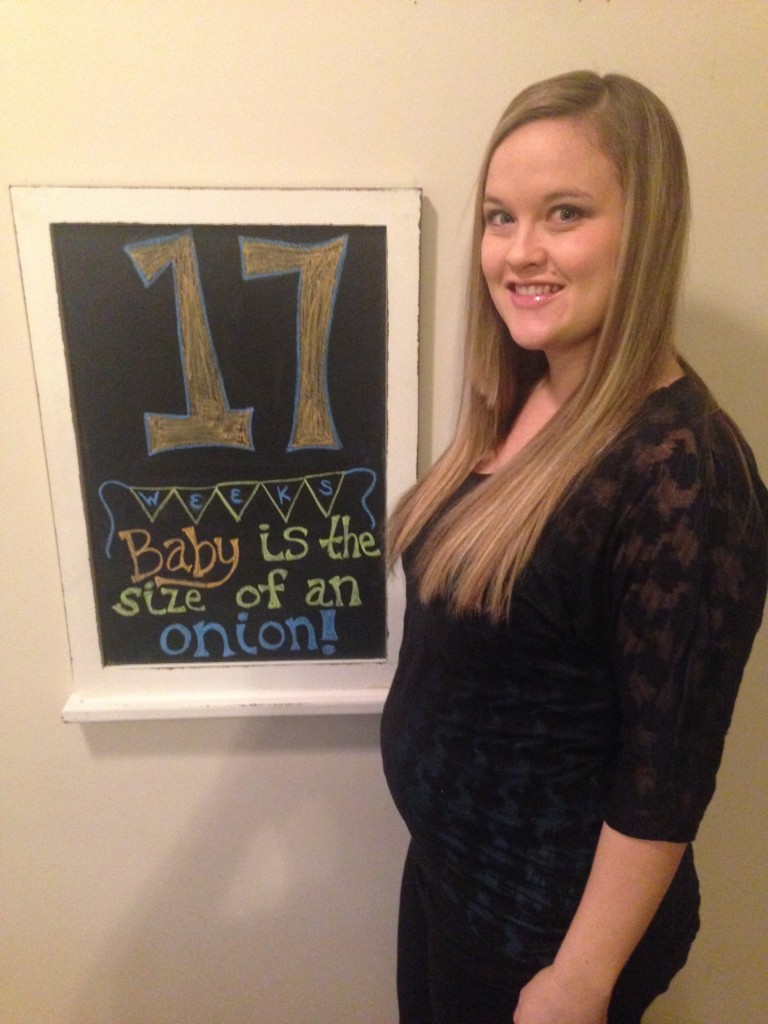
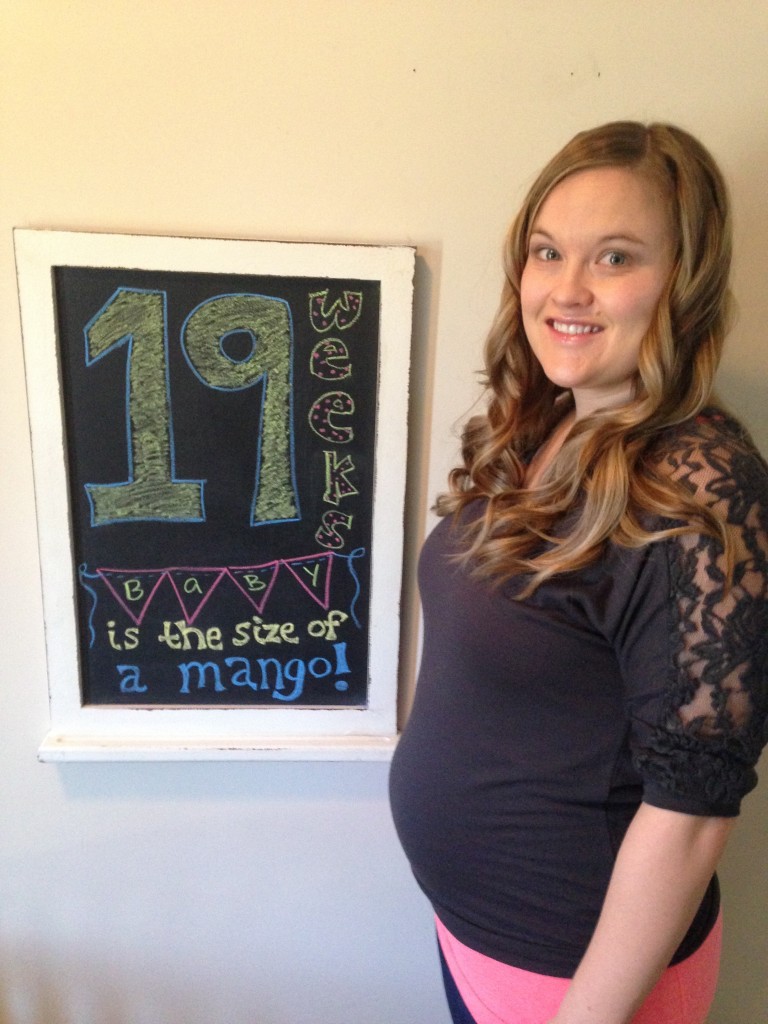
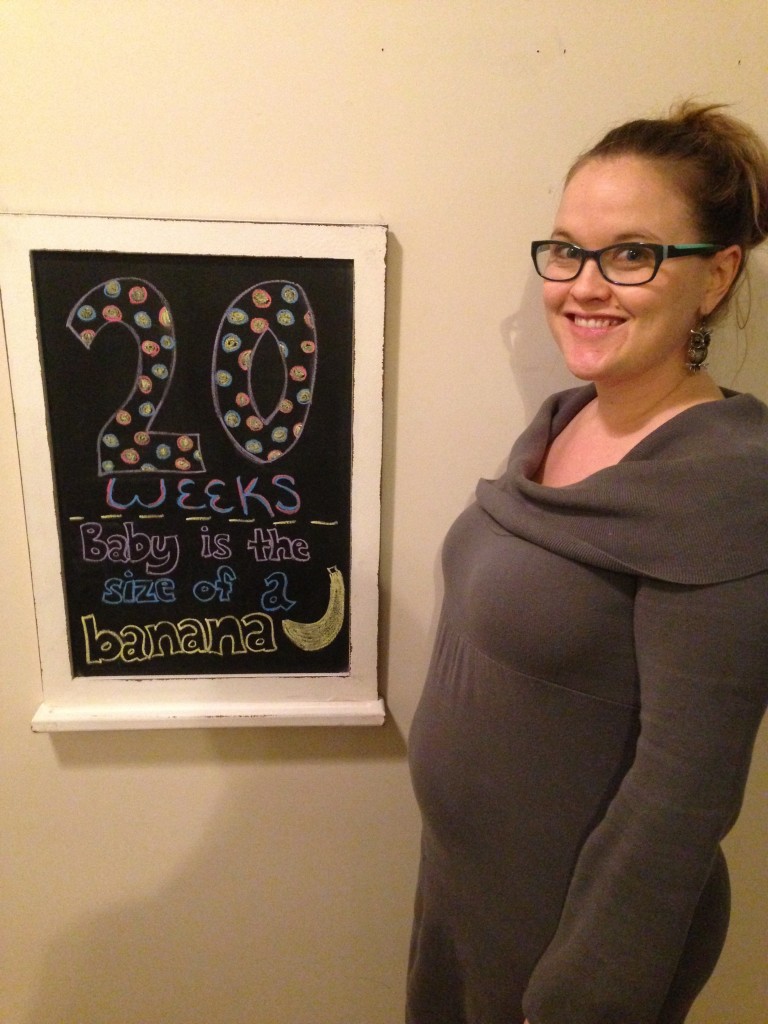
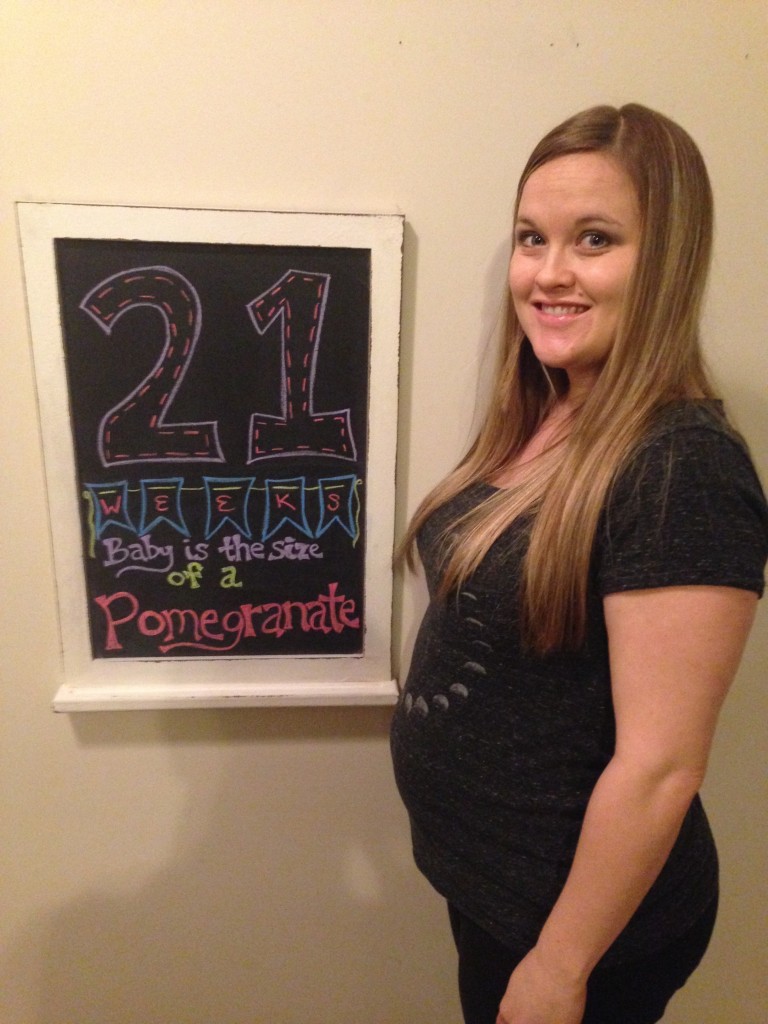
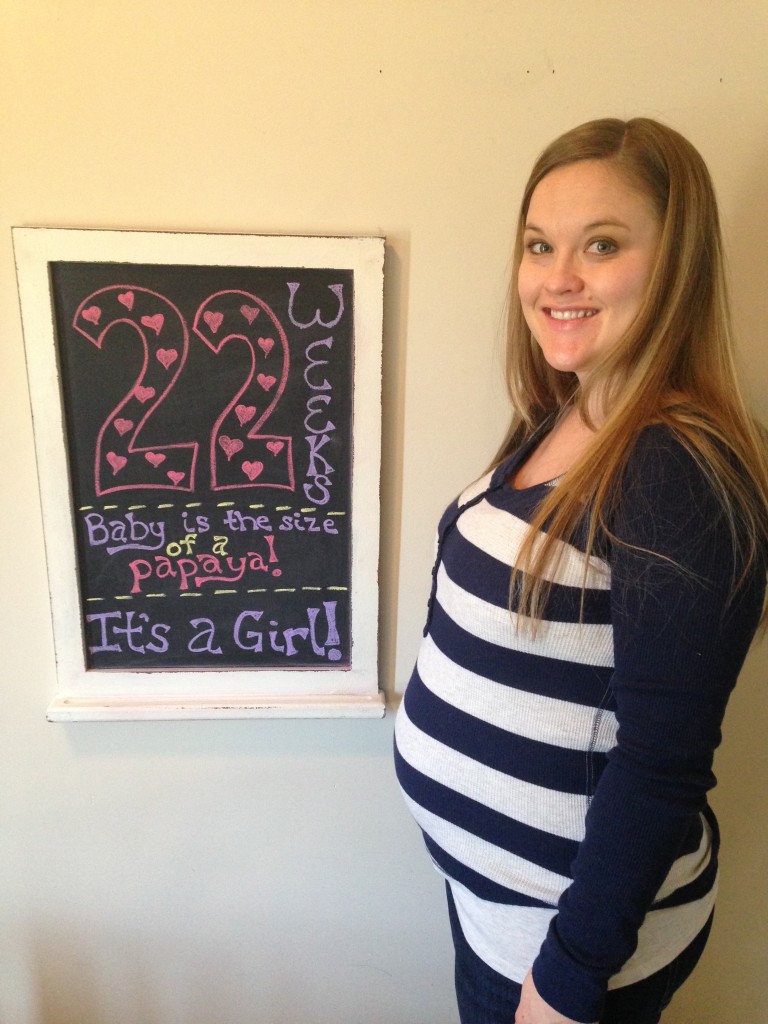
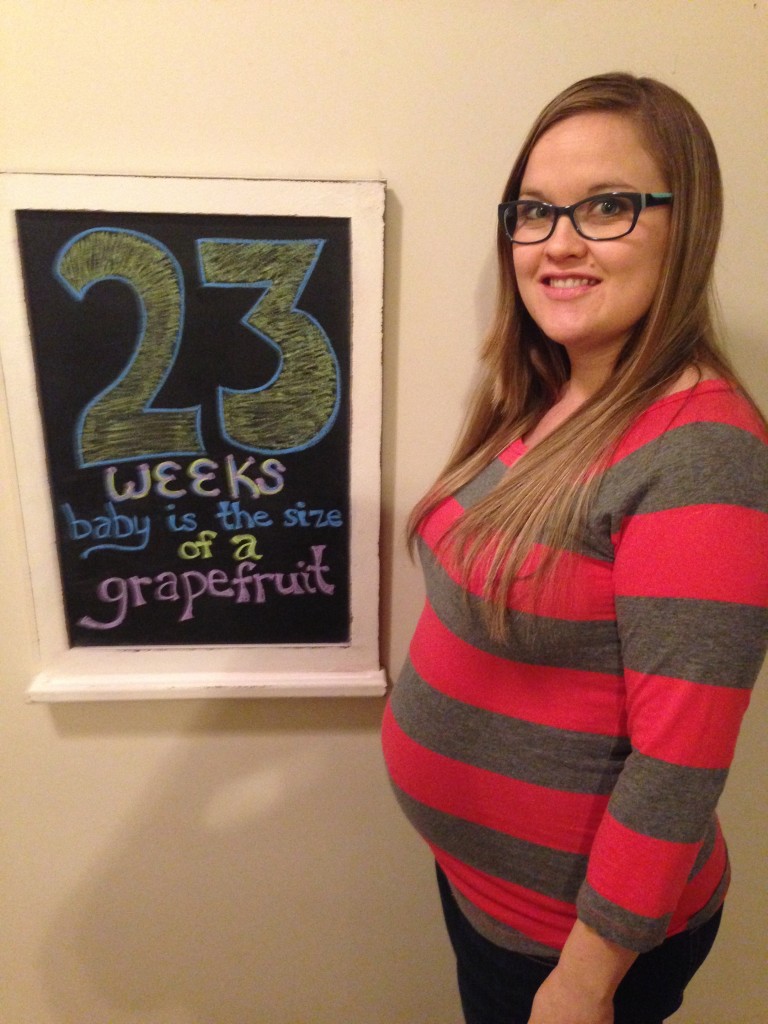
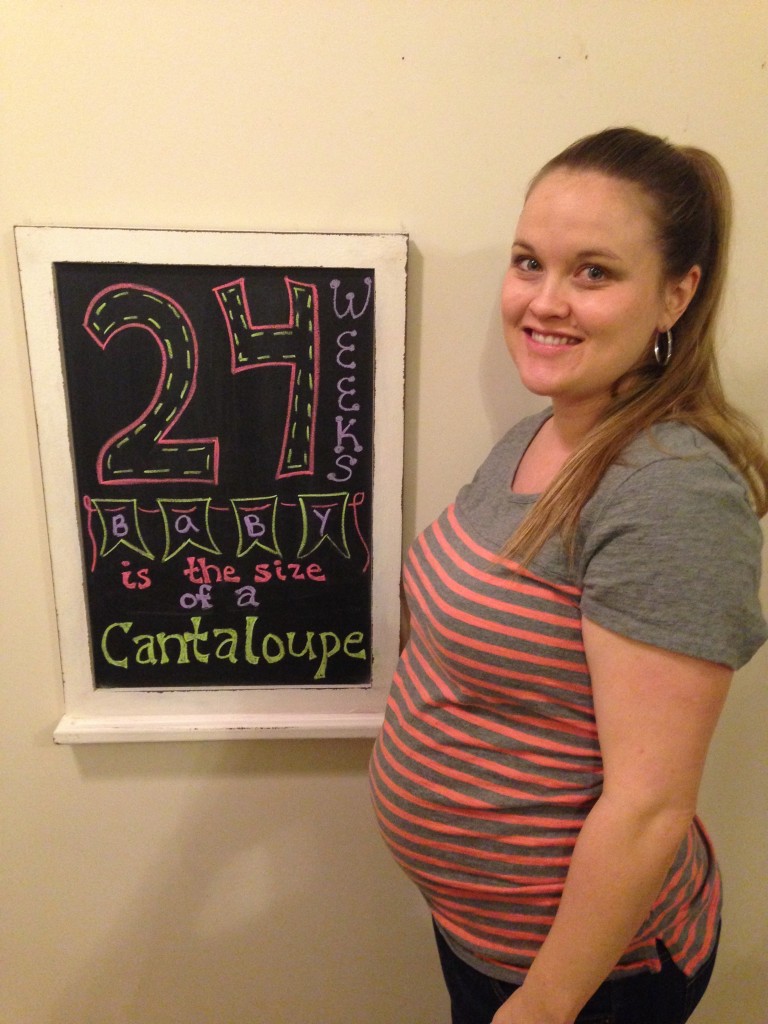
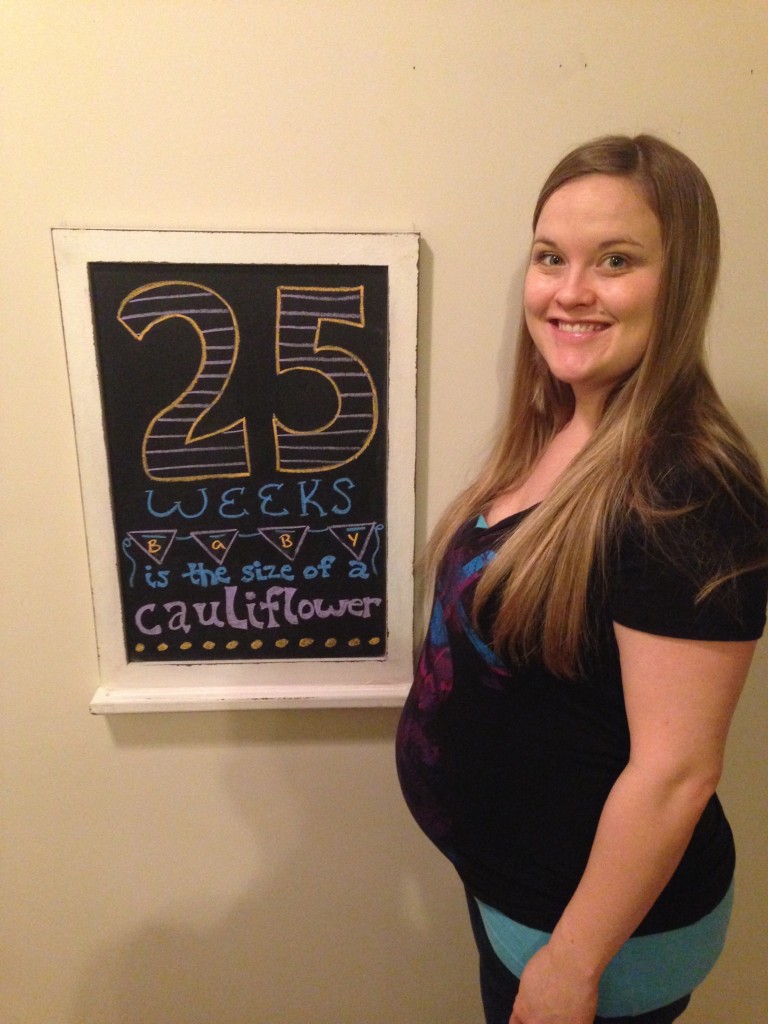
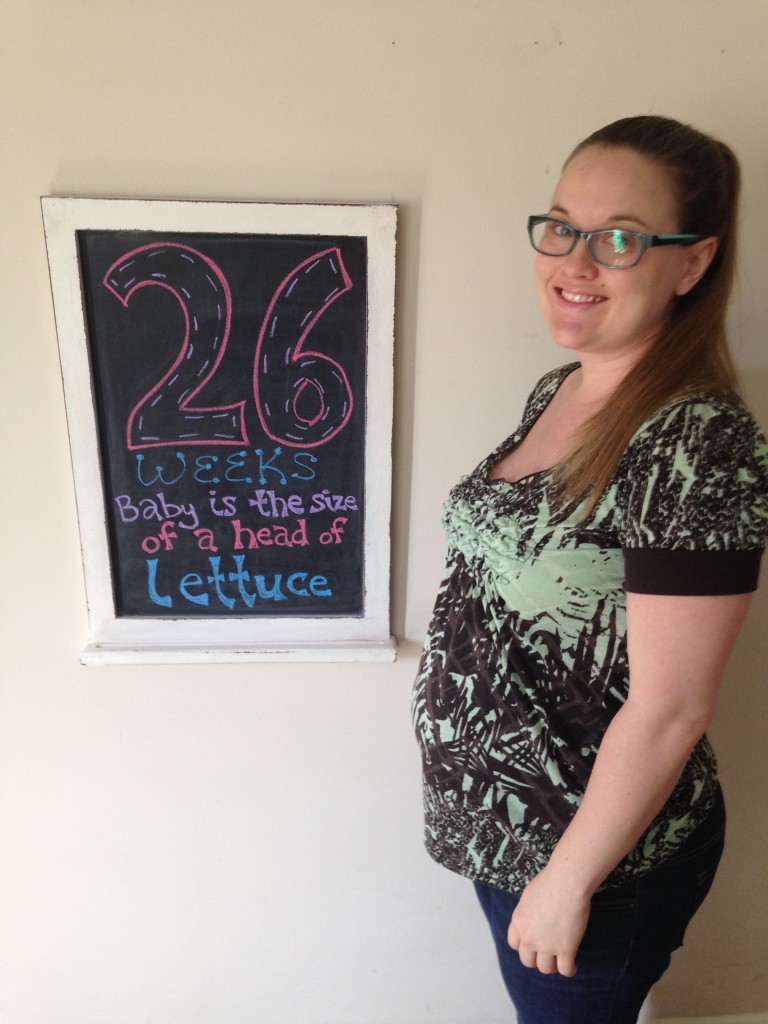
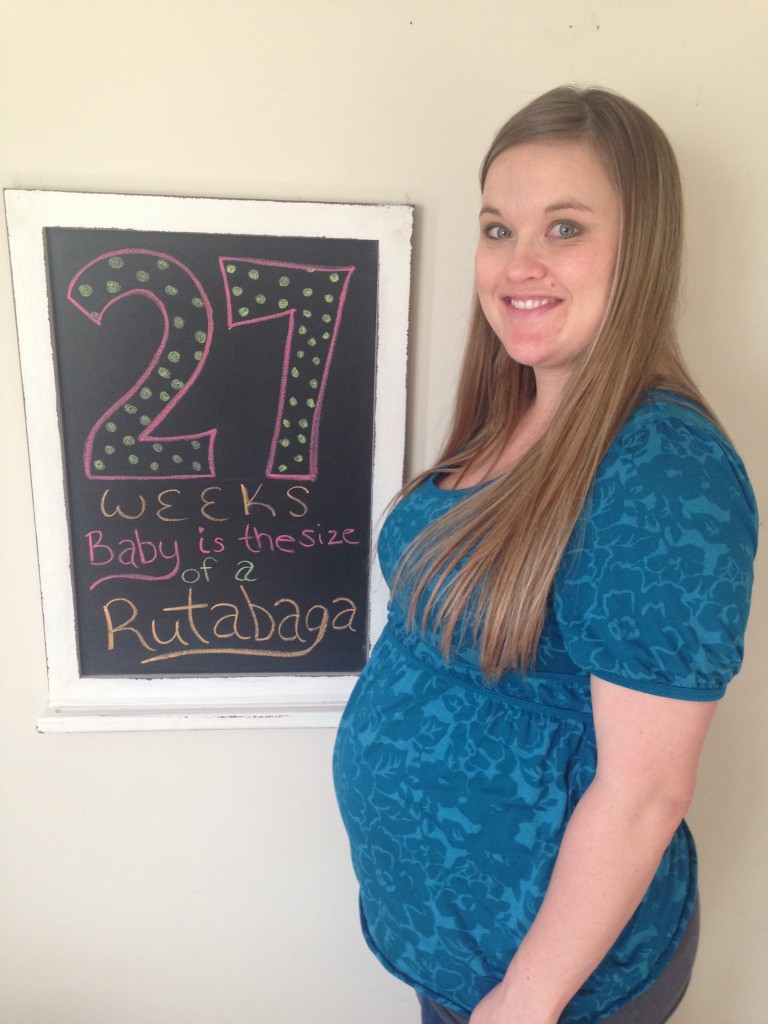
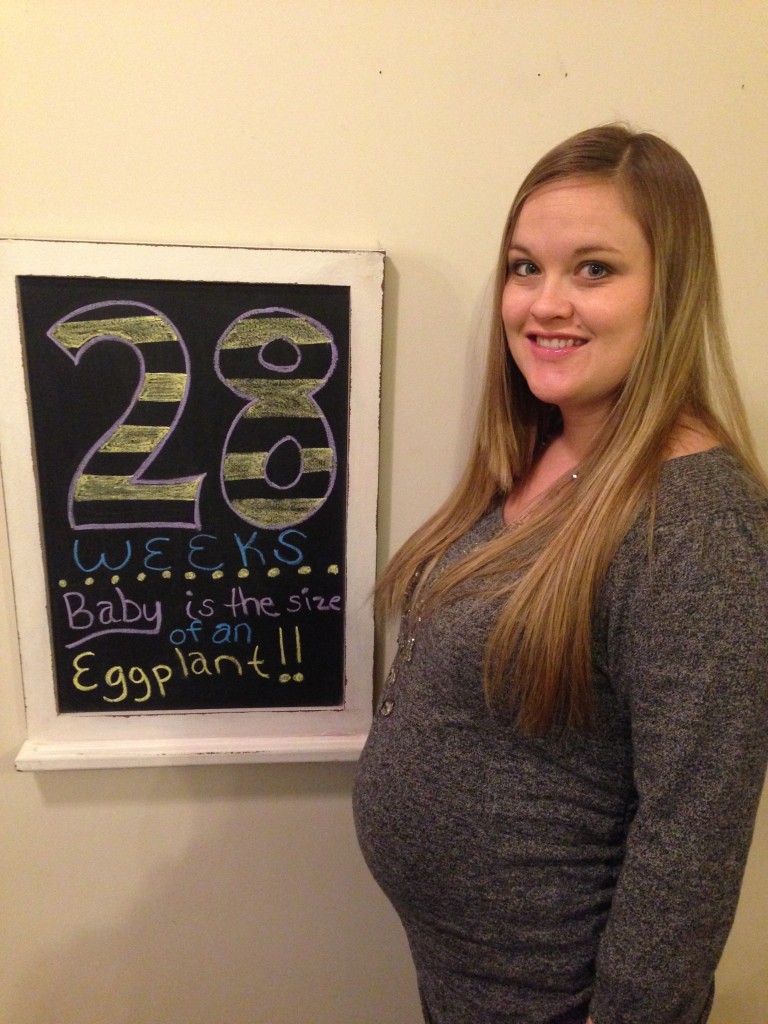
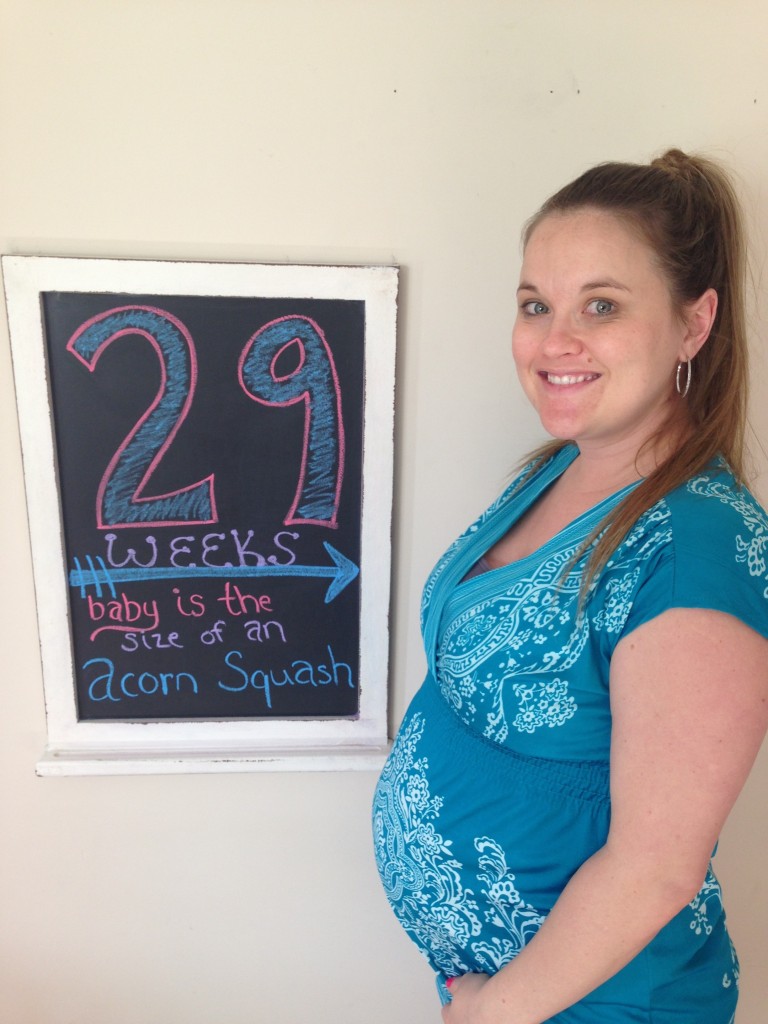
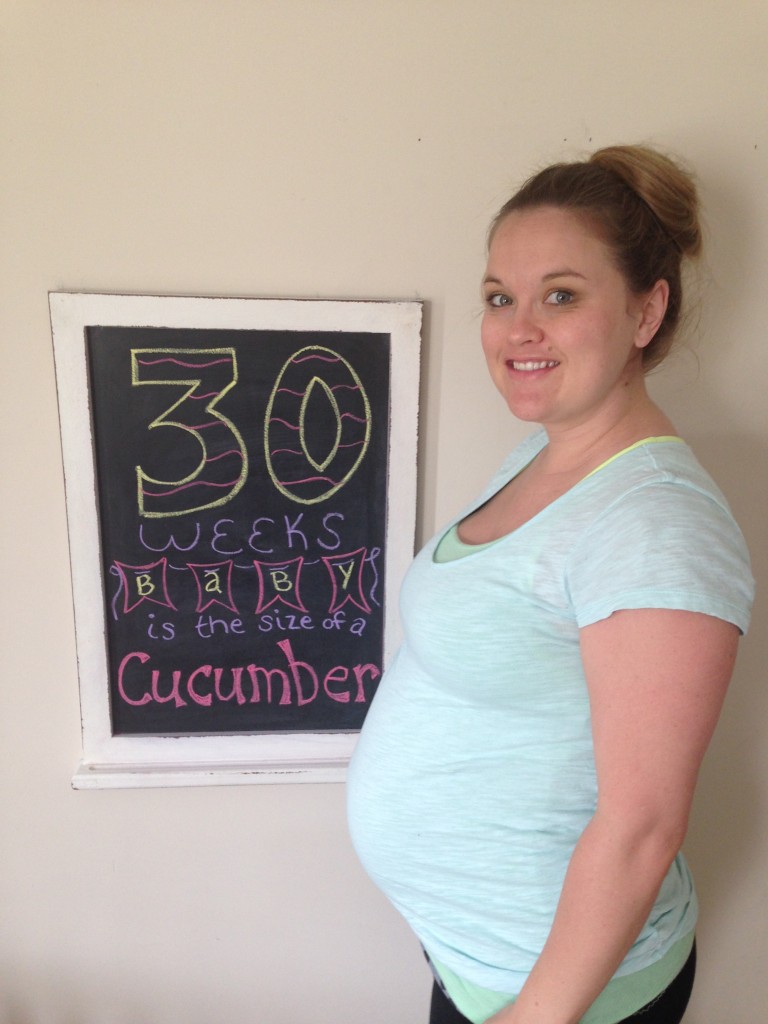
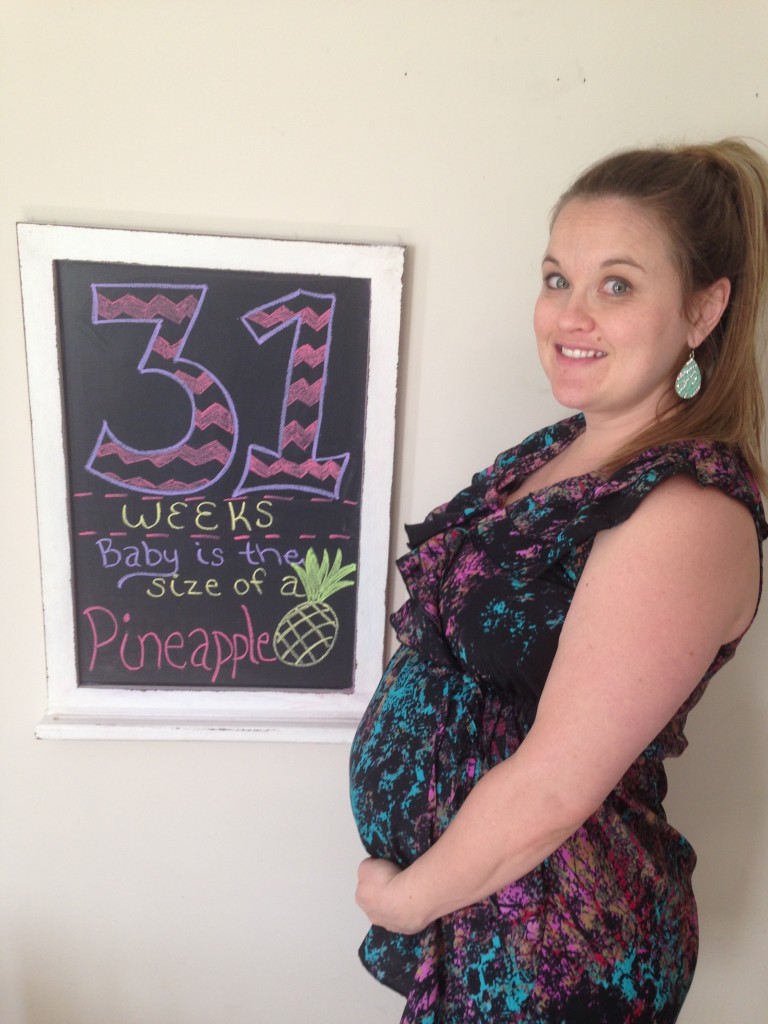
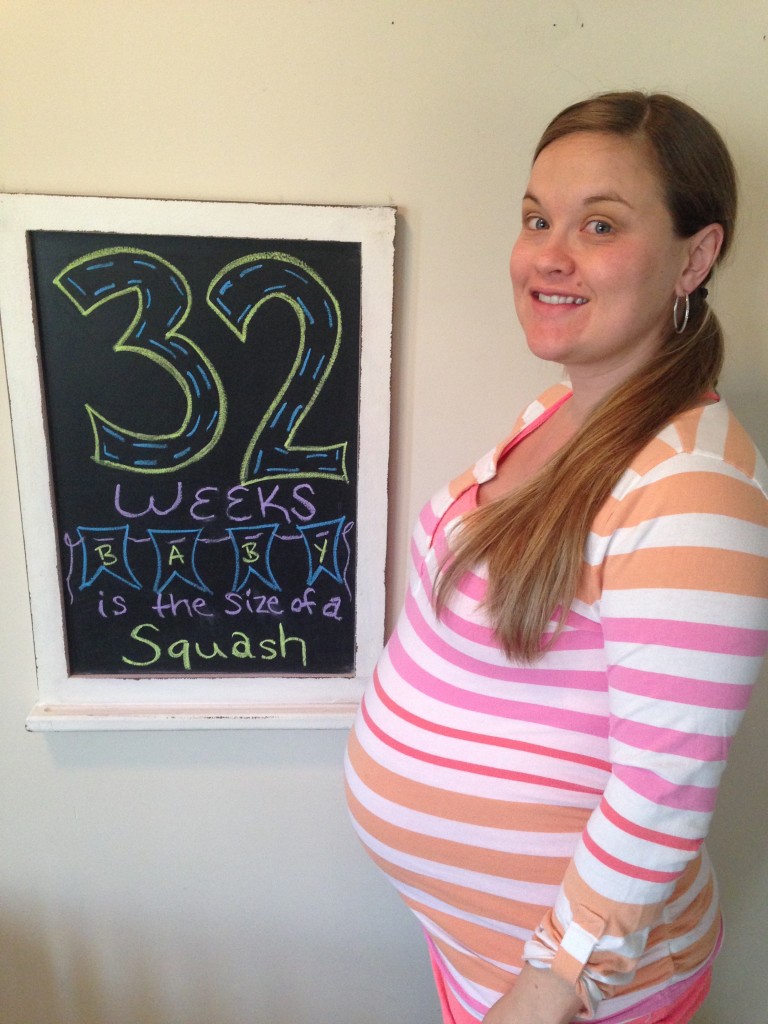
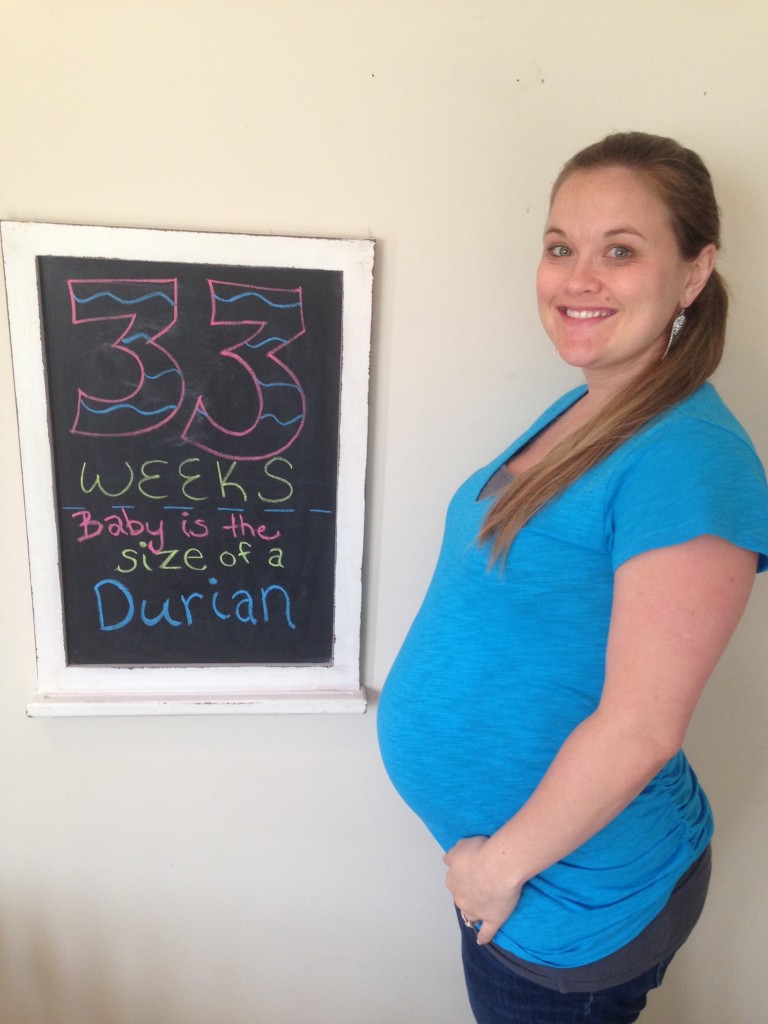
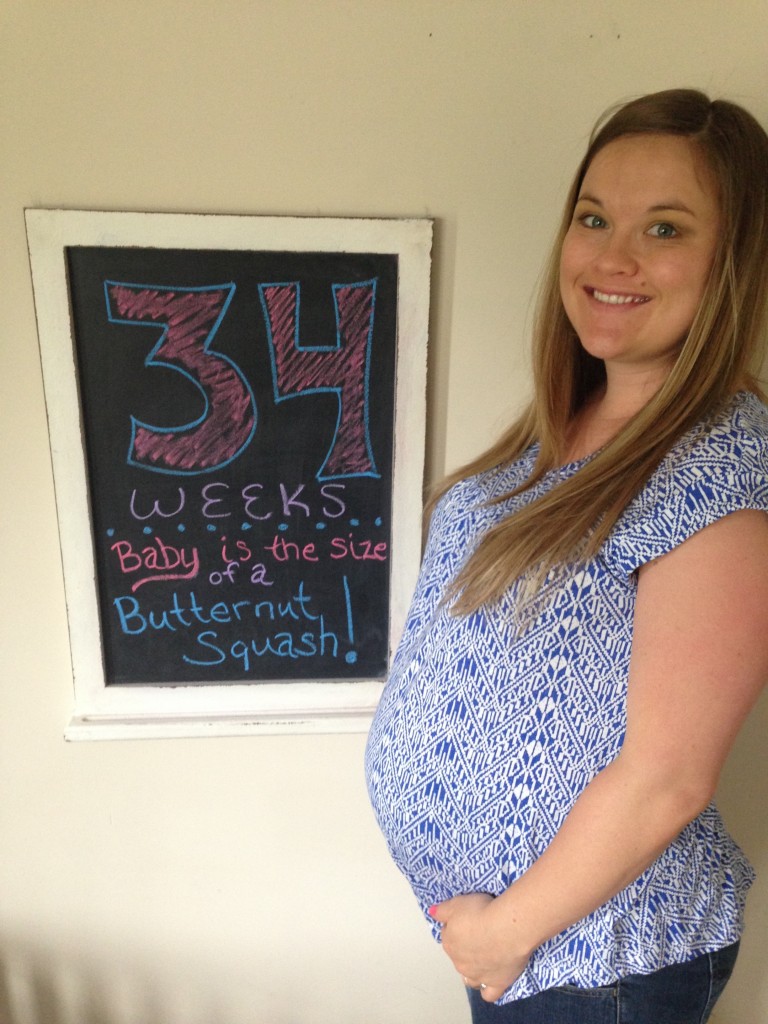
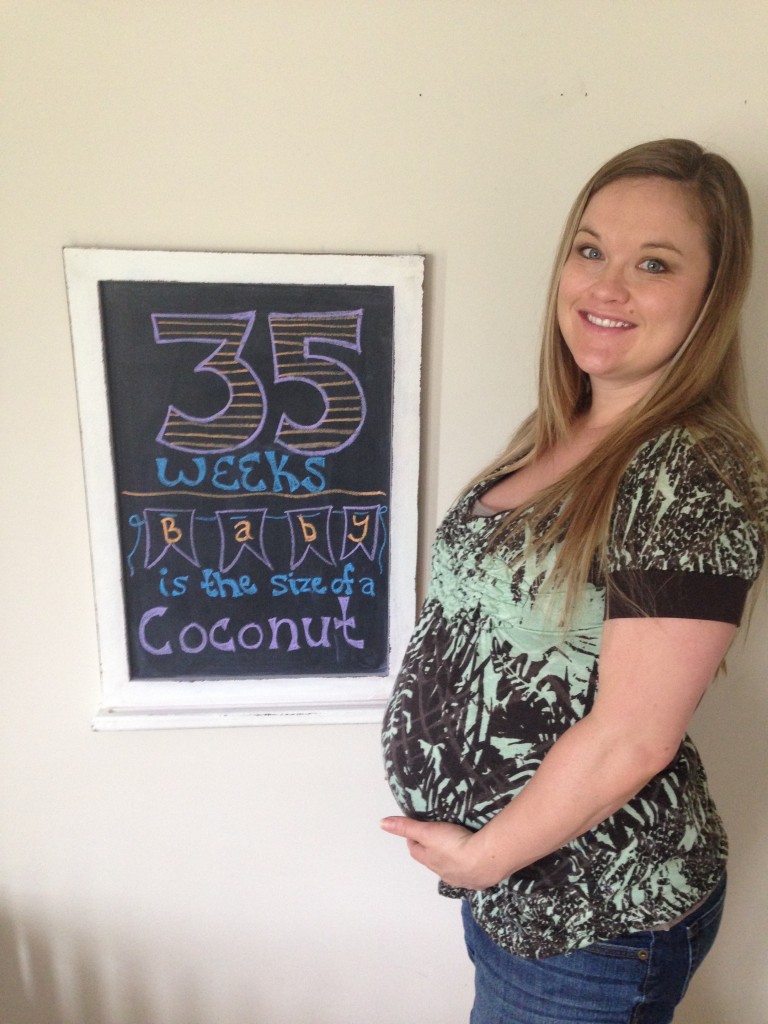
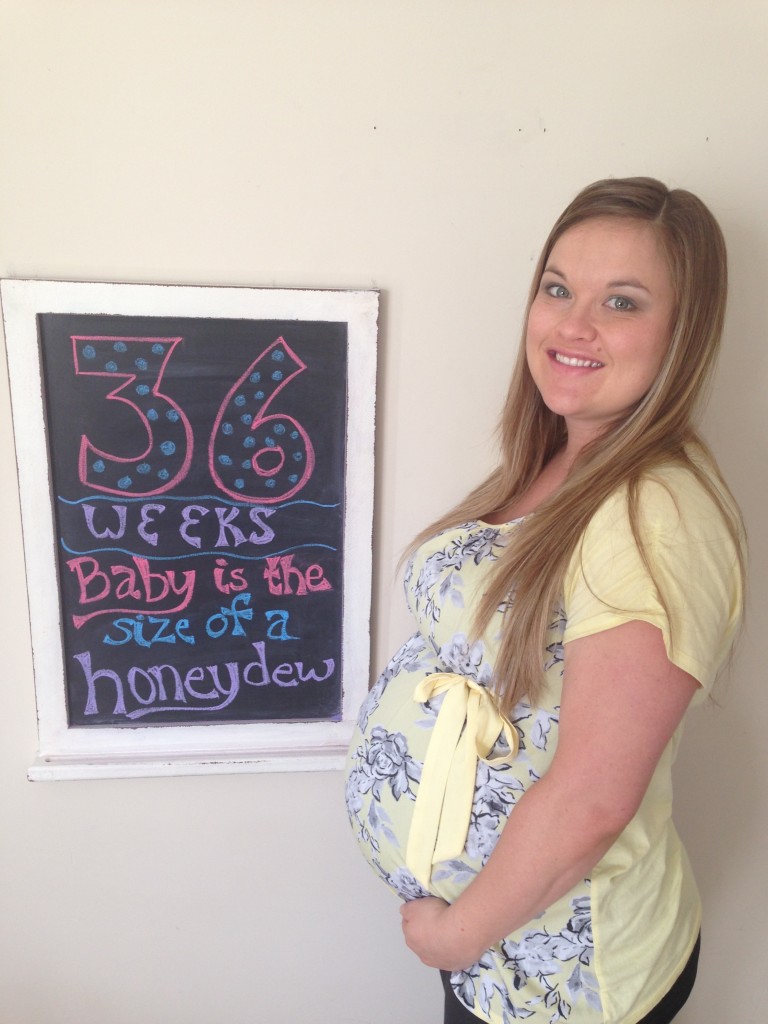
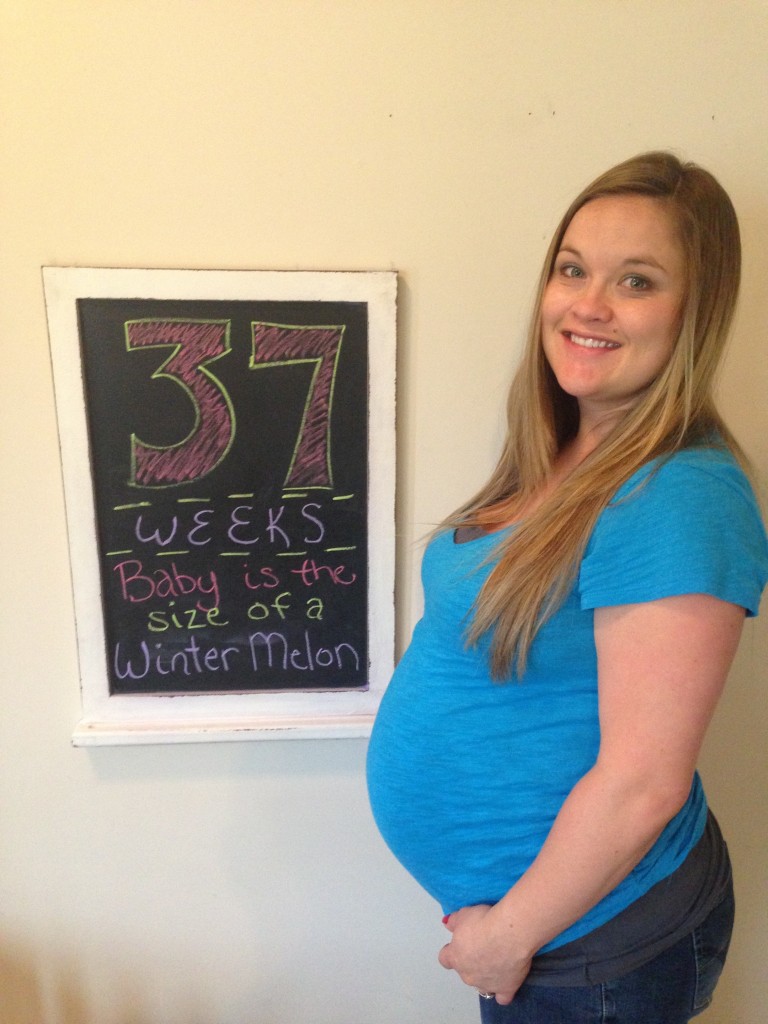
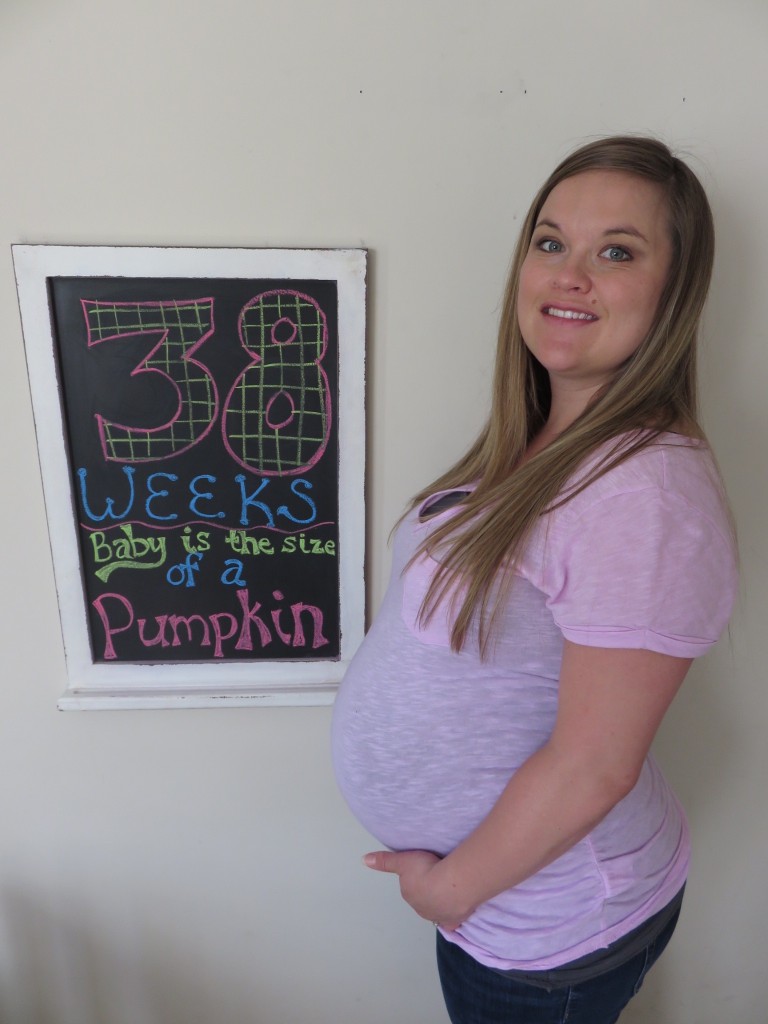
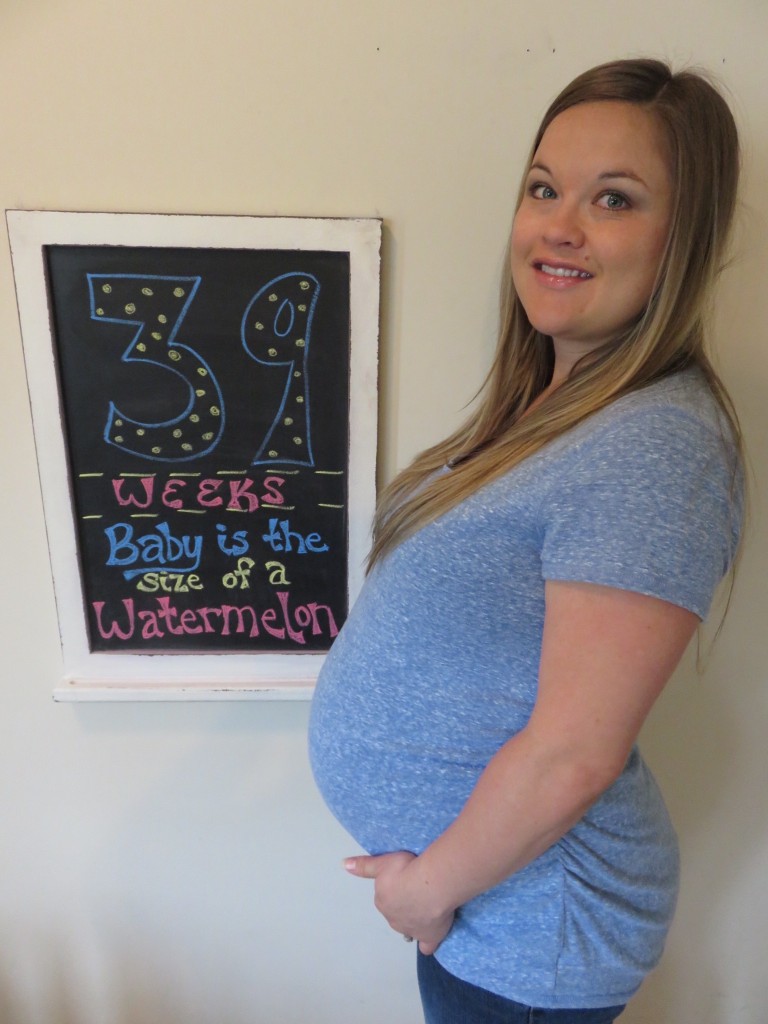
Ok, so now that I got through my rant about how much I hated those chalk markers, it is time to show you the final pictures!  I must say, looking at these, I am glad I switched to the old school chalk, as it looks much better!  Though some weeks it seemed like such a chore, I actually enjoyed spending time making these boards.  It was fun to pick which colors and lettering I was going to do.

IMG_6072IMG_6115 IMG_6148 IMG_6197IMG_6206 IMG_6232 IMG_6258 IMG_6298 IMG_6419 IMG_6510 IMG_6551 IMG_6593 IMG_6634 IMG_6713 IMG_6794 IMG_6806 IMG_6881 IMG_6939 IMG_7075 IMG_7114 IMG_7154 IMG_7190 IMG_7224 IMG_7242

We actually didn't get my last picture taken before heading to the hospital.  I was bummed, but I kind of had other things on my mind!  So I thought it would be funny to photoshop it in the last one from when Alex had to wear the pregnancy belly!
We actually didn’t get my last picture taken before heading to the hospital. I was bummed, but I kind of had other things on my mind! So I thought it would be funny to photoshop it in the last one from when Alex had to wear the pregnancy belly!
Posted on 1 Comment

Gluten Free Jalapeño Popper Chicken

If there is one thing I miss cooking since Alex found out he has a gluten allergy, it is something with a good crunch! This recipe has that and so much more! It is packed full of flavor! I adapted this recipe from Aunt Bee’s Recipes. Not only is it gluten free, but it is also low carb and Keto friendly. Alex has been following a Keto diet that replaces carbs with fat and this recipe is by far his favorite!

Ingredients:

4 boneless chicken breasts

1 lb thick cut bacon

6 jalapeños, seeded and diced

1 yellow onion

1 cup shredded cheddar jack cheese

1/2 cup grated parmesan romano cheese

1/2 cup mayo

1 package softened cream cheese

Topping:

1 small bag pork rinds, crushed

1/2 cup parmesan romano cheese

4 T melted butter

Instructions:

Preheat the oven to 425 degrees. Place chicken in a baking dish and bake for 25-30 minutes.

While the chicken is baking, start frying the bacon. Make sure to get the bacon nice and crispy.

After frying the bacon, drain some of the grease. Then add the onion and sauté until tender.
If you don't own a jalapeño corer, you need one! They are awesome. Dice the jalapeños nice and small.
If you don’t own a jalapeño corer, you need one! They are awesome. Dice the jalapeños nice and small.
In a large bowl, combine cheddar jack, cream cheese, Parmesan Romano, mayo, sautéed onions, crumbled bacon, and diced jalapeños. Mix thoroughly.
Drain the chicken juices from the chicken.
Pile the jalapeño cheese mixture on top of the chicken.
Crush pork rinds in a ziplock bag and add cheese and melted butter.
Add the pork rind topping on the top of the jalapeño cheese topping. Put back in the oven for 10-15 minutes, or until golden brown.
Look at that crunchy deliciousness!
You will not be disappointed! My hubby loves to add avocado to it!


Posted on Leave a comment

Avery’s Hot Air Balloon Nursery

I have been working so hard on Avery’s nursery since the second we found out we were having a girl.  Maybe even right after we found out we were pregnant because you all know how obsessed with Pinterest I am!  I started off with just a color scheme, as I wanted something classic that she could grow into without too much of a “theme.”  Then I started growing obsessed with hot air balloons.  I think over all it turned out not too “themey” and quite beautiful if I must say so myself!

I used Pic Collage to make a dream board for the room.

I decided on a mint, coral, gray, and white color scheme that would be the baseline of the nursery.  I remember when I told my husband that I wanted the walls gray with one accent wall of either gray and white stripes or chevron.  He thought I was crazy along with my stepdad, mom, and grandmother.  I kept telling them to relax and go with my vision.  My grandma was afraid I would get too dark of a gray and that it wouldn’t be cheerful enough for a baby.

My Grandma Bloesser came down over my Spring Break and helped me sew things for the nursery.   I wanted to do everything myself, so we had quite the list of things to get done over her week stay.  I am kind of a DIY Queen, so I couldn’t just find a store bought bedding set, especially when I found the perfect hot air balloon material that would make the most adorable sheets!

Click here to check out my tutorial on DIY Crib Sheets!

In addition to the crib sheets, we also created a beautiful three tier ruffle crib skirt that was an absolute nightmare to make!  I hate ruffles!  Grandma had to swoop in and save the day on this one. We tried adapting the pattern to go with the crib because the sides are solid and we didn’t need it to go all the way around.  Needless to say I threw my hands up with that one and didn’t even attempt my own tutorial on it because it was a pain.  It turned out gorgeous, but I never want to sew another ruffle again!

As much as I love crib bumpers, they say not to use them because of suffocation risks, but I had found some pins on DIY teething rails.  Once baby is big enough to stand up in the crib, they are usually teething and tend to chomp on the rail of the crib.  This leaves dents in the crib rail, along with the potential risk off paint chips in baby’s mouth.  I decided that teething rail was a must!

Click here to check out my tutorial on a DIY Teething Rail.
I just love how the whole room just comes together!
Love the coral arrow curtains we made.
Love the coral arrow curtains we made. Chloe and Mia are keeping the rocking chair warm for our next feeding!
Click here for my tutorial on how to creat a patchwork hot air balloon!

I wanted some shelving in the corner of her room.  Originally, Alex was going to build me some shelves, but I had my heart set on some floating shelves.  After doing some research, we decided it would be easier to find some already made ones.  We spent one afternoon at Ikea and the ones that I liked there were way too long.  We almost got them anyways and I am glad we didn’t because we found the perfect ones at Target!

Love the shelves.  We put the baby monitor camera at the top overlooking the crib.  I also have my brother Karlton's 4H cow overlooking her crib.  It means a lot to me to have this in her nursery.
Love the shelves. We put the baby monitor camera at the top overlooking the crib. I also have my brother Karlton’s 4H cow overlooking her crib. It means a lot to me to have this in her nursery.
Click here to see my tutorial on how to create this hot air balloon artwork!

I wanted some type of bookcase in the room for her books, but Alex was afraid she would try to climb it and it would fall on top of her.  (He’s not going to be a protective daddy or anything!)  I ended up getting an extra tub from Hobby Lobby and just putting her books in one on the floor.   I figure when she is bigger, she can just grab whatever book she wants us to read from the tub and we will be good to go!

image
Avery’s reading corner
Avery seemed to enjoy the first book I read her!  I think we have a future bookworm on our hands!
Avery seemed to enjoy the first book I read her! I think we have a future bookworm on our hands!

The dresser area has a special piece of artwork hanging above it!  One of my childhood friends Alisha Johann created the most beautiful whimsical hot air balloon watercolor painting!  I wanted a special quote on it from Dr. Seuss that says “Oh the places you’ll go!”  I think she totally nailed it!  I was beaming with excitement when I opened it and went straight up to the nursery to hang it up!

A close up shot!  Thank you Alisha! I love it!
A close up shot! Thank you Alisha! I love it!
Love the way the dresser/changing area turned out!
I love the pop of color when you open the dresser drawer!   Click here for the tutorial on how to line your dresser drawers!
I love the pop of color when you open the dresser drawer! Click here for the tutorial on how to line your dresser drawers!
Click here to learn more about how I made Avery's Hot Air Balloon Mobile!
Click here to learn more about how I made Avery’s Hot Air Balloon Mobile!
I am using a bar cart from Ikea for our cloth diaper storage.
I am using a bar cart from Ikea for our cloth diaper storage.  As you can see, it is diaper laundry day!
Closet storage bins!
I found the perfect storage bins at Hobby Lobby!  They matched my nursery colors perfectly!
image
More closet storage!
Avery hopes you enjoyed a tour of her nursery!


Posted on Leave a comment

DIY Cloth Wipes

So everyone keeps telling me we are crazy, but Alex and I have decided we are going to cloth diaper Avery. I am really excited! It is going to save us money and is better for the environment! I have been doing a ton of research and am ready to hit the ground running with the whole thing. Now we just need a baby!

What about all the extra laundry? I have this question all the time. To tell you the truth, we will have an extra load of laundry every 2-3 days. I don’t see that as much of a hassle as I feel like I do laundry all the time anyways…what’s an extra load twice a week?

Babies that are cloth diapered tend to have less diaper rashes and less blowouts. I will have to write an update post once we get started to let you know how it goes! There are so many groups out there as support systems and I am already getting lots of advice and we haven’t even started yet!

I decided if we are going to be washing diapers, why not make some cloth wipes to throw in as well. We can save more money by using them and they will just go in with the diaper load! There are many solutions out there that you can use with them, but I am going to just try a squirt bottle with plain water at first because many of my cloth diaper mommy groups have vouched that plain water works just fine!

DIY Cloth Wipes

Materials:

2 yards coordinating flannel

matching thread

rotary mat and cutter

sewing machine

Directions:

To start, cut 7 inch squares out of two coordinating flannel fabrics.
Sew two squares right sides together leaving about a 2" space on one side to turn them inside out.
Sew two squares right sides together with 1/2″ seam allowance leaving about a 2″ space on one side to turn them inside out.  Clip the corners before turning inside out.
After turning inside out, press and top stitch 1/4".
After turning inside out, press and top stitch 1/4″.

These were so easy and cheap too! Using 2 yards to make 2 ply wipes at 7×7″, there were exactly 30 wipes. I hit up Joann’s when they were having a sale and purchased 4 yards @ $2.79 a yard. That means I made 60 wipes for only $11.16!

The monsters were too cute to pass up!
These were my other fabrics I picked up. The monsters were too cute to pass up!