So far my 2013 is starting off with a bang! New motivation as I am officially turning the big 3-0. I am doing a killer job kicking off my new healthy lifestyle and I couldn’t be more happy about it! I am really exited about this blog, and everything I am lining up for it! I have loved Pinterest since it came out but I never really utilized it as much until now. I am enjoying my re-found love for crafts and I love me a good Pinterest Recipe!! I hope that the 30’s are the best years because I know how much I grew in my twenties and now that I am inching towards the next chapter of my life.
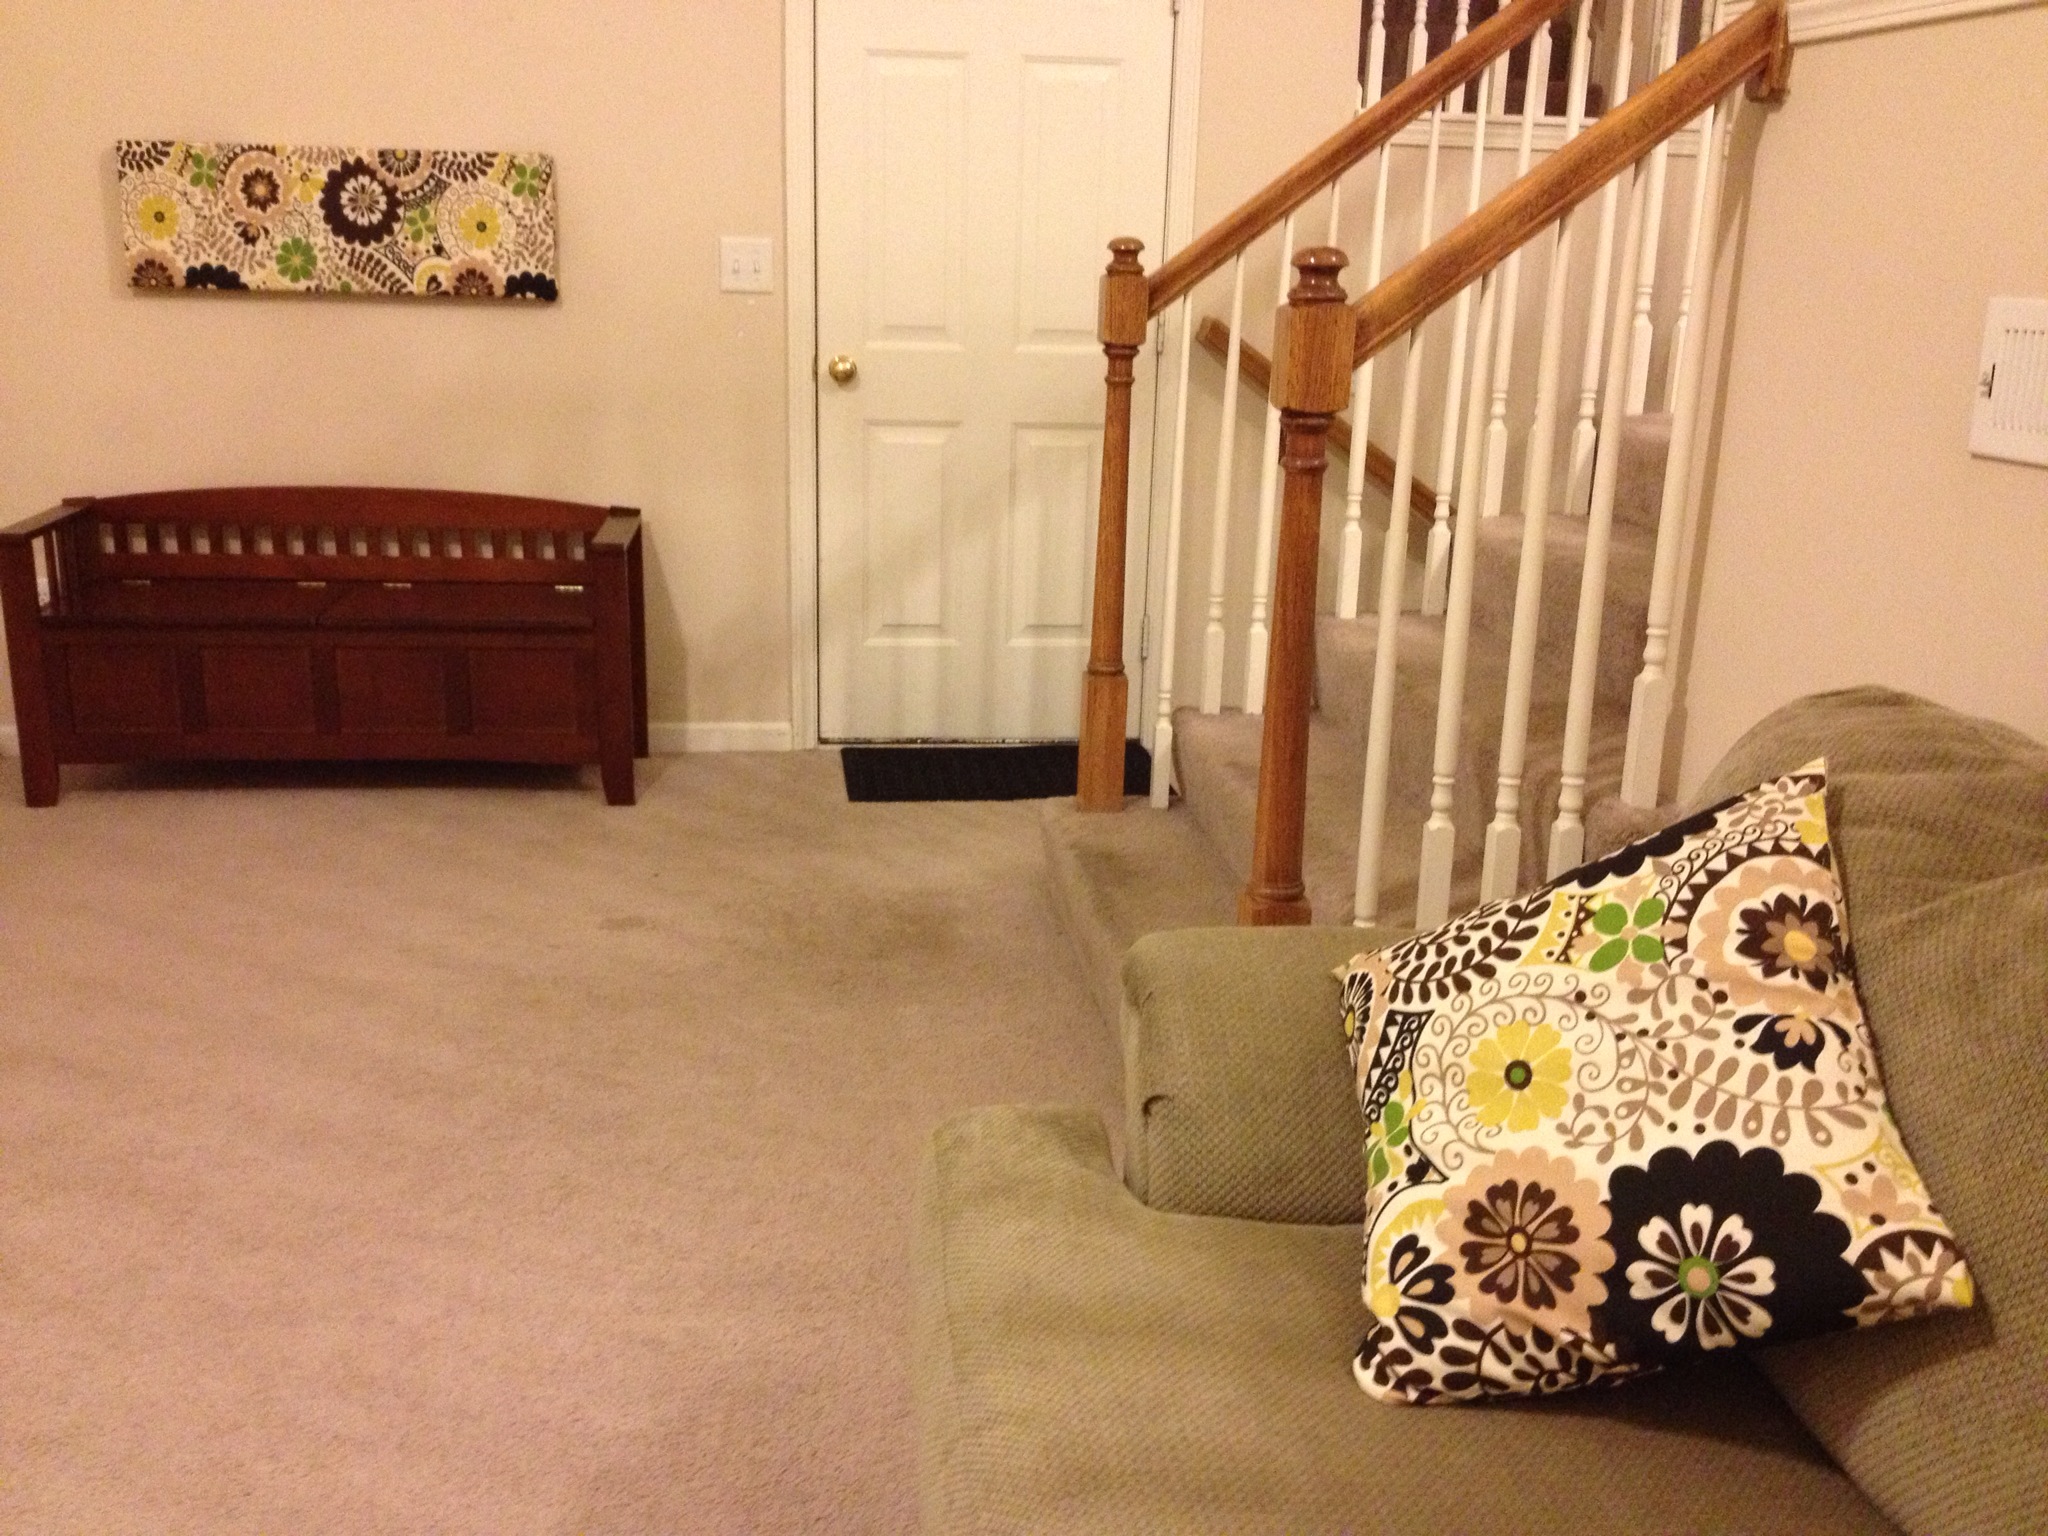
Anyways….onto my project…I moved in with Alex last summer and since he had a house with everything already here and not much room for any furniture of mine I sold and donated most of my stuff (Alex would probably disagree but I DID get rid of a lot of stuff! I just have a lot of stuff so I still have a lot! lol) All of my stuff was black and all of his stuff was brown so I had a hard time using any of my decor because it was too black. I think I have finally found a way to kind of bring the whole room together. Feel free to post a comment I would love some feedback. Alex doesn’t seem to appreciate my decorating talents but he knows it makes me happy so he gets over it!
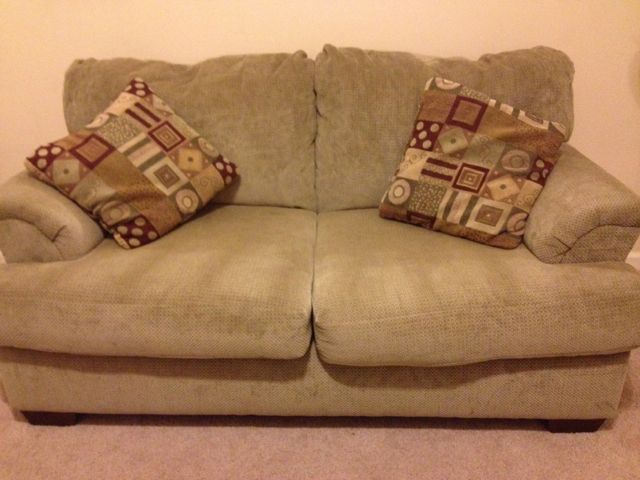
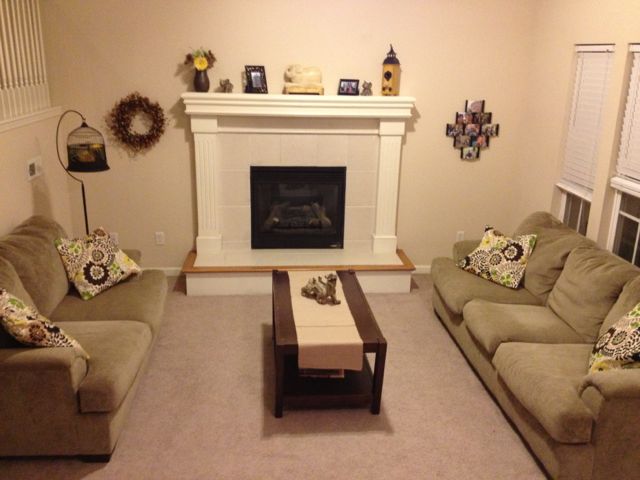
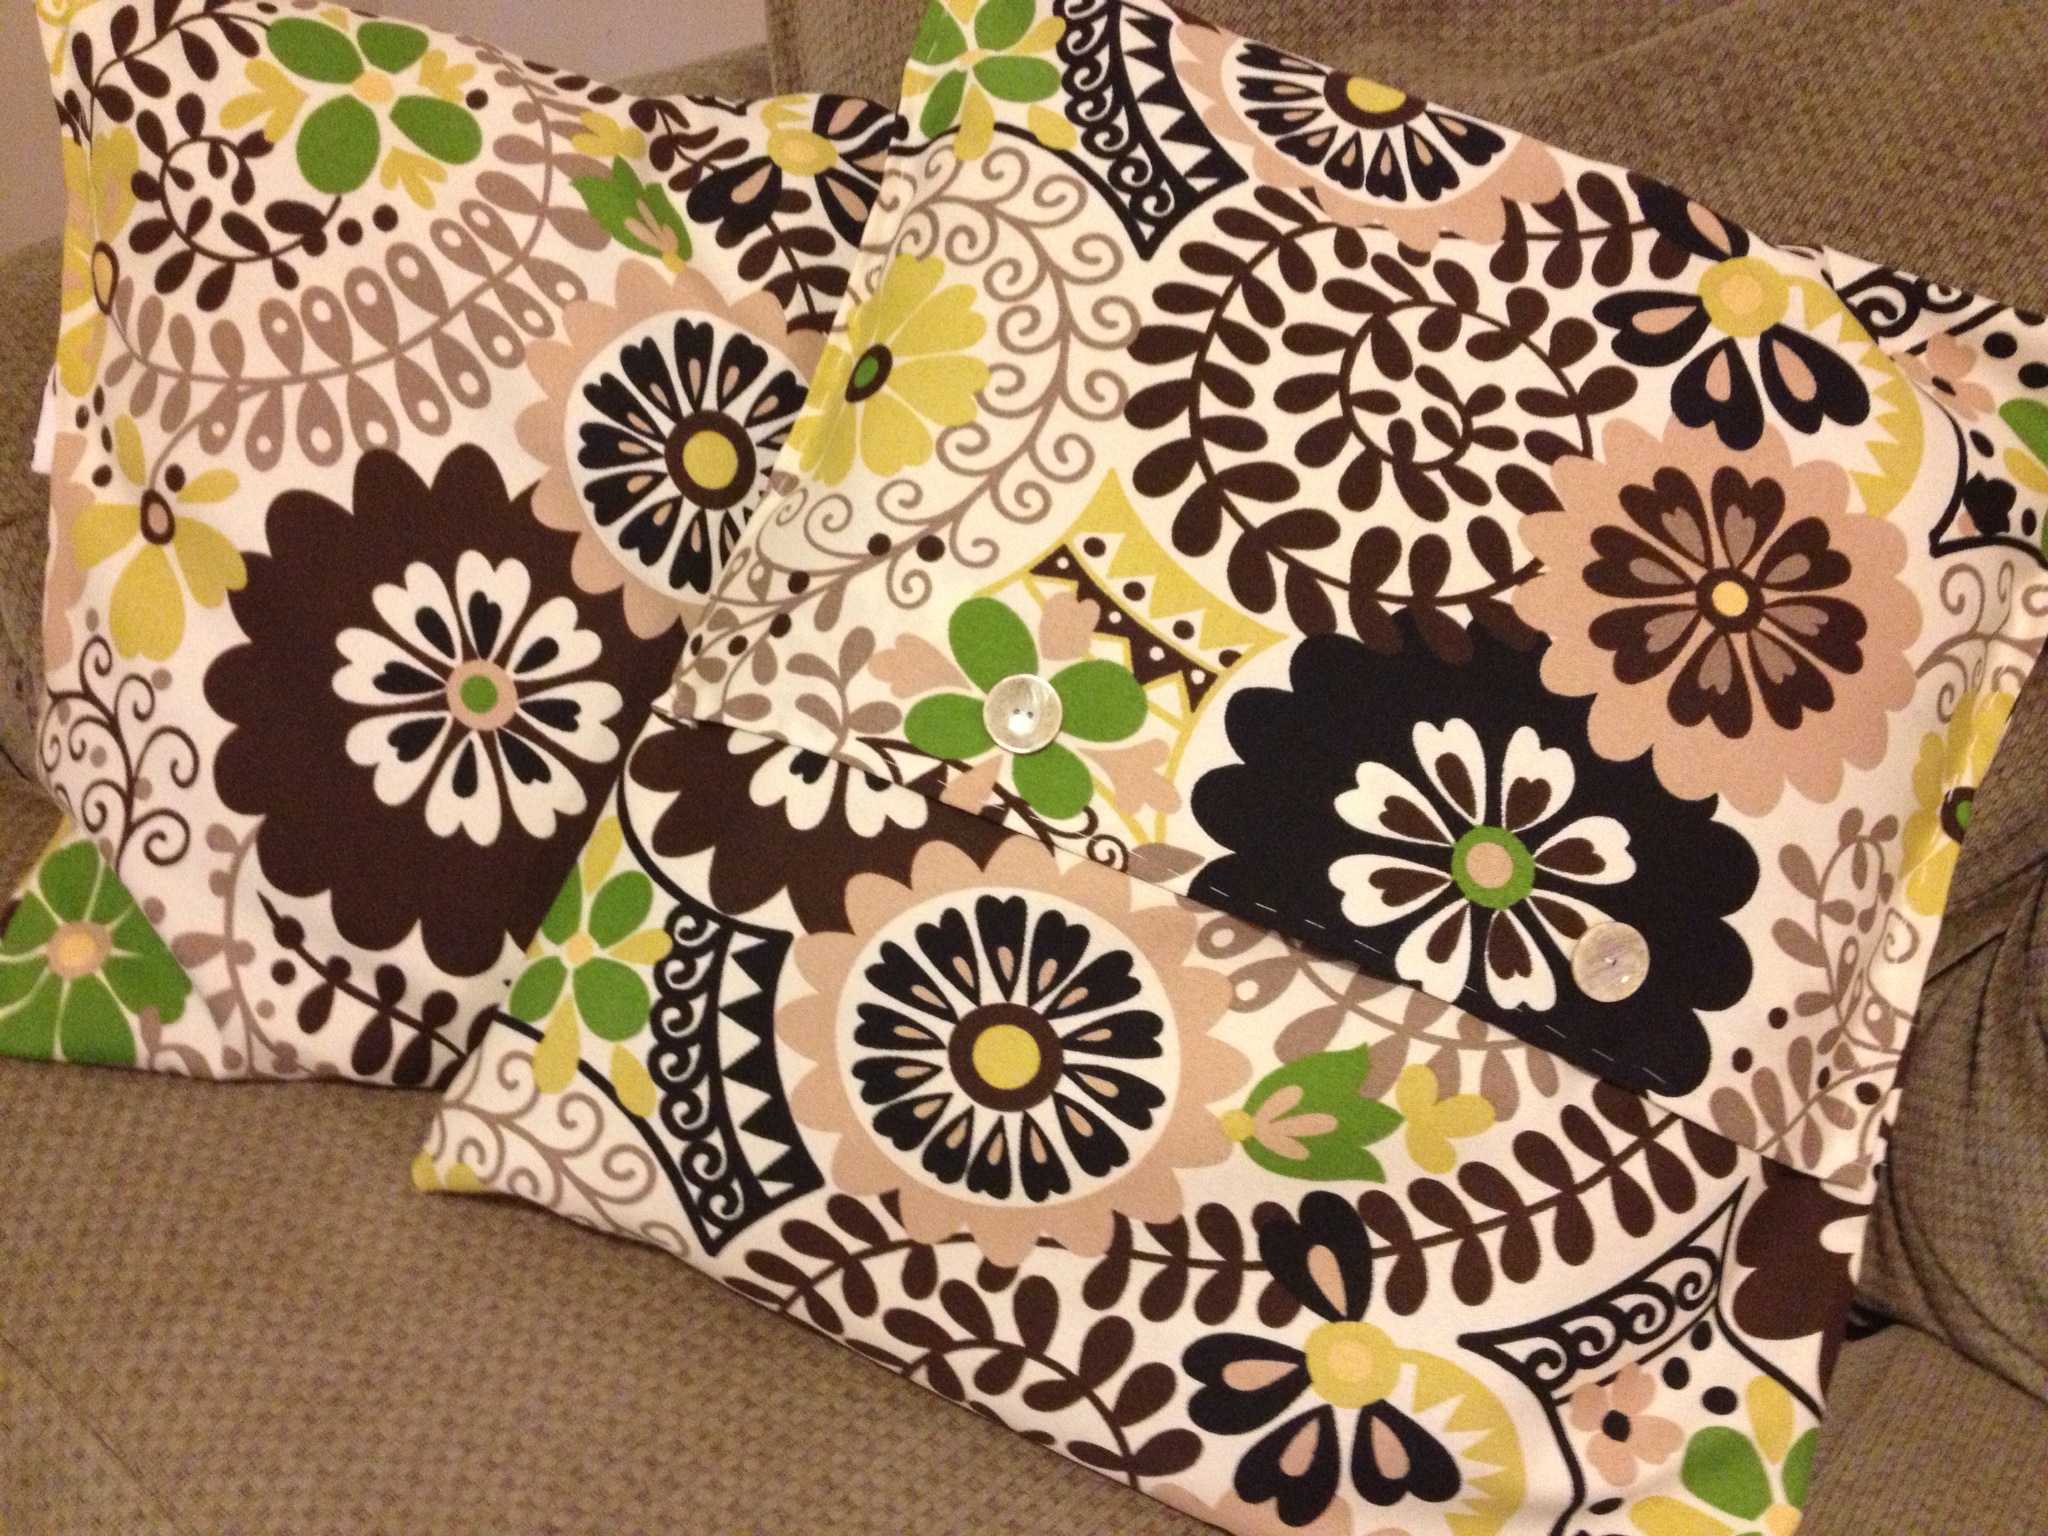
Pillow Makeover…Nuckles Edition

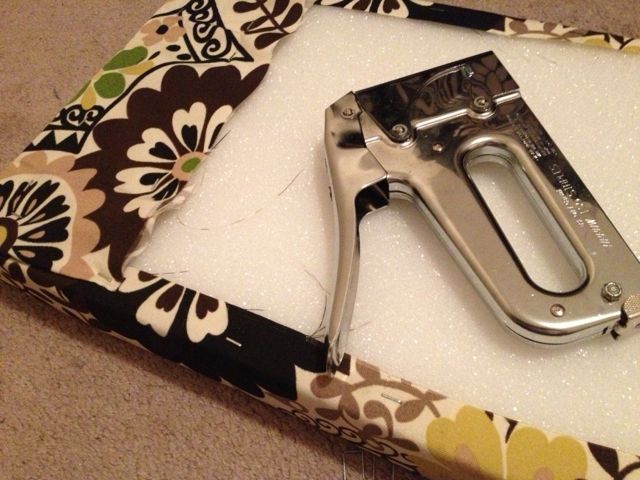
Originally I was planning on doing a no-sew pillow like a few that I had pinned on Pinterest….
I even went as far as buying the fabric glue. I got it home and thought to myself what are you thinking. You hate using fabric glue…why didn’t you at least by that stitch witchery stuff that irons on? I was mad at myself for even buying the glue because I hate using fabric glue and I have ever since as long as I can remember. I have not sewn something by hand other than fixing small holes in work pants and the constant plastic surgery from sewing up lil Miss Chloe’s toys. (Alex thinks this is silly and I should just toss them but he does not understand why I don’t just throw them away and that is simple…Chloe loves her toys and I love my Chloe. Chloe’s favorite toys make her happy therefore I am happy to sew them up instead of throwing them away and besides…she loves them. She even knows their names. If one that didn’t make the name cut that means she never played with them so I can just toss them if they get torn up. Mia on the other hand is not as worried about
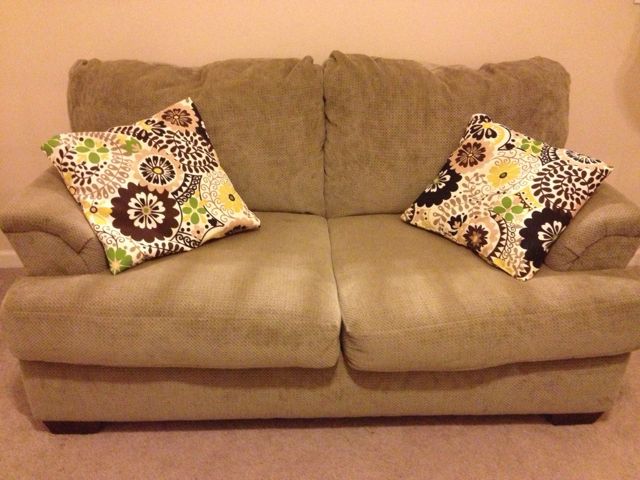
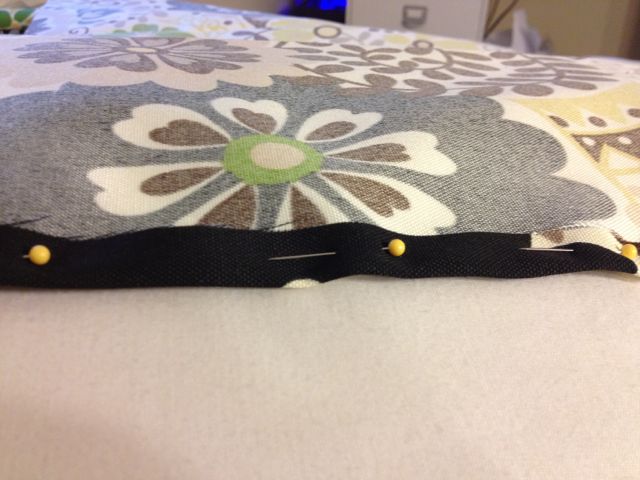
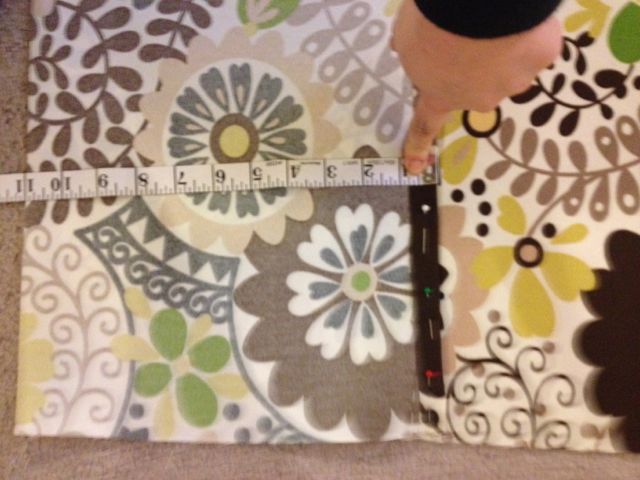
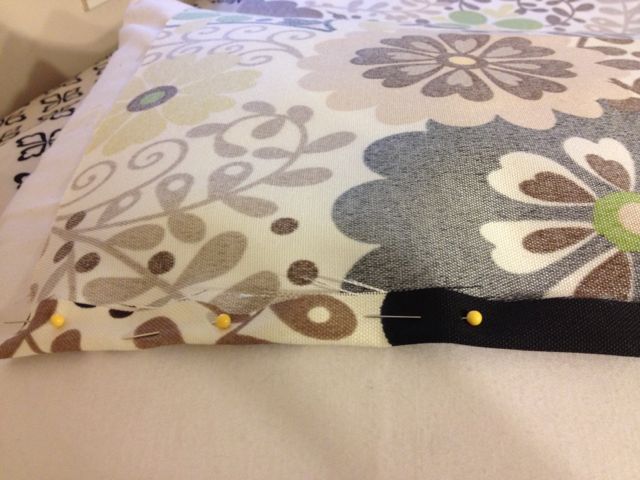
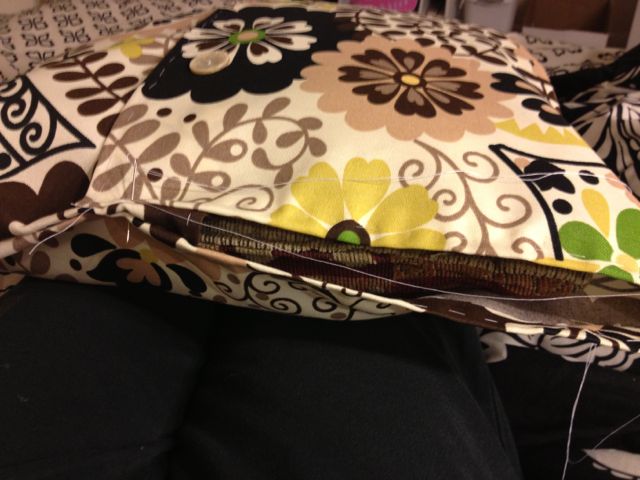
I had a little bit of a hard time nailing down the final measurements for this thing but I tried to perfect it by the last one and it seemed to have paid off. The pillow I used was an 18″ pillow. Let’s just say measurements is not really my thing and with this whole crafting thing measurements are pretty important. (I should have called my Grandma Bloesser right off the bat and asked her a million questions like I usually do but I wanted to do it on my own and I think she was a little tickled when I told her I sewed my pillowcases by hand!) I did sew 5 pillow cases and if you look in the picture there are only 4 pillows….I messed up on one and made it too tight and I went and bought an extra yard and did a last one because it was going to drive me crazy. The measurements I used was to cover an 18″ pillow.

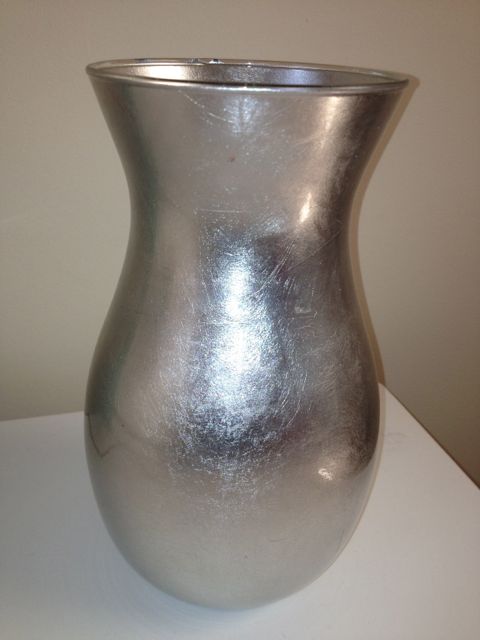
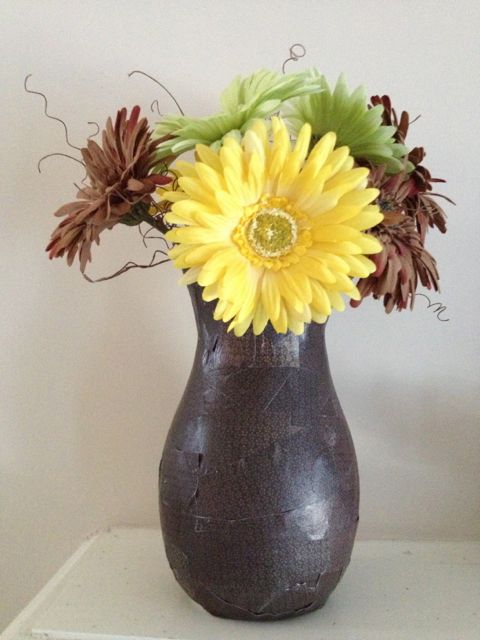
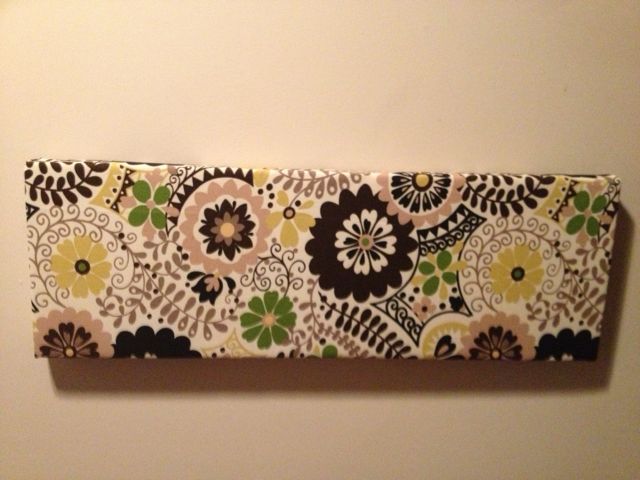
There was one more mini project that I worked on to pull the room together. I had a silver vase that went will all of my stuff from my apartment. I had tossed around the idea of painting it but I bought some mod podge from Michael’s a while back and I was itching to use it! I have never used the stuff before and I thought I needed to give it a shot. I found a scrapbook paper that was brown with little hints of flowers on it and cut it up into strips. I just painted the mod podge on with a paintbrush and pieced the scrapes on the vase and it turned out really cute!