We always make a special ornament for the kids to take home for their parents. Of course with Pinterest around…this is not such an easy task anymore! There are so many options out there! Unfortunately, supplies can tend to get very expensive and my budget around this time of year is really pinched. Luckily the teachers on my team and I decided that we should just make ornaments with what we already have. Since I have a giant box of popsicle sticks sitting in my cabinet, I started hunting for DIY ornaments for kids using popsicle sticks. The one I fell in love with is here.
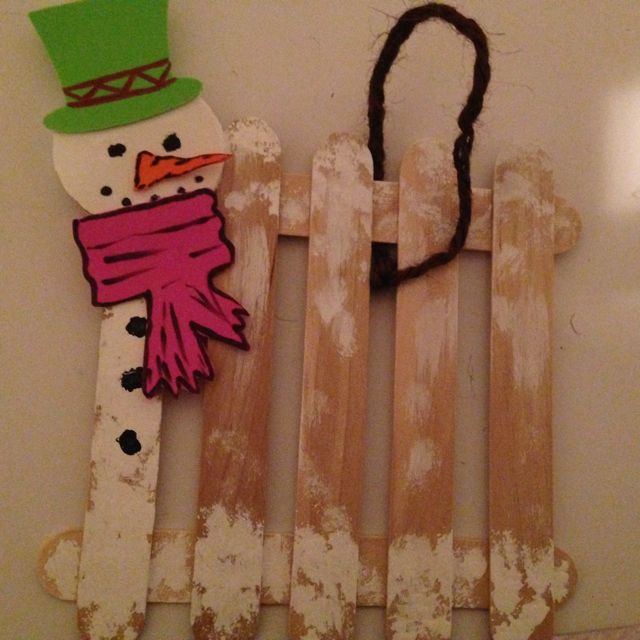
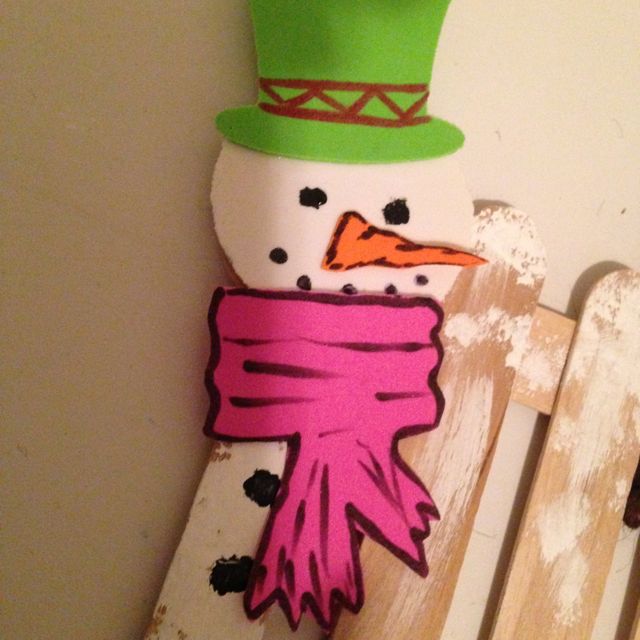
This might be one of the cutest ornaments we have made!
I think it turned out adorable! I found a 32 pack of 4×6 foam from Dollar Tree for $1 and picked up a giant piece of white foam from Michael’s for $0.99! Otherwise this project was free for me! I already had paint and twine so it was only $1.99 for all 26 kids to make! Not too shabby if I do say so myself! I had fun making mine, so I know the kids will love it! Check back for their creations later this week!
Materials:
Large popsicle sticks (7 per kid)
White foam
Colored foam or construction paper for hats and scarfs
Elmer’s glue
Paint or markers
Twine or ribbon
Directions:
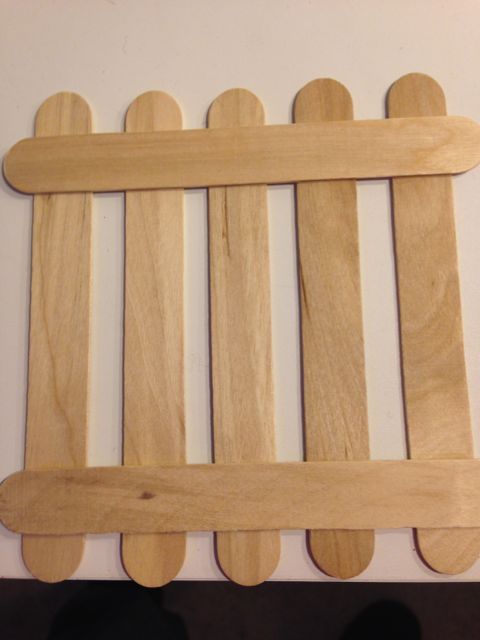
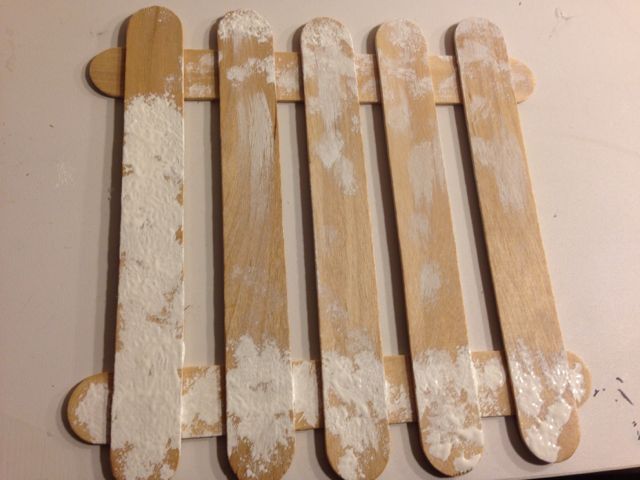
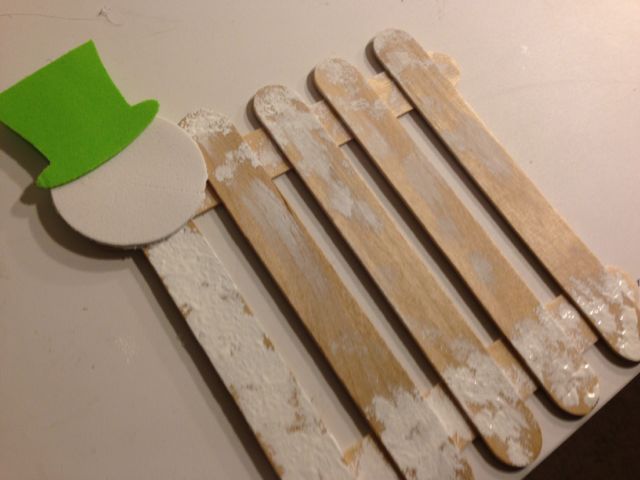
Line up five popsicle sticks with two laying across to resemble a fence. Set aside to dry. I did mine and put it aside for a day to make sure it was dry before I messed with it.Using a brush or sponge, paint the side of the first one and along the top and bottom of your “fence”Glue on your head and hat. Get ready to decorate! I cut my hats out on my Cricut, but they just as easily could make their own or trace a template.Add your finishing touches and there he is! I used paint for the eyes, mouth and buttons. I used marker on the hat, carrot, and scarf for more detail.
I cannot believe it is December! Elfie is the newest member of our classroom. He magically showed up the first day back from Thanksgiving Break! You may be familiar with a book called The Elf on the Shelf by Carol Aebersold and Chanda Bell. The story is about this elf that is sent from the North Pole to watch over children until Christmas. He or she goes back to the North Pole every night to tell Santa who is naughty and nice! It is a fun book because he shows up in a different part of the room every morning and can tend to be a bit mischievous! There is only one rule, you cannot touch him because if you do, he will lose his Christmas magic!
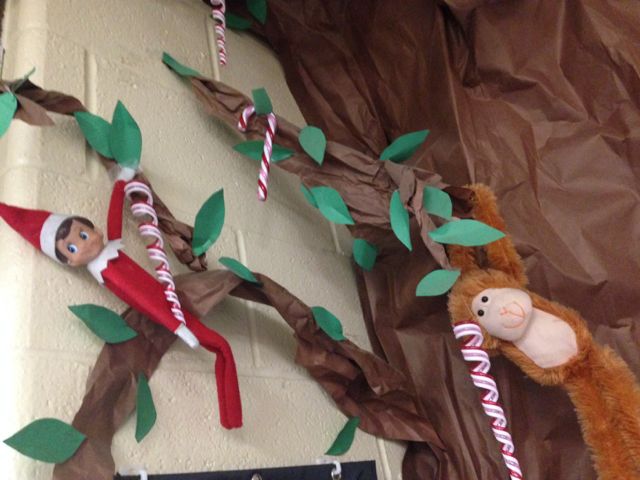
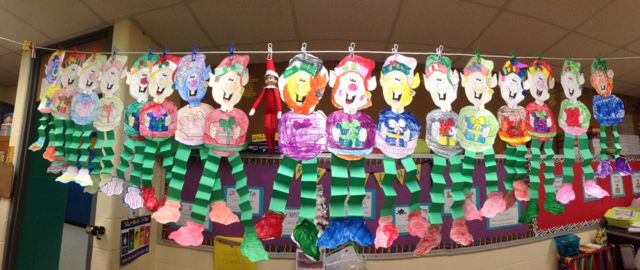
Day 1: Hanging out in Ms. Nuckles’ tree!
The book can be used at home with the little ones, but it is a great way to get the kids motivated to work these 3 crazy weeks before Christmas Break. The first thing my kids are talking about is where Elfie is at and wondering how he got there! There are a few elves in our school and it is fun listening to all of the chatter in the halls about what elves have been up to. I have also got a kick out of hearing all of the different names the classes have come up with. My favorite, besides ours has to be Mrs. Weihe’s elf, who is named Diesel!
Our elf just appeared one day and I did not say anything to the class, as I wanted them to see him on their own. It took about an hour, but even when one of my boys noticed him, I just said that we would find out what he was doing there later. Some teachers had more creative ways of introducing it. One of my favorites, was Mrs. Call, who had the office call over the intercom that their class had a package. She played along and acted clueless as to why they would have a package and the book was wrapped up. Her elf showed up later that day. I thought that was cute, but I had already done ours. There is always next year!
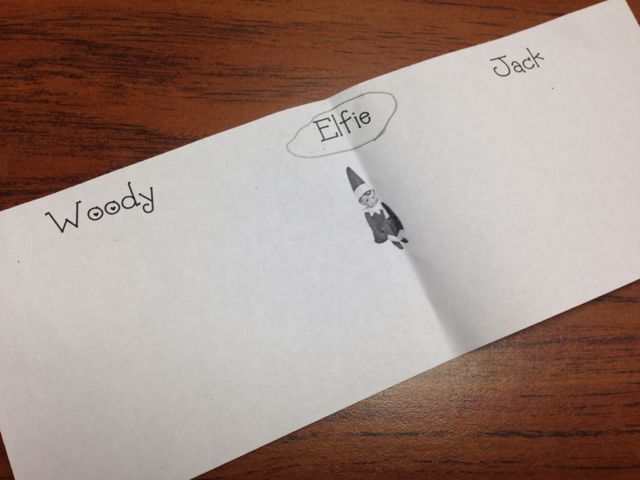
After reading the book that comes with the elf, we had to name the elf right away. We sat on the carpet and I let everyone that could think of a good name raise their hand and share. I made a huge list on the SmartBoard. We had a ton of really cute ideas. I decided to pick 3 and let the kids cast their votes anonymously. They cheered as I tallied the board with the results! It was fun to see how excited they were when the one they voted for got a tally.
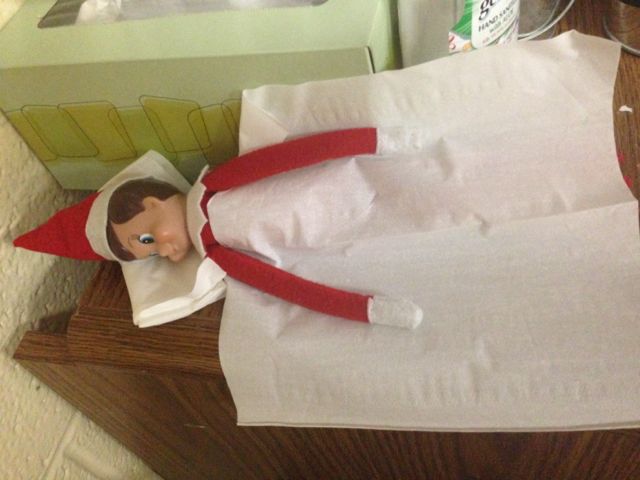
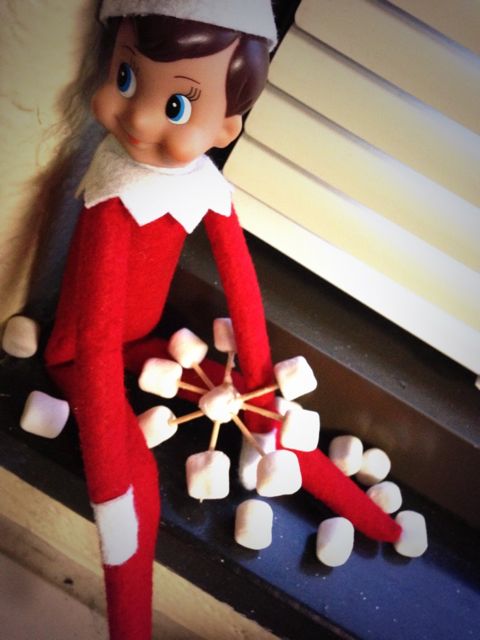
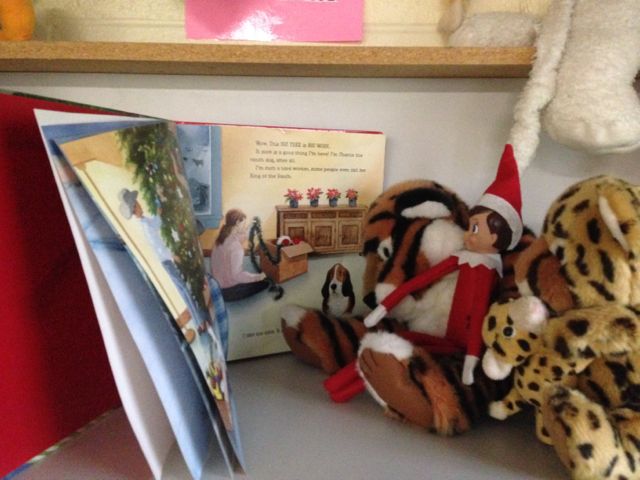
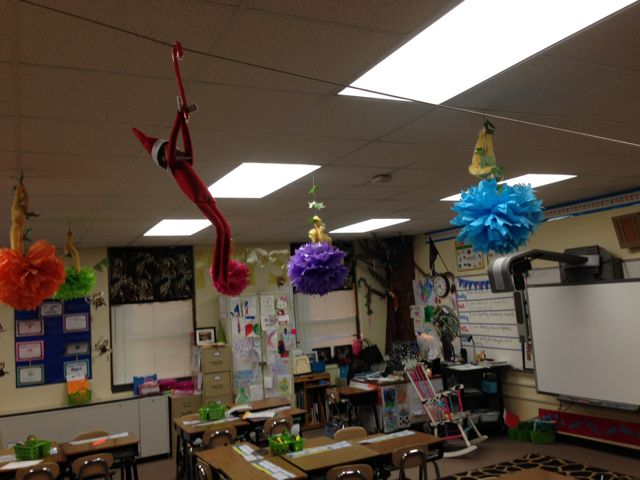
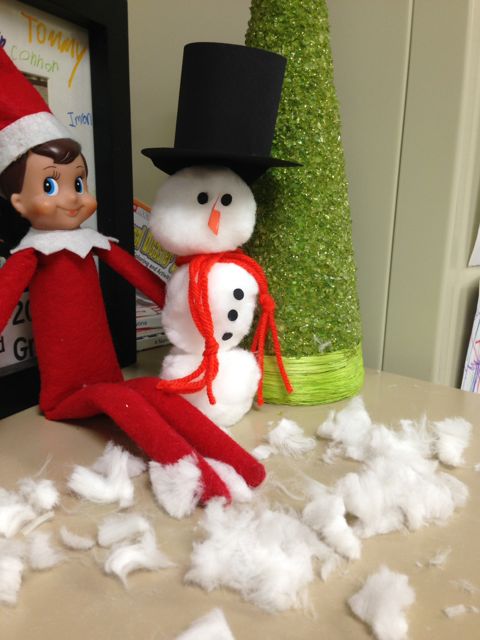
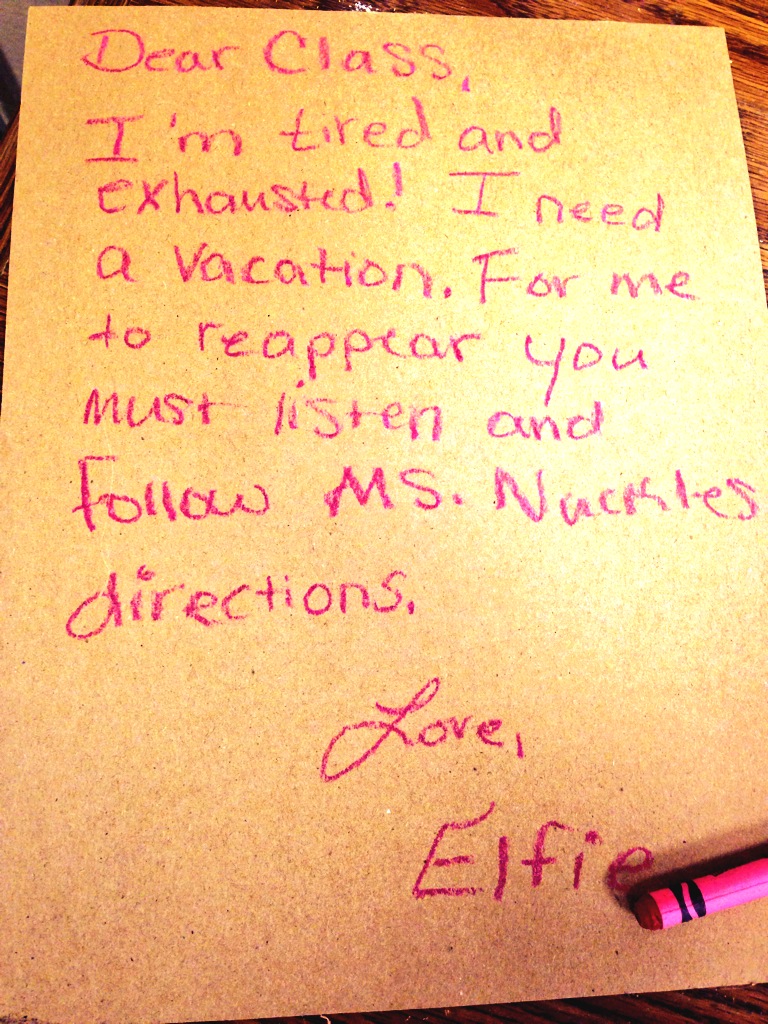
And the winner is…Day 2: Elfie is napping with the tissues.Day 3: Elfie makes marshmallow snowflakes!Day 4: Elfie and his friends are reading a Christmas book!Day 5: Elfie goes ziplining!Day 6: Elfie builds a snowman!Day 7:Elfie leaves a note!
Elfie has had enough children not following directions. He needed a break! He told the class to follow my directions for him to reappear. My class was so sad! They actually were pretty good that day! During math we talked about how much we missed him. It was so funny when they had not found the note yet and they spent forever looking for him. They were pretty bummed when they found the note. They couldn’t figure out how he picked up a crayon and did it! It was fun!
P.S. Thank you Mrs. Wiehe for writing this up for me! Though we almost got caught because we write our “L’s” the same! I ensured them that Elfie must have liked how I write my “L’s” so he tried to do it too…but his loop at the bottom was longer than mine! 😉
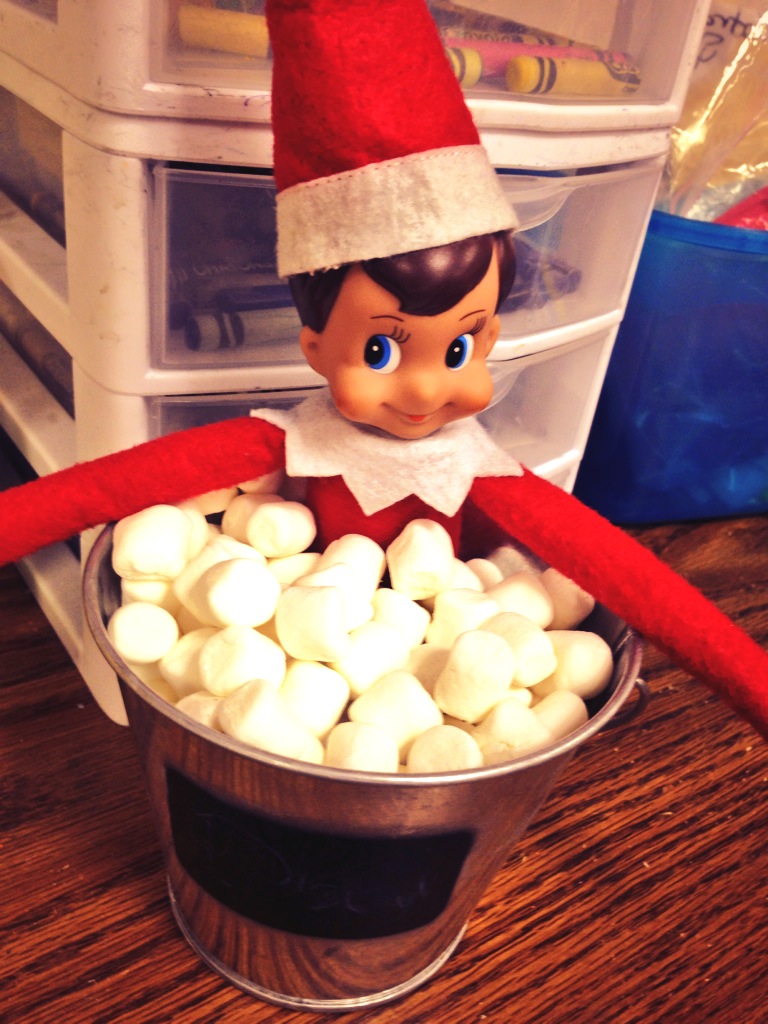
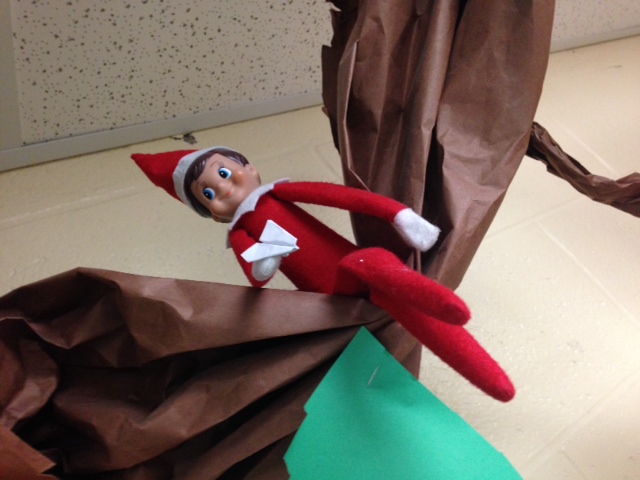
Day 8: Elfie chilling in a hot tub full of marshmallows!Day 9: Elfie makes a paper airplane!
This one is one of my favorites! A big thank you to Mr. Sergio for folding up this sweet mini airplane for him.
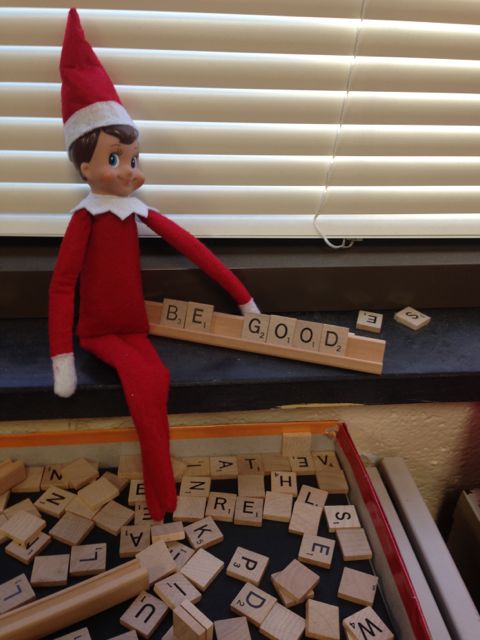
Day 10: Elfie plays Scrabble.Day 11: Elfie joins his elf friends!
Check back for more Elf on the Shelf ideas for your classroom!
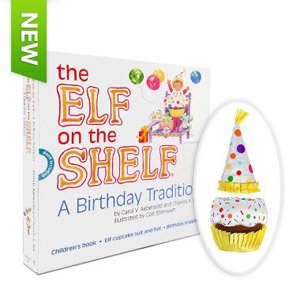
If you are a teacher, go to Elf on a Shelf’sTeacher Resource Center for a FREE Elf on a Shelf! You may not have time to get him this year, but you can sure register for one for next year! If you do not have an elf in your classroom, it is a must!
I registered for my elf last year and they sent me one of these books without me even asking! Thank you!!
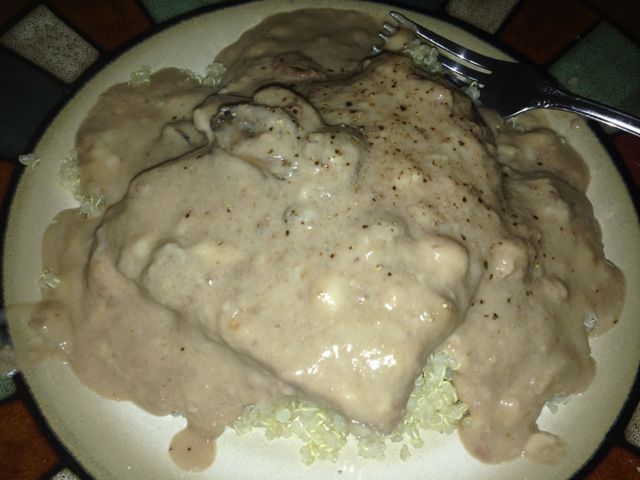
Who doesn’t love mushrooms AND steak? My mom used to make this amazing mushroom steak when I was little. I have not had it forever and it sounded delicious! I did add some fresh mushrooms because I LOVE mushrooms. The first night I made this I paired them with mashed potatoes, but my mom said she likes to make it with rice. So this time, I figured I would pull out that protein packed quinoa and give it a run! I thought it was delicious either way! It is crazy how easy it is. I am in LOVE with my crockpot!
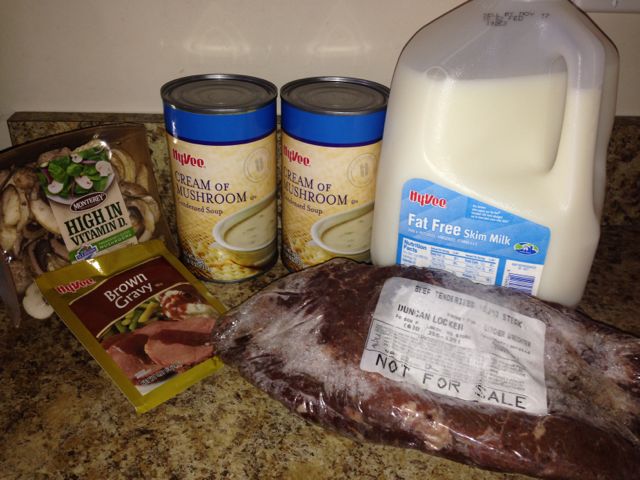
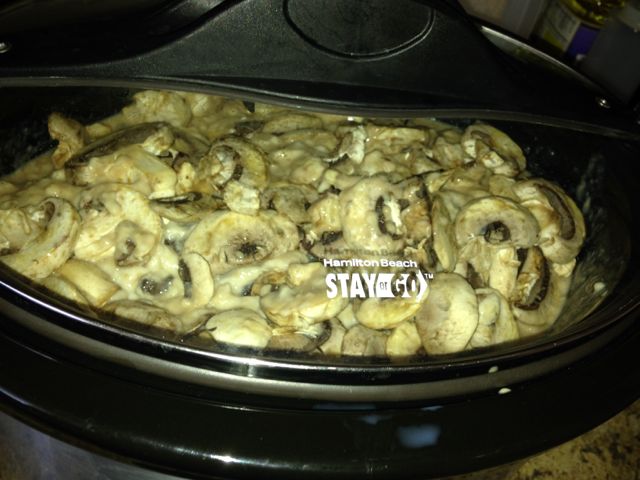
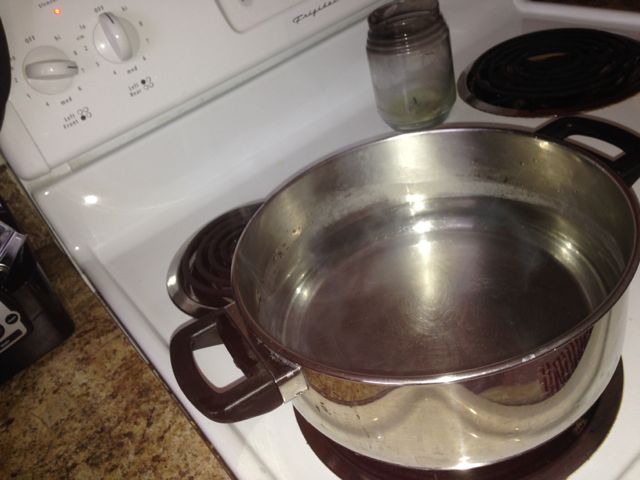
Simple ingredients, which I love! Thanks Troyboy and Mom for the boatload of tenderized round steak! 🙂Throw the cream of mushroom soup, gravy, and a good splash of milk in and stir. Throw the tenderized round steak in the tub and throw the fresh mushrooms up top!Start a pot of boiling water.Soak the quinoa in warm water for 5 minutes. Rinse a few times before throwing it in the pot of water.Serve it up right on top!
Mushroom Steak
Ingredients
2 large cans cream of mushroom soup
1 packet brown gravy
1 package fresh chopped mushrooms
milk
tenderized round steak
Instructions
Mix the cans of cream mushroom soup with the brown gravy mix and a good splash of milk in crockpot, fold in fresh mushrooms. Add the tenderized round steak with some salt and pepper. Cook on low for 6 hours or until ready to eat! Serve over quinoa, rice, or mashed potatoes!
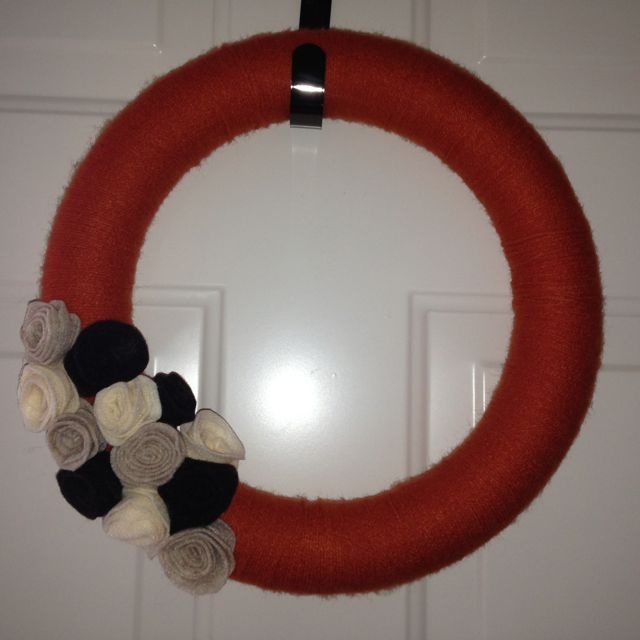
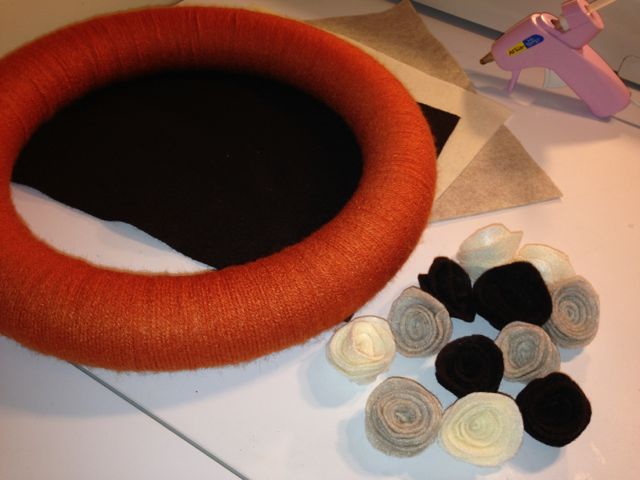
I have fallen in love with making wreaths! Wreaths are a great addition to your home decor that really brightens up the entrance. Pinterest has so many great ideas for different wreaths. I was impressed with how easy this wreath was to make! There are so many choices when making a yarn wreath. I believe I used a 12″ foam piece. They have a ton of different sizes and shapes to use. I think maybe some type of material might be easier to work with, as I felt like it took a lot of wrapping to get the fullness that I wanted. Some tutorials that I browsed over instructed to do 2 or 3 layers of yarn, but I did not like how that looked. I kept scooting the yarn over and adding more until I could not see any white. My favorite part was creating the felt flowers! They are so pretty!
I had already wrapped my foam wreath before I remembered to snap a picture. All you do to get started is tie the yarn to the wreath and wrap it tightly and close so that there is no foam showing.Cut circles out of felt. I traced a container of disinfecting wipes and it was the perfect size!To get the felt ready to roll, cut a spiral from the outside in.Tuck in the pointed edge and start to roll!Keep rolling tightly until your flower starts to form!Roll the felt until the round tail is left.
Glue and hold.Glue the flowers on the wreath.Final product! I love the fall colors!