
My Grandma Bloesser came down over my Spring Break and we sewed til we dropped! I had a long list of things to make and we sure got a lot done even though I was still recovering from being sick. Many people told me I was crazy for wanting to sew my own crib sheets, but I am so glad I did! They were so easy and fun to make! I have looked at crib sets that they sell out there and I can’t justify spending over $100 for crib bedding when they say crib bumpers and comforters shouldn’t even be used because of suffocation risks. All you really need is a few crib sheets to get you by. I love this because I got to shop for all my materials to coordinate in Avery’s nursery and it is coming together so beautifully!
DIY Crib Sheet Tutorial
Materials:
2 yards of fabric
80 inches 1/4″ skinny elastic
Sewing machine
Coordinating thread
Rotary cutter and mat
Directions:
Prewash your material and iron good before cutting.

Cut your material to 42×67″. Cut out a 7.5 x 7.5″ square from each corner. You can fold the material and cut two out at a time. We tried doing 4 the first time and they were a little off.

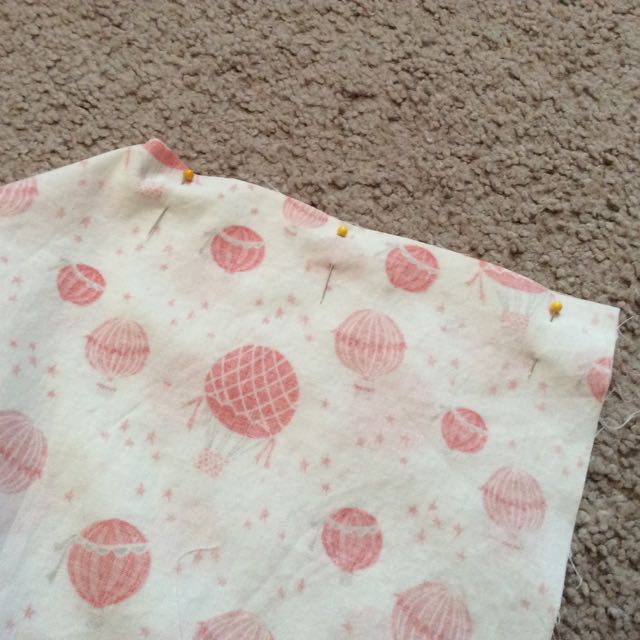


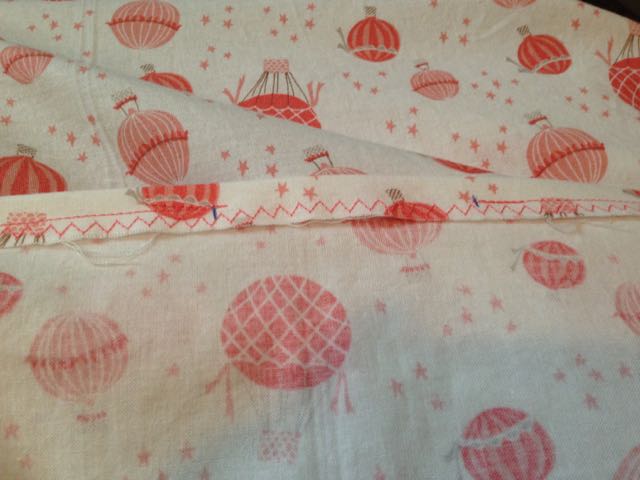
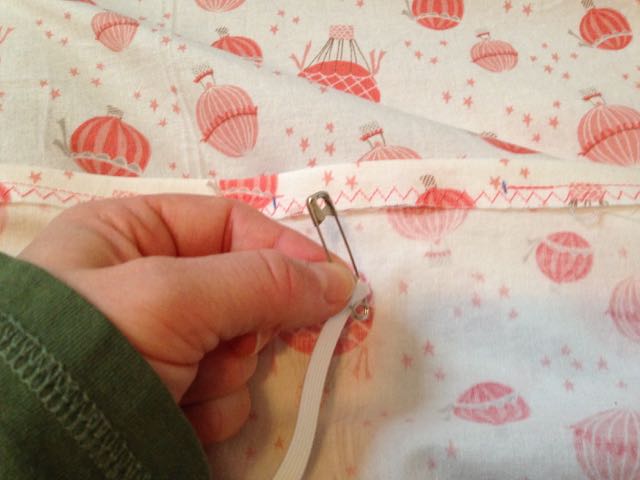
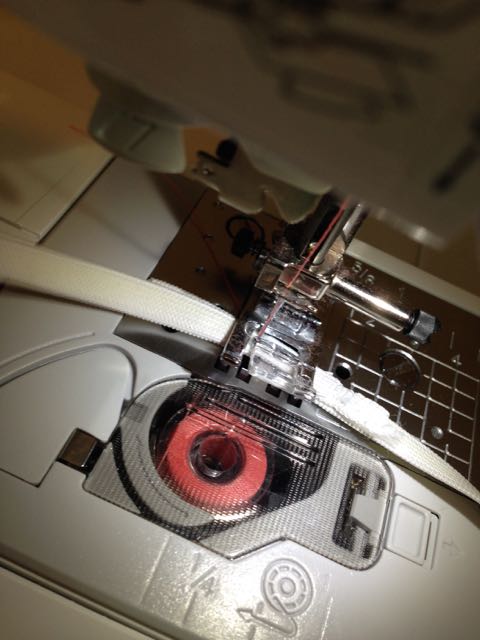
Stretch out the elastic all the way around all the corners and voila! A crib sheet is made!


I will get more tutorials up over the next few weeks, so check back!
