So my Grandma Bloesser gave me the cutest little garden flag for Christmas this year! I have always wanted one, and it looks too perfect in our rock garden in the front of the house. After the snowy weather started to fade away, it was time to replace my cute little snowman flag for something more “in season”. I looked online for new flags, but there were not any for Valentine’s Day that were screaming “Buy ME!” So I decided to take matters into my own hands…
This was my first attempt at my DIY garden flag.
I just used some left over burlap that I had from another project and some scrap fabric that I had laying around collecting dust. This project didn’t cost me anything since I just used whatever I had, which makes it even better!
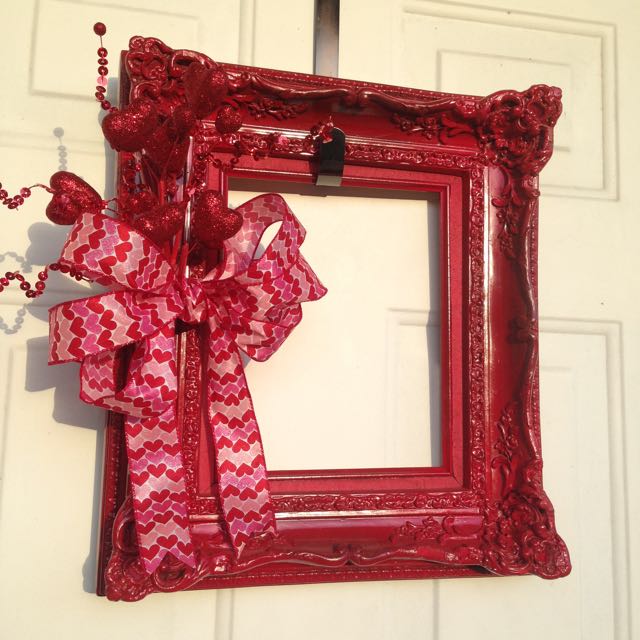
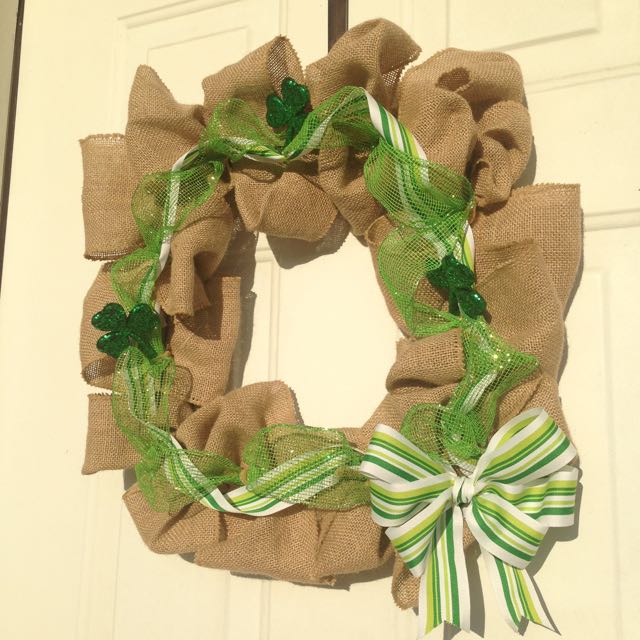
The flag looked perfect with my frame “wreath” that my mom and I made over Christmas. For Valentine’s month, I switched out the ribbon and added some glittery hearts. The flag and wreath together looked too cute for words!My March themed wreath that I did last week.
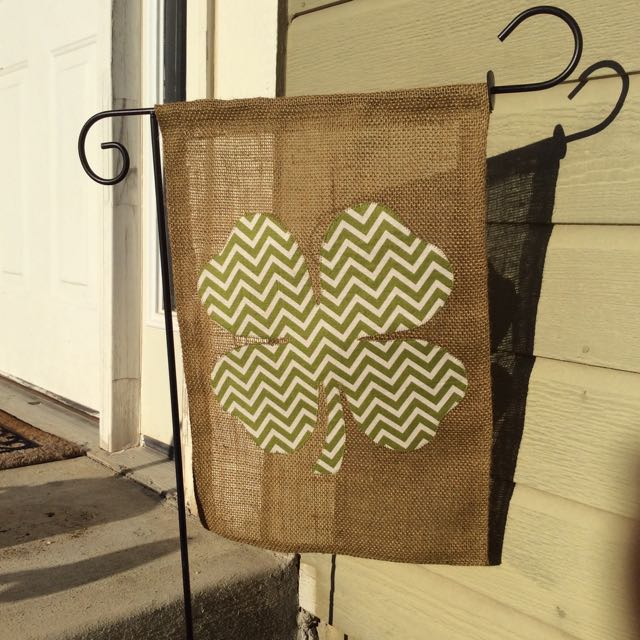
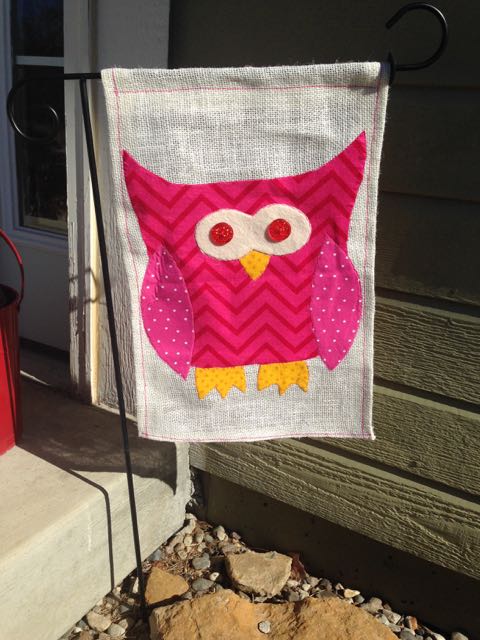
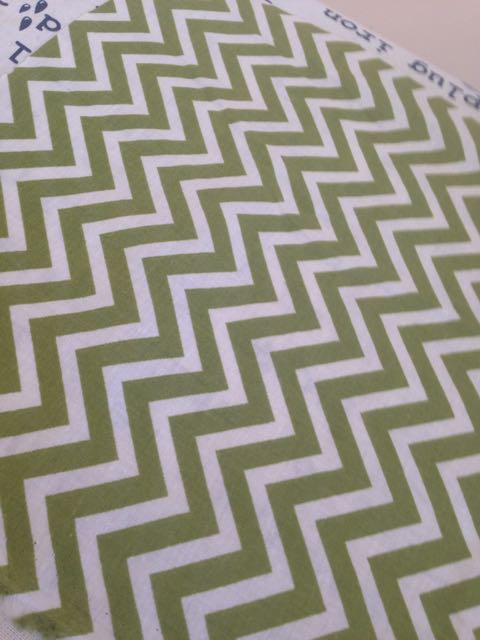
Since I changed out my wreath, my Valentine’s Day Owl flag was sticking out like a sore thumb! I decided that it was time to take another stab at the DIY garden flag and I had the perfect green chevron left over from the stockings that I made this year.
DIY 12×18″ Garden Flag
Materials Needed:
14×20″ piece of burlap
Scrap fabric
Stencil
Wonder-Under
Coordinating thread
Sewing Machine
Iron
Pins
Seam Gauge
Instructions:
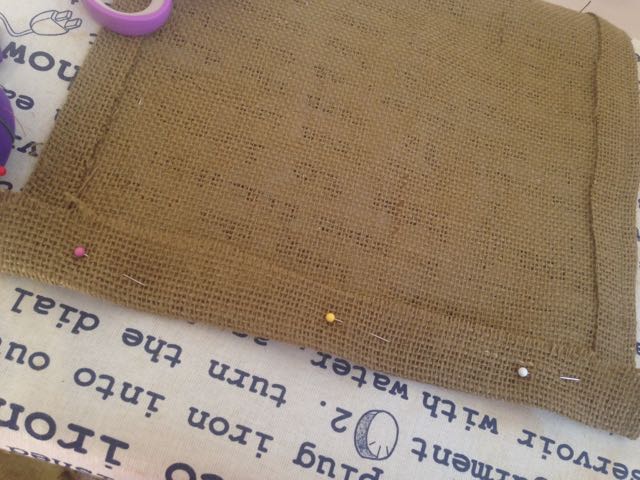
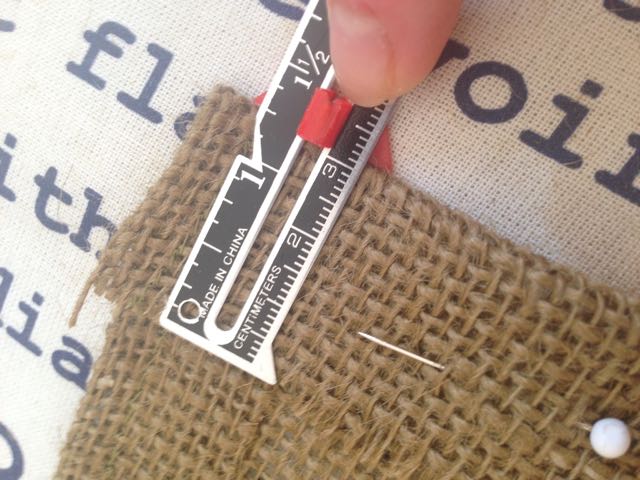
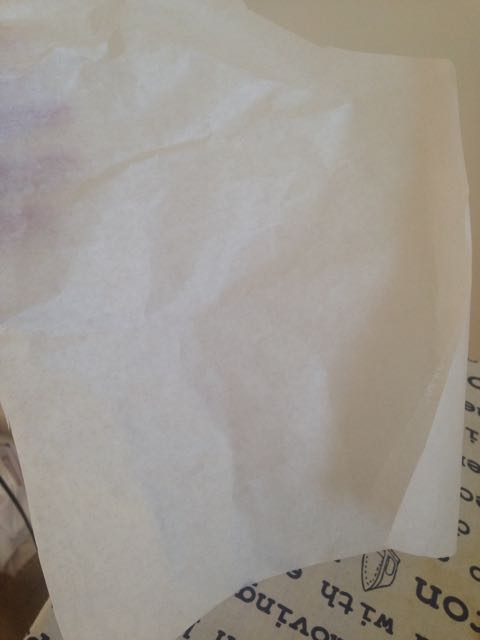
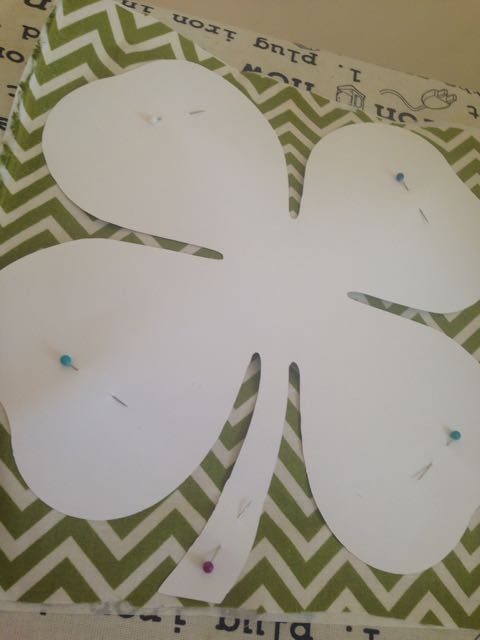
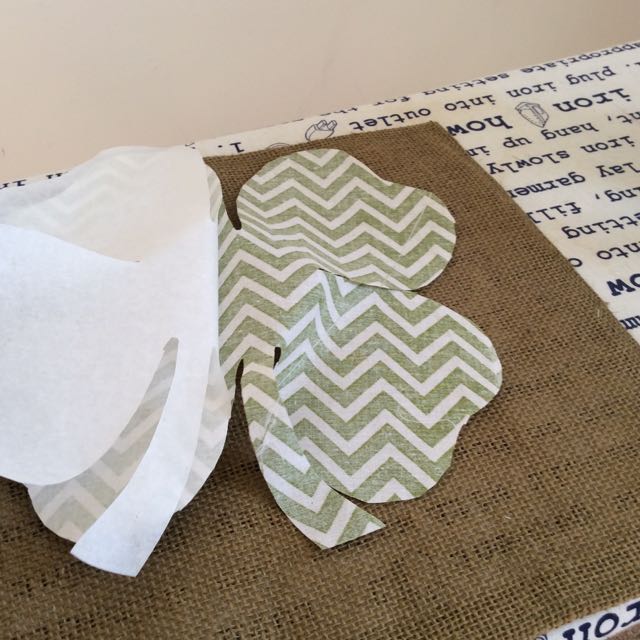
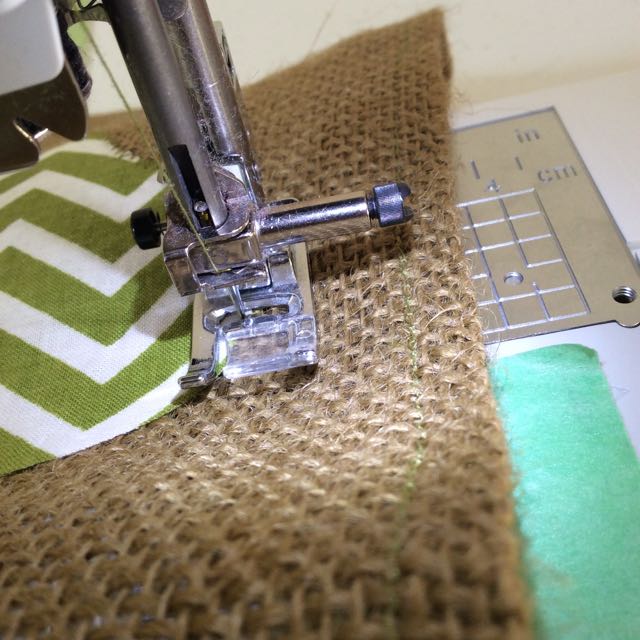
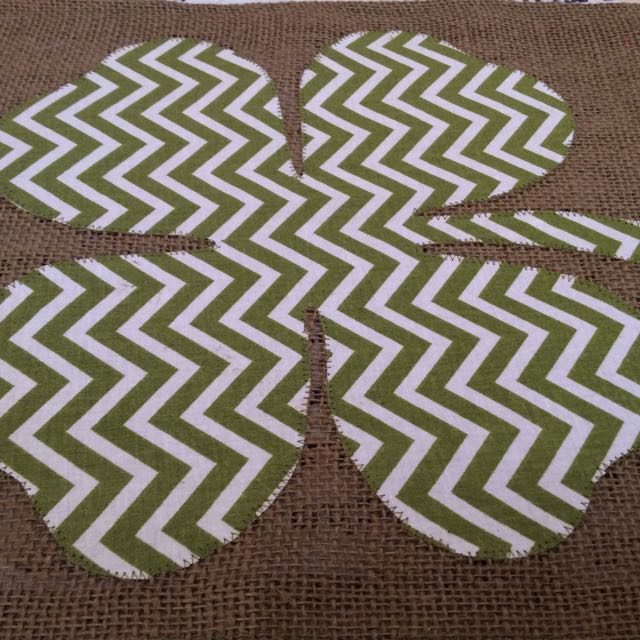
Using a seam gauge, pin and iron the long sides of your burlap at 1″. On the bottom part of the flag, pin and iron with a 3/4″ seam. Leave the top part alone for now. Sew a 1/2″ seam allowance using a zigzag stitch starting on the right long side and pivoting around the three pinned sides of your burlap.Once you are finished sewing those edges, Iron and pin down 1 1/4″ at the top. This time, you are going to be sewing with a 1″ seam allowance to create a casing for your flag to attach to the flag pole.Now that you have your flag sewn, it is time to do the applique. I used my Silhouette Cameo to cut out a large shamrock. After measuring the amount of fabric I would need, I cut out a square and a matching square of Wonder-Under.Make sure to have the paper side down on your ironing board. If you iron the wrong side, it will stick to your ironing board, and YES I learned that the hard way! Using an iron, place the Wonder-Under with the sticky part up towards the wrong side of the fabric. Iron together.Once you have ironed the Wonder-Under on the wrong side of your fabric, you need to pin your stencil to the fabric and cut it out.After you have cut out the pattern, remove the pins and peel away the paper from the Wonder-Under.Position the piece however you would like it on your flag and iron it down. Now get to your sewing machine and set your machine to a zigzag stitch. Using the middle of your presser foot as a guide, zigzag around the entire applique slowly making sure that the stitch goes right on the outside of the applique. Make sure to take your time. I went much slower on this one as my owl on the last flag was not as neat as I would have liked it to be.All stitched up! This one looks much better than the Valentine’s Owl. I think these appliques take some time to master! I am already thinking an Easter Egg for April!It looks pretty good if I must say so myself!